Brown Butter Rice Krispie Treats
As an Amazon Associate, I earn from qualifying purchases. Read the full disclosure here.
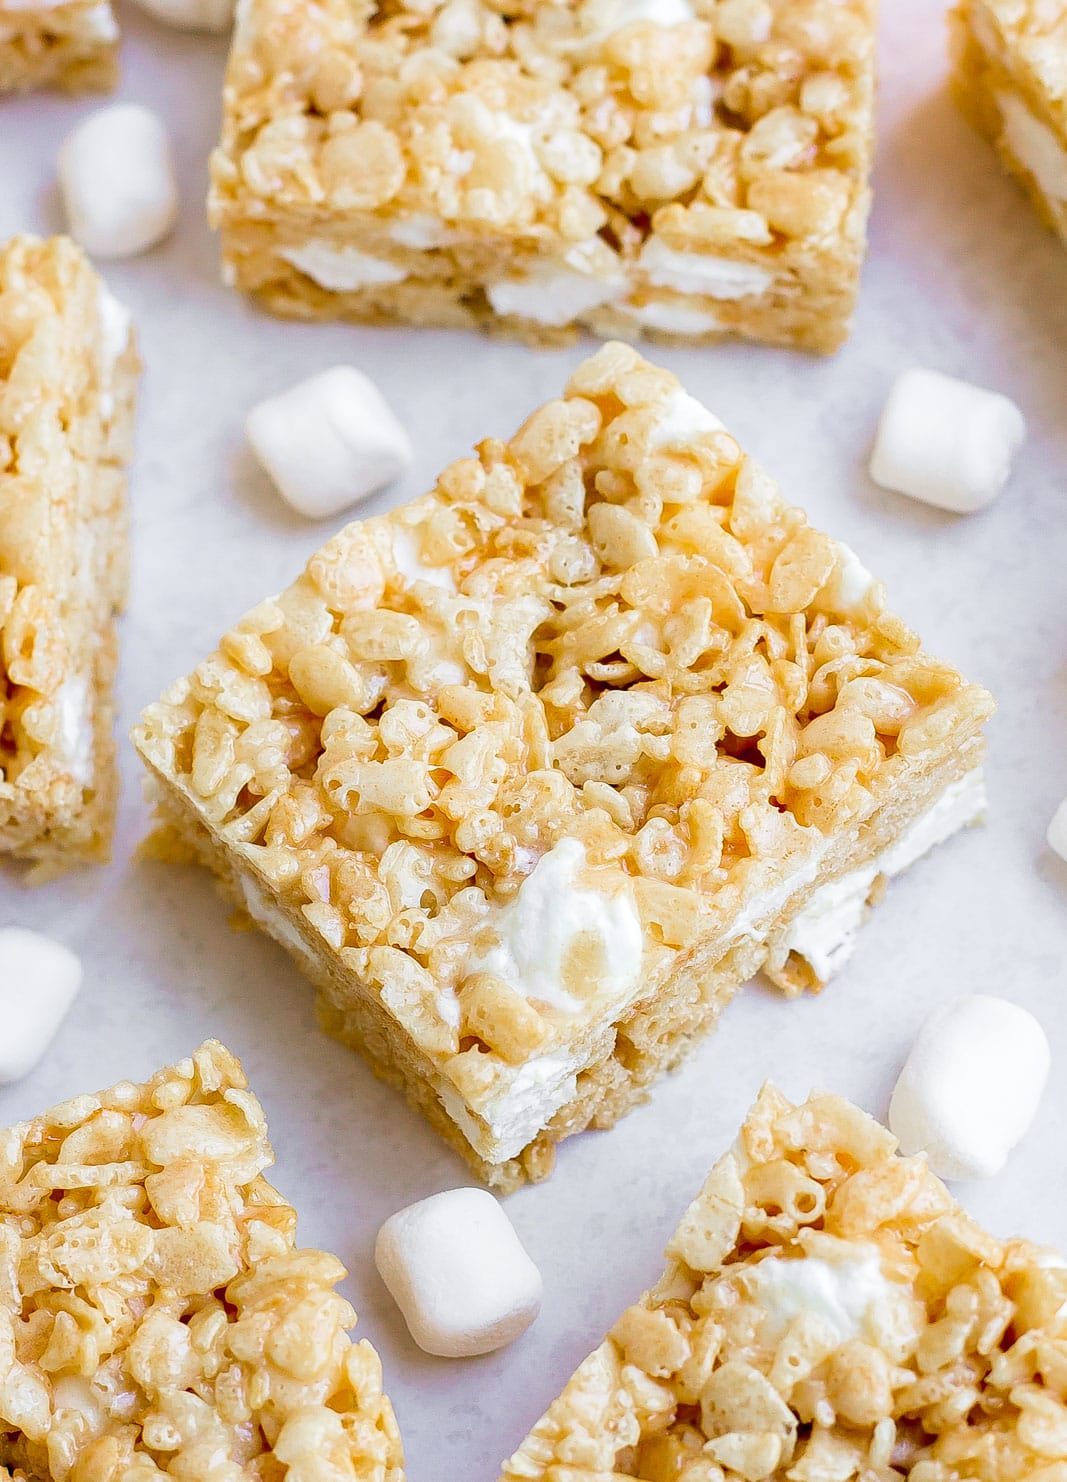
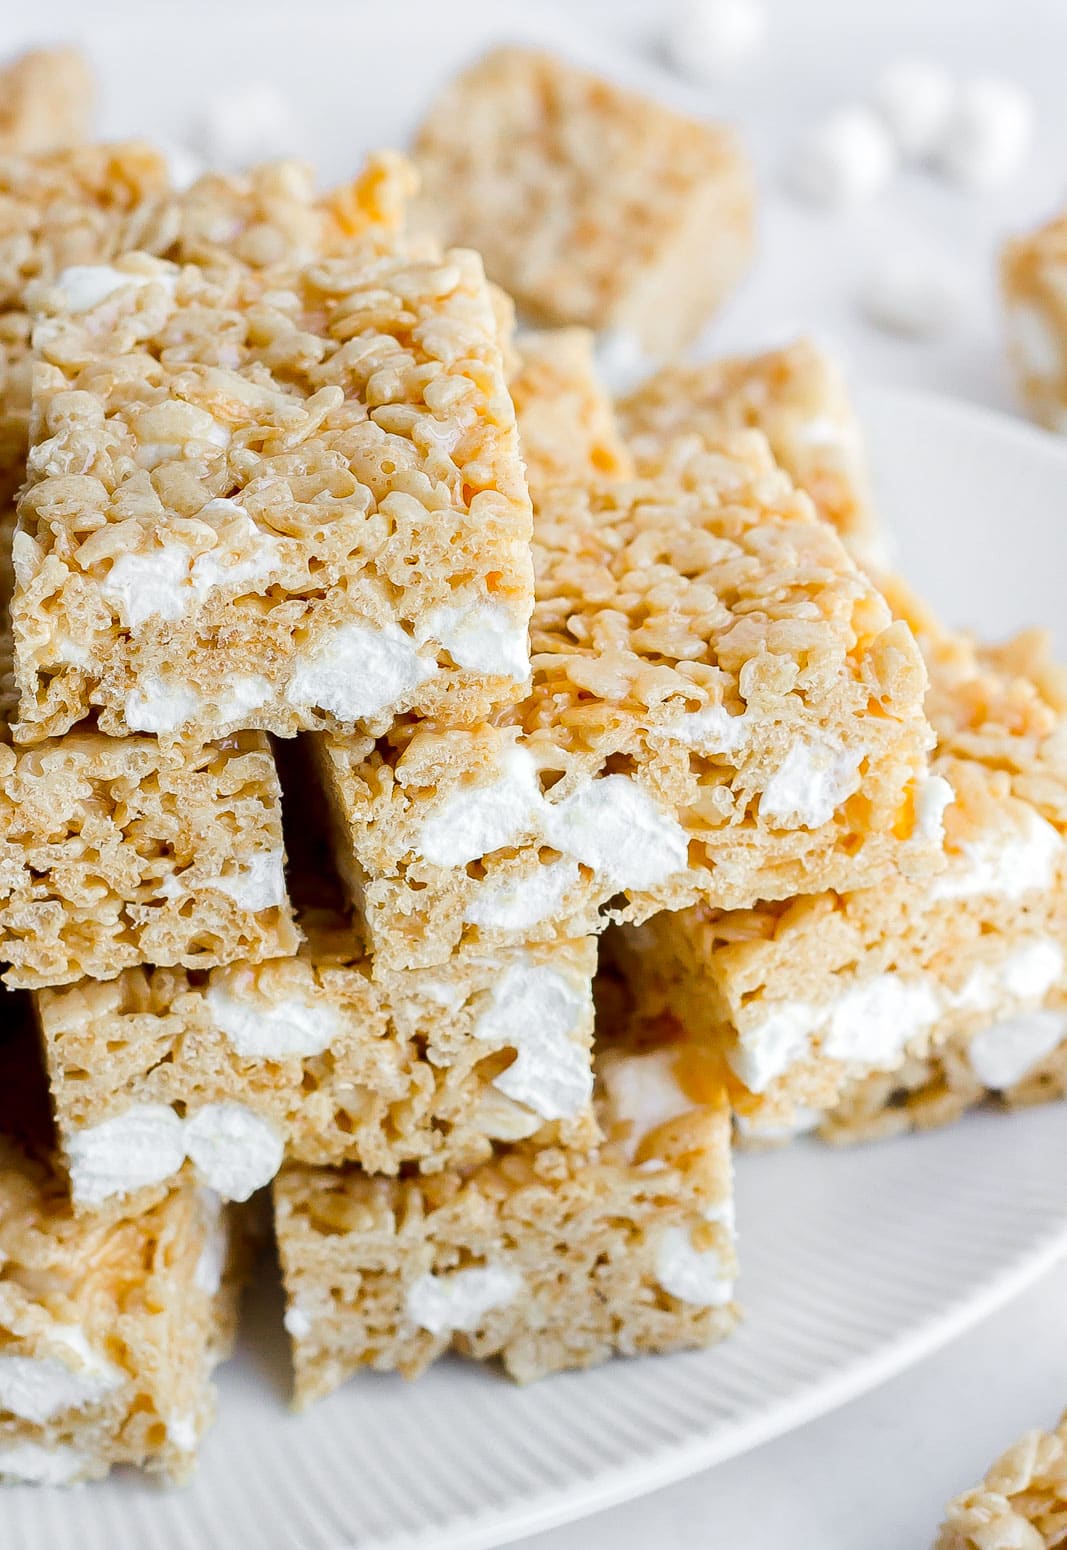
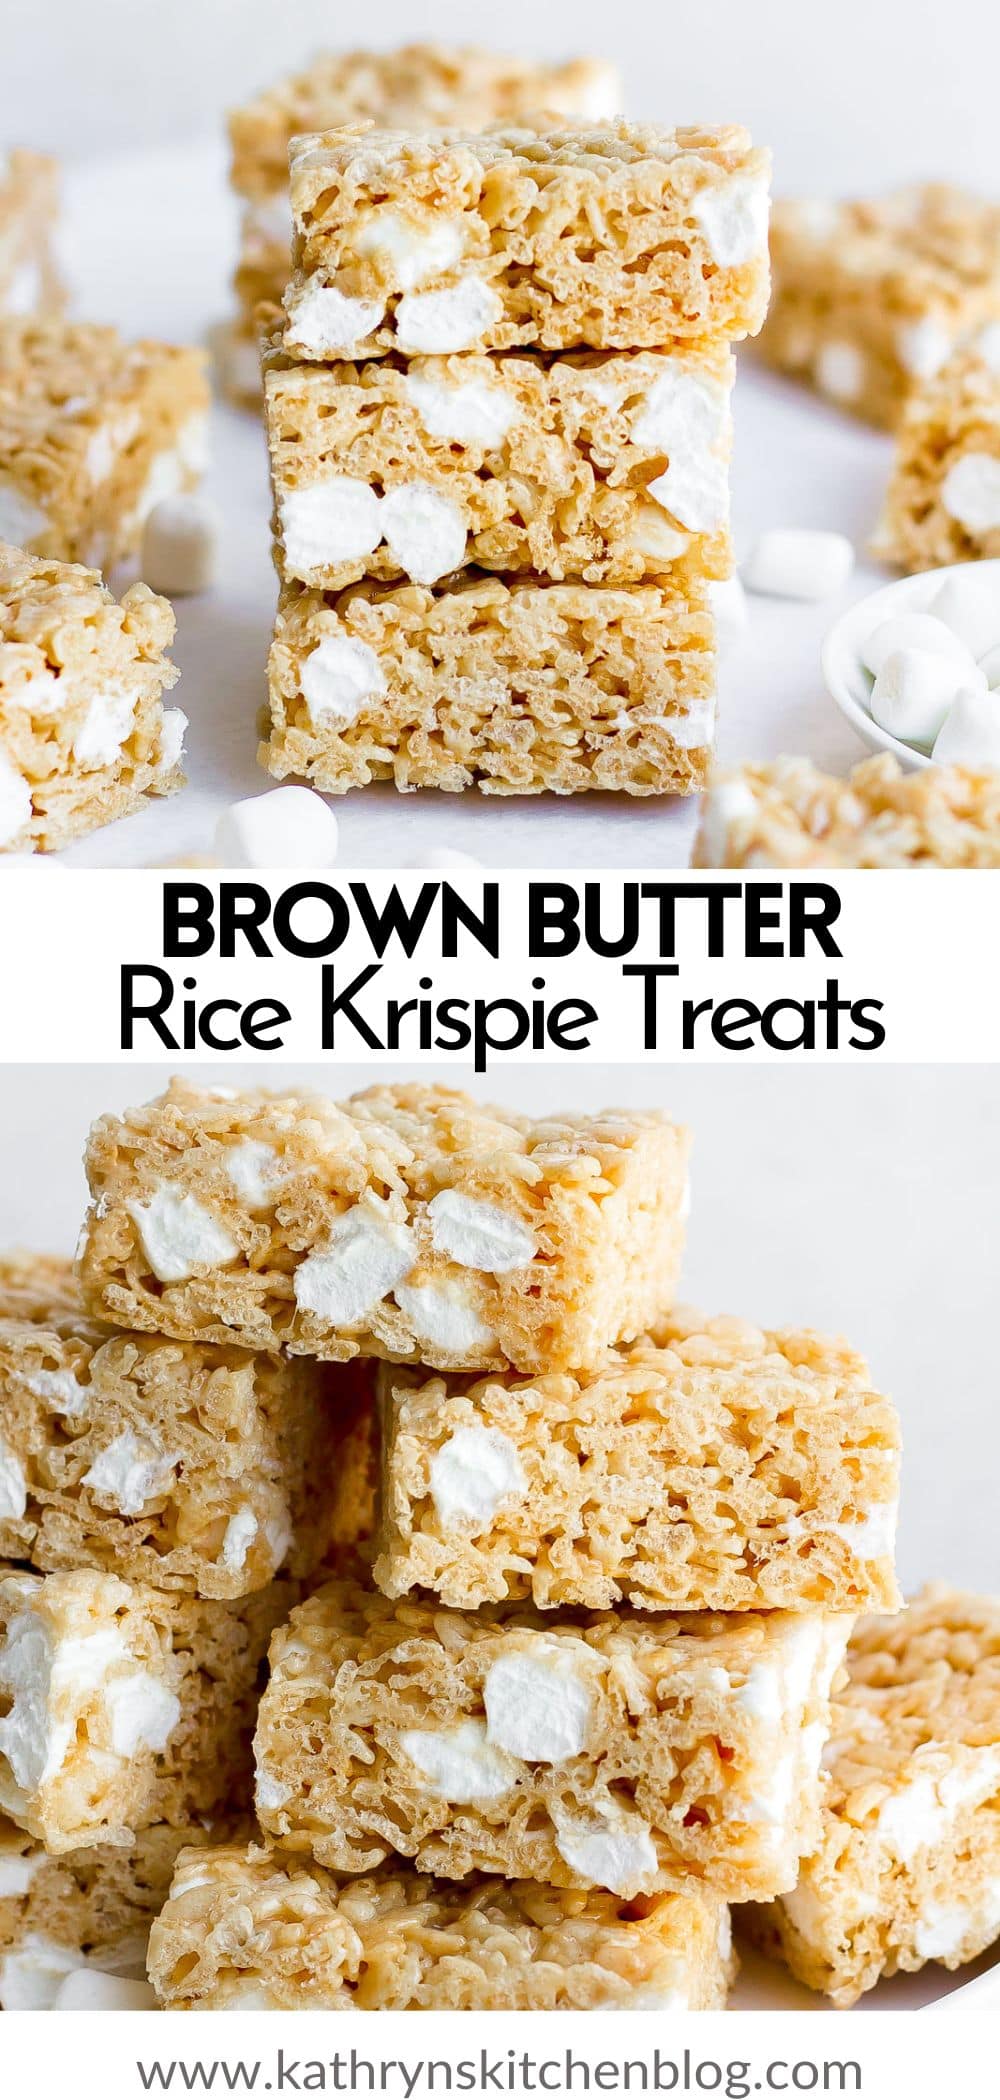
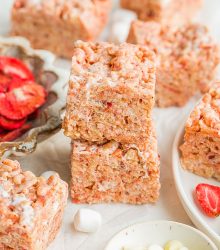
These are the BEST Brown Butter Rice Krispie Treats! They are perfectly sweetened, soft, and loaded with pockets of gooey marshmallows in every bite. The browned butter adds a delicious warm caramel-like flavor that takes these treats to the next level.
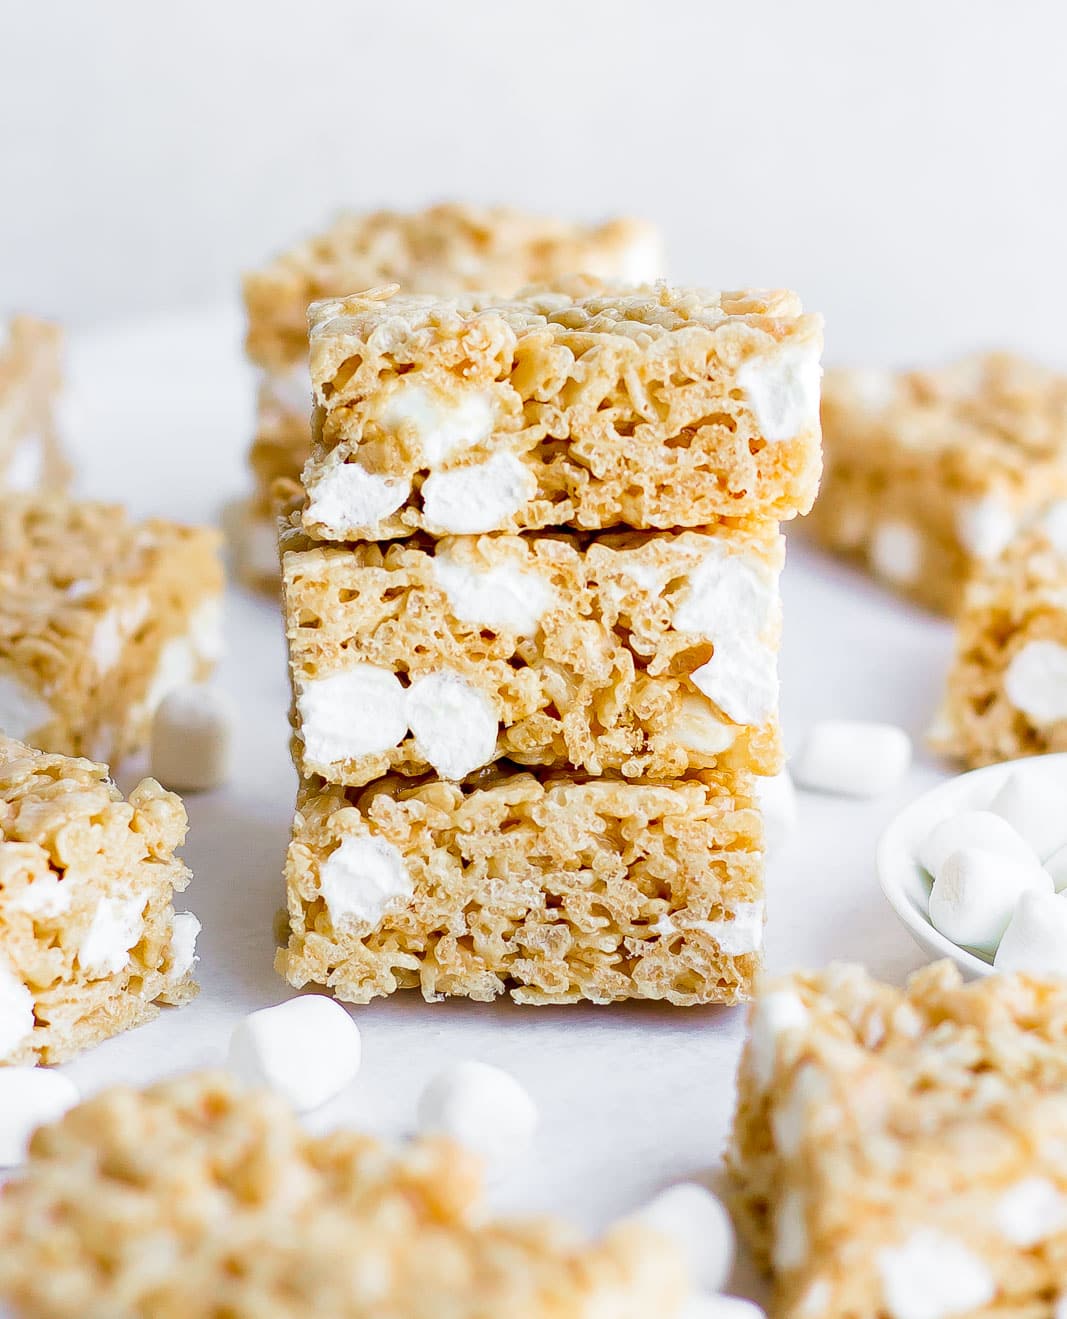
PIN these Brown Butter Rice Krispie Treats to try later!
One of my favorite treats in the world is a Rice Krispie Treat. It’s light, sweet, and coated in marshmallow goodness. What’s not to love?!
I love easy no-bake desserts especially in the summer because they are easy and require less time in the kitchen. My other go-to summer treats are S’mores Snack Mix, Berry Fruit Salad, Butterfinger Ice Cream, and Sugar Cookie Truffles.
I’m obsessed with this version because they are literally amazing. The browned butter gets melted a little longer than usual, creating a nutty aroma that adds so much flavor.
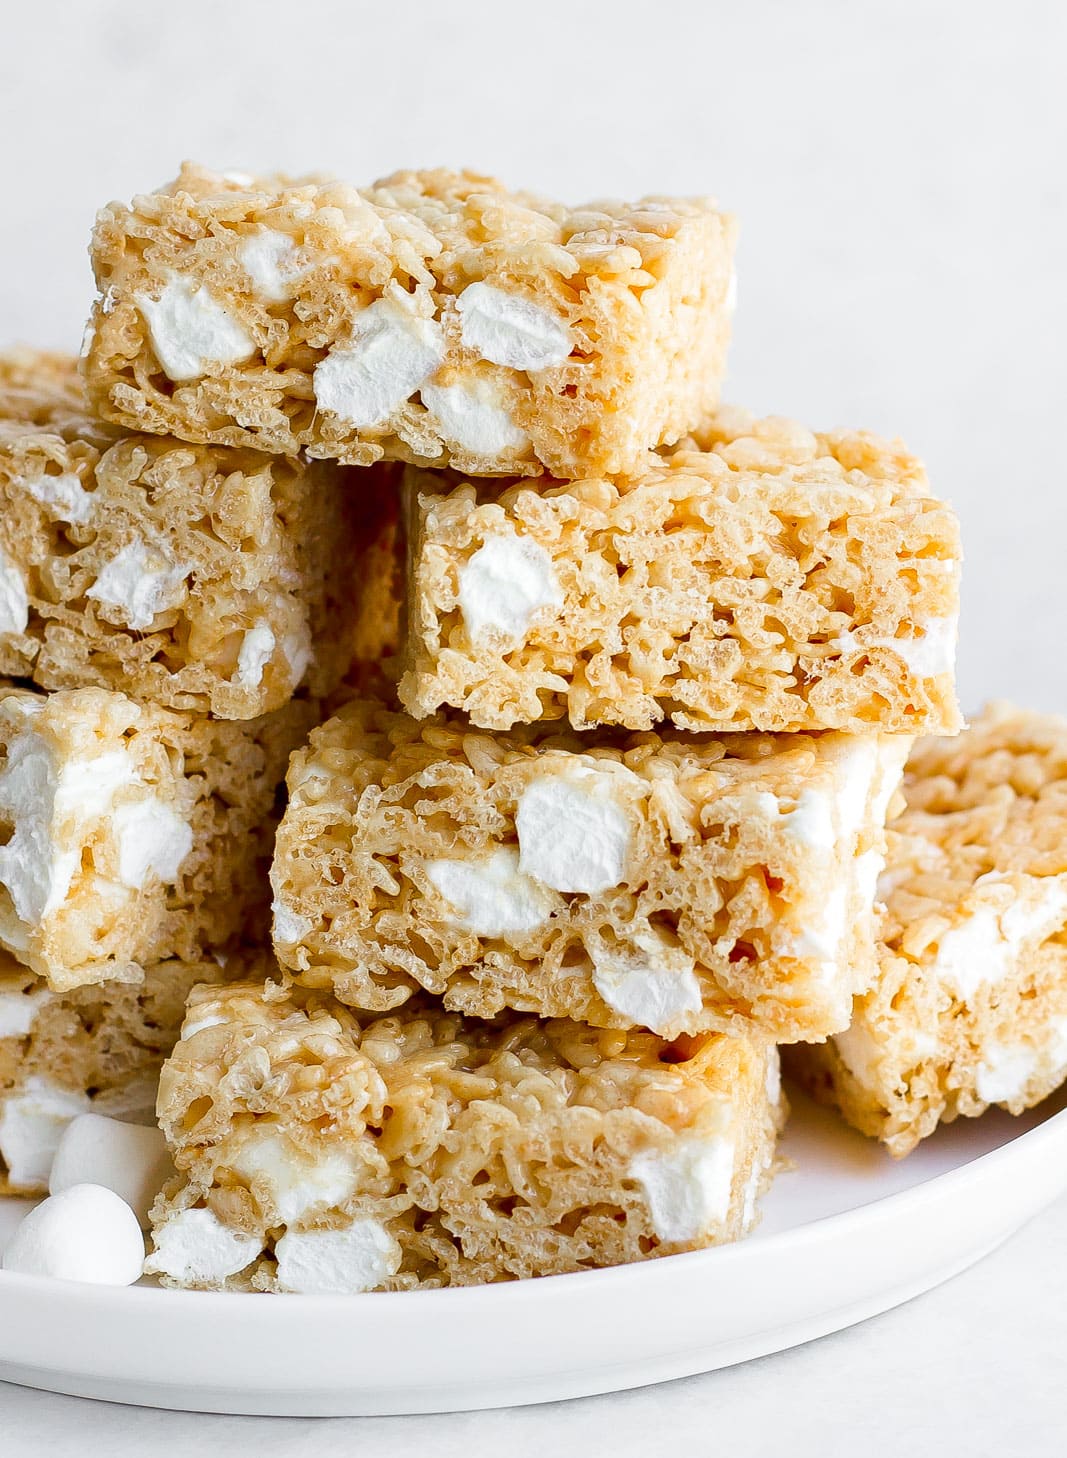
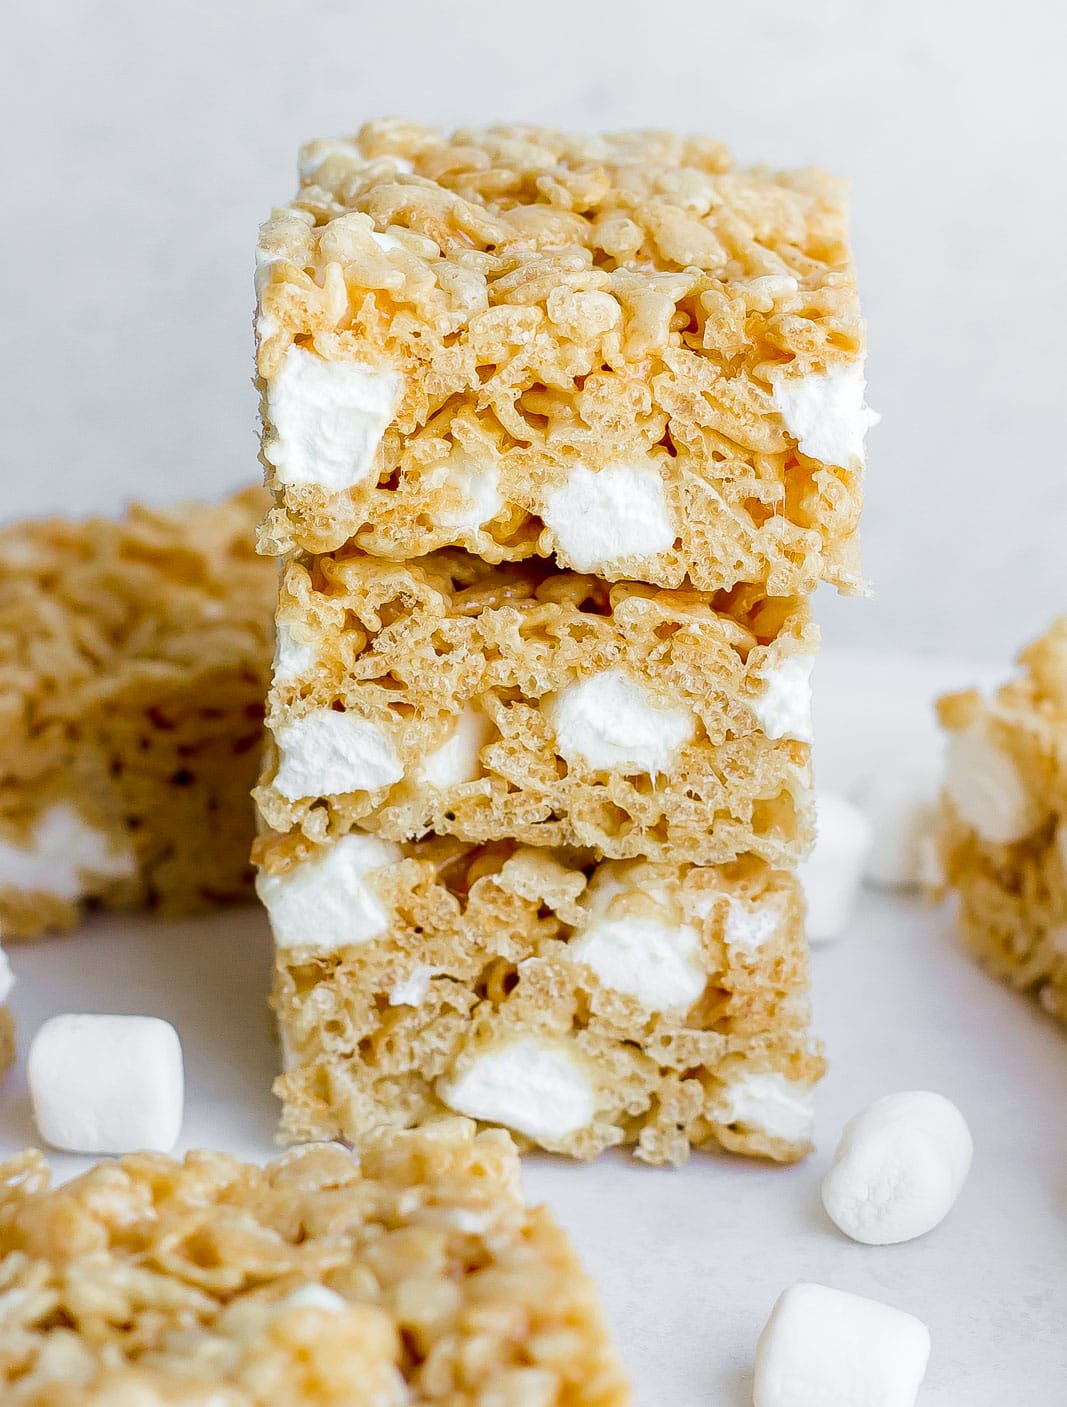
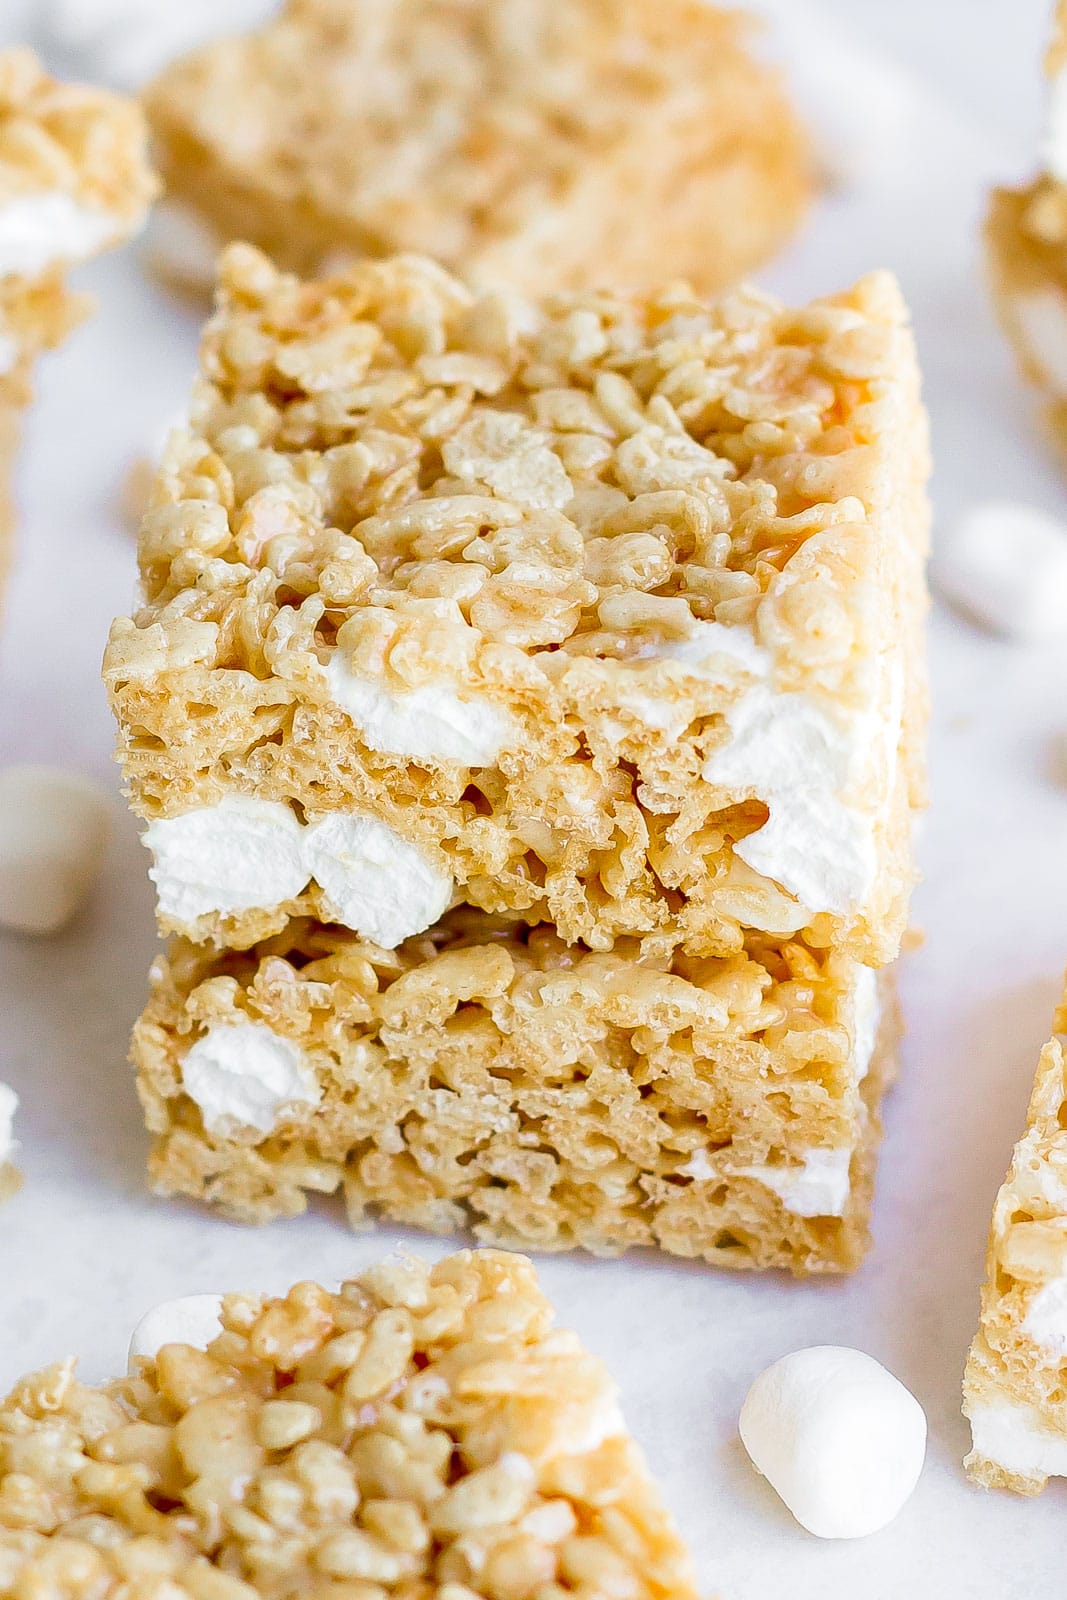
Not only are these rice krispies treats coated in a browned butter marshmallow coating, but they are also loaded with soft pockets of mini marshmallows that resembles Starbucks’ Marshmallow Dream Bar.
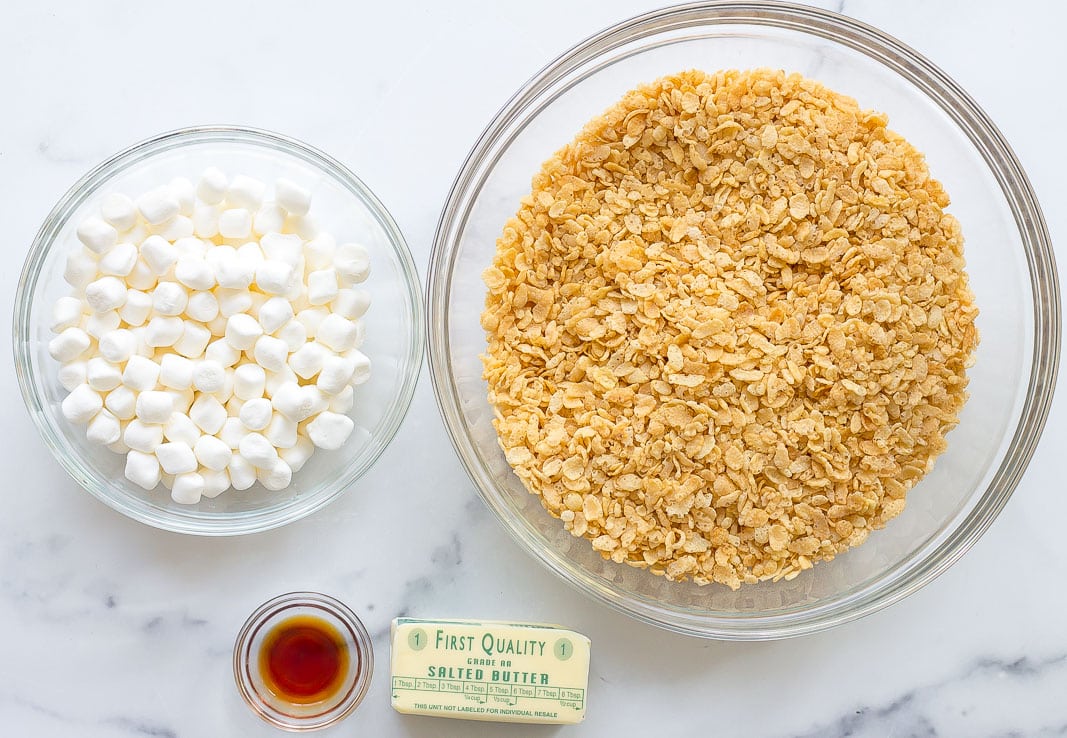
KEY INGREDIENTS
Rice Krispies or crispy rice cereal: the main ingredient and base of this recipe. Any rice krispie brand will work.
Mini marshmallows: you’ll need one full 10 ounce bag plus more to fold in in the rice krispeis. The marshmallows will melt and bind the other ingredients together. Mini marshmallows works best for this recipe as opposed to the large size.
Butter: I use salted butter to cut balance the sweetness a bit. The browned butter adds the buttery and nuttiness flavor.
Vanilla extract: adds a warm flavor and enhances the flavors of the browned butter.
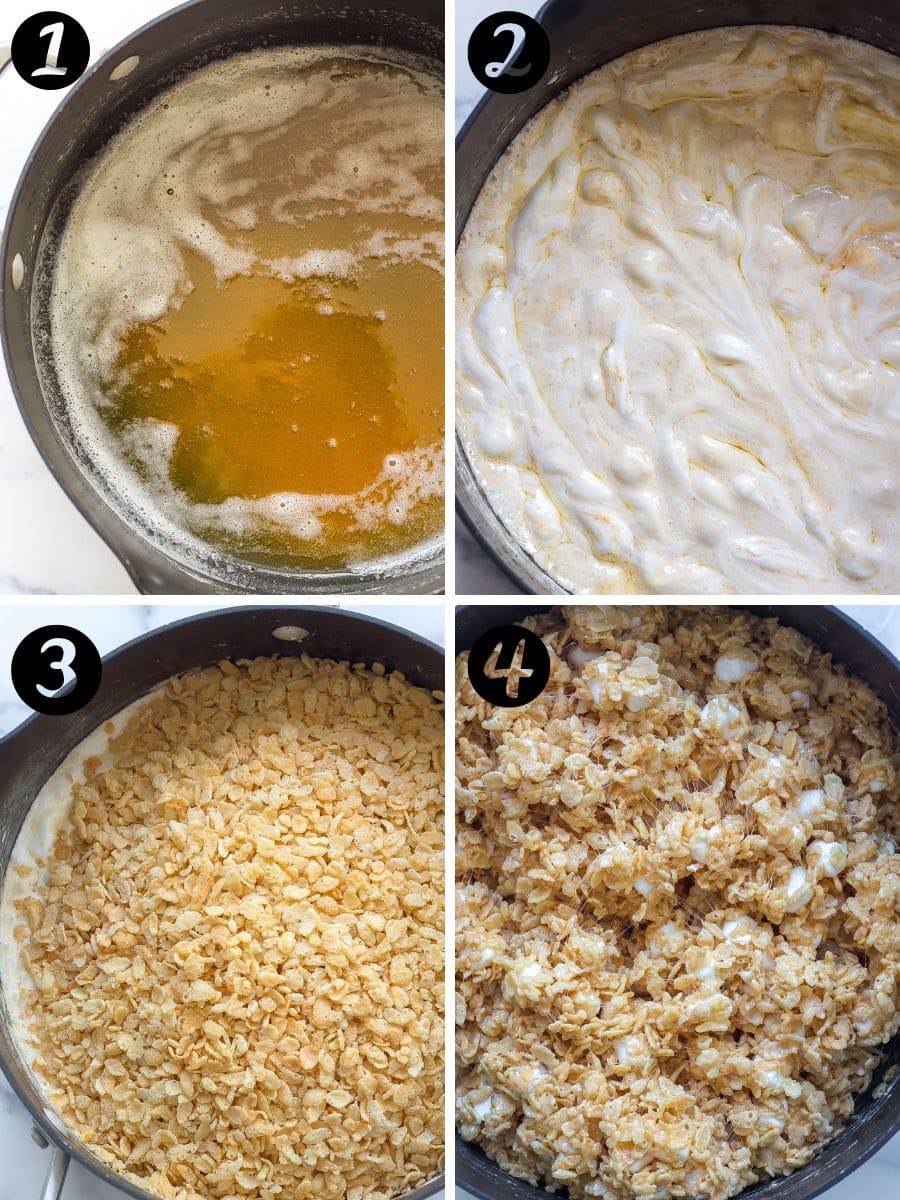
HOW TO MAKE THE BEST RICE KRISPIE TREATS
RECIPE TIPS & VARIATIONS
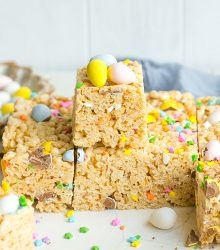
Make these treats for a birthday or celebration by adding rainbow sprinkles to the top and folding them in the cereal.
I used a 13×9 inch pan that yields 20-24 treats. If you want larger and thicker-sized treats, use an 8×8 or 9×9 inch pan instead.
Alternative cereal you can use are chocolate rice krispie cereal, Fruity Pebbles, Golden Grahams, Cheerios, or Chex cereal.
Top these treats with store-bought or homemade frosting to make these even sweeter.
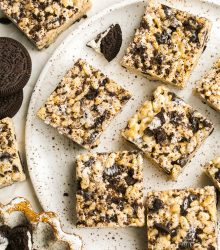
Add in M&Ms, crushed Oreos, chopped nuts, pretzels, chocolate chips, or any other of your favorites for added crunch, texture, and flavor.
Spray your hands and spatula with cooking spray or rub them with butter before you press the rice krispie mixture on into your dish. This will prevent your hands from sticking to the sticky mixture. You can also use a butter wrap to press the mixture.
WHY THIS RECIPE WORKS
The brown butter makes these even more delicious than the original recipe. The warm buttery, caramel, and nuttiness adds so much depth to the flavor.
These are everything you dream about in a Rice Krispie Treat, they are super gooey, soft, light, airy, and easy to make.
Extra marshmallows! In addition to the 1 bag of marshmallows, I add an extra 2 cups so these are extra chewy and packed with marshmallow goodness.
You can make these for just about any occasion, holiday, or any party. They make the best dessert and can (and should be) made year round.
FAQs
ARE RICE KRISPIE TREATS GLUTEN-FREE?
Although rice is gluten-free, some of the manufacturers make their crispy rice cereal with malt which contains gluten. If you want to make these gluten-free, be to check the cereal packaging.
CAN YOU FREEZE RICE KRISPIE TREATS?
Yes you can! However, it can cause them to be less soft and gooey so I do not recommend it.
Place cooled treats in an airtight container and layer with wax or parchment paper to prevent them from sticking.
Be sure to let the treats sit out at room temperature for at least 15 minutes or until softened before serving again. Store for up to 1 month.
WHAT IS BROWN BUTTER?
It’s exactly how it sounds, butter that has been browned on the stovetop until the milk solids brown and turn into a toasted caramel, nutty flavor.
Some of the water evaporates once you brown the butter so it has a lower water content than regular melted butter.
CAN I USE REGULAR BUTTER INSTEAD?
If you want to skip the brown butter step you totally can. Just use regular melted butter instead.
LEFTOVERS & STORAGE
To-store on counter: place leftovers in an airtight container or cover a plate tightly with plastic wrap. They will store for up to 4-5 days without tasting stale. You can also store in a large ziplock bag.
To-store in fridge: these treats will last a bit longer if you store them in the refrigerator. They will store well for up to 1 week. Be sure to let sit out for at least 30 minutes because they will become hard.
OTHER NO-BAKE DESSERT RECIPES
- Chocolate Dipped Peanut Butter Stuffed Pretzels
- Chocolate Peppermint Grahams
- High Protein Rice Krispie Treats
- Oreo Cookie Truffles
- Mummy Rice Krispies Treats
- Cinnamon Toast Crunch Cereal Bars
- Lucky Charms Rice Krispie Treats
- Oreo Rice Krispie Treats
- Fruity Pebbles Marshmallow Treats
CAN’T GET ENOUGH
Subscribe and I’ll send all my newest and FREE recipes to your inbox! You can also keep up with me on Pinterest, Instagram, and Facebook. If you make this recipe, please let me know how it turned out! Leave a comment below and share a picture on Instagram so I can see and feature you!
Browned Butter Rice Krispie Treats
Ingredients
- 10.5 ounce bag mini marshmallows plus 2 cups
- 1/2 cup salted butter
- 3/4 teaspooon vanilla extract
- 6 cups Rice Krispies or crispy rice cereal
Instructions
- Line a 13×9 inch pan with foil or parchment paper and grease with butter or nonstick cooking spray. Bring a large pot or stock pot to medium-low heat and add butter and melt.
- Reduce the heat to low and stir continuously or swirl around as the butter will go from light yellow, to a golden medium brown (this will go quickly once melted). It will take about 6-8 minutes for the butter to brown.
- The butter will foam and you will start to smell a nuttiness aroma. Little bites of golden brown specks will appear on the bottom of the pan and you will have brown butter.
- Add the marshmallows and stir until melted, then add vanilla extract.
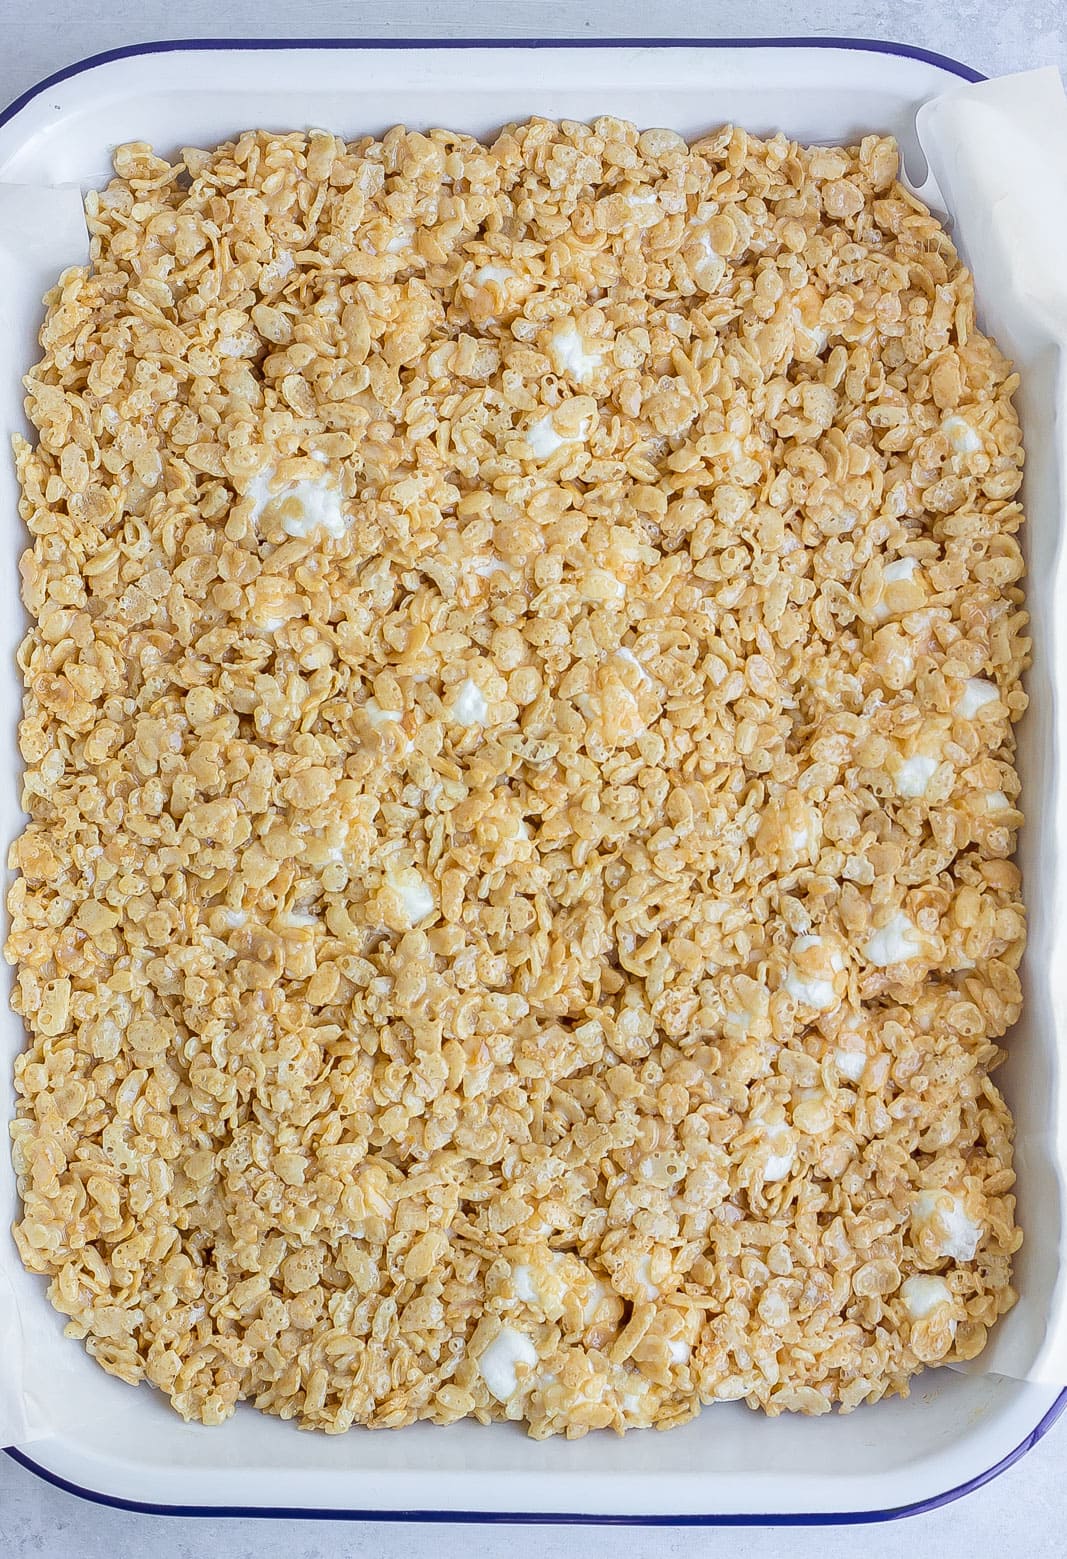
- Remove the pot from heat and stir in the rice krispie cereal until the marshmallow mixture completely coats the cereal.
- Stir in the remaining 2 cups of marshmallows until evenly distributed.
- Add the mixture to the prepared 13×9 inch pan and gently press the mixture into the pan. Make sure you don't press too hard otherwise your treats will be too dense and hard.
- Let rest for 30-60minutes and slice into squares. Enjoy!
Notes
- Leftovers (To-store on counter): place leftovers in an airtight container or cover a plate tightly with plastic wrap. They will store for up to 4-5 days without tasting stale. You can also store in a large ziplock bag.
- Leftovers (To-store in fridge): these treats will last a bit longer if you store them in the refrigerator. They will store well for up to 1 week. Be sure to let sit out for at least 30 minutes because they will become hard.
- Make these treats for a birthday or celebration by adding rainbow sprinkles to the top and folding them in the cereal.
- I used a 13×9 inch pan that yields 20-24 treats. If you want larger and thicker-sized treats, use an 8×8 or 9×9 inch pan instead.
- Alternative cereal you can use are chocolate rice krispie cereal, Fruity Pebbles, Golden Grahams, Cheerios, or Chex cereal.
- Top these treats with store-bought or homemade frosting to make these even sweeter.
- Add in M&Ms, crushed Oreos, chopped nuts, pretzels, chocolate chips, or any other of your favorites for added crunch, texture, and flavor.




Delicious treat! Easy to make, and I love the notes of toffee from brown butter!
Thanks so much! SO glad you loved them!
What an upgrade to the regular treats in flavors I will always make them like this now!
So happy to hear that!
What a fantastic idea to give these childhood classics an updated makeover with brown butter. I can’t believe I have not yet tried this…rice treats are a perfect summer treat too!
I love that they are no-bake! I hope you love them 🙂
The nutty brown butter flavor just took these to the next level. Delicious. Will never make them another way!
So glad you agree and feel the same way!
My family is going to love this! Thank you for this amazing recipe.
I sure hope they do! Thank you!
I’ve made this recipe quite a few times and it’s always a huge hit. I’m making some again today to share with the ladies at book club later. Thanks for posting
Hey Becca! That is so great to hear! These rice krispie treats are one of our favorites and I’m so glad you loved them! Thanks for the review! 🙂