Strawberry Rice Krispie Treats


As an Amazon Associate, I earn from qualifying purchases. Read the full disclosure here.
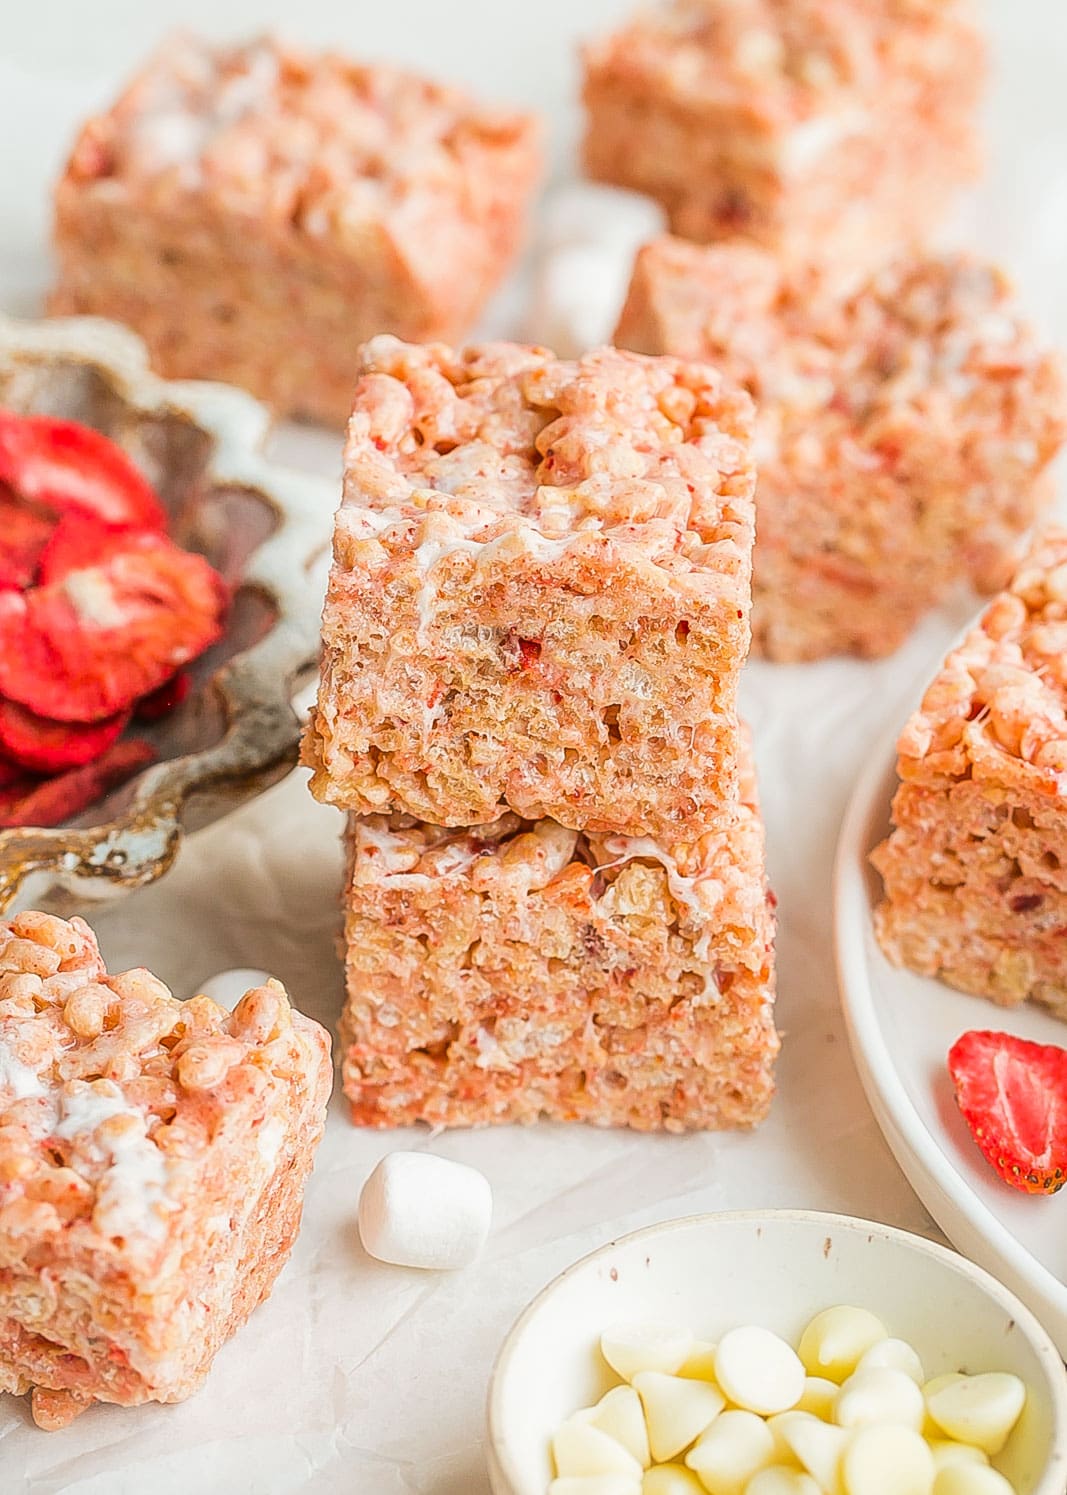
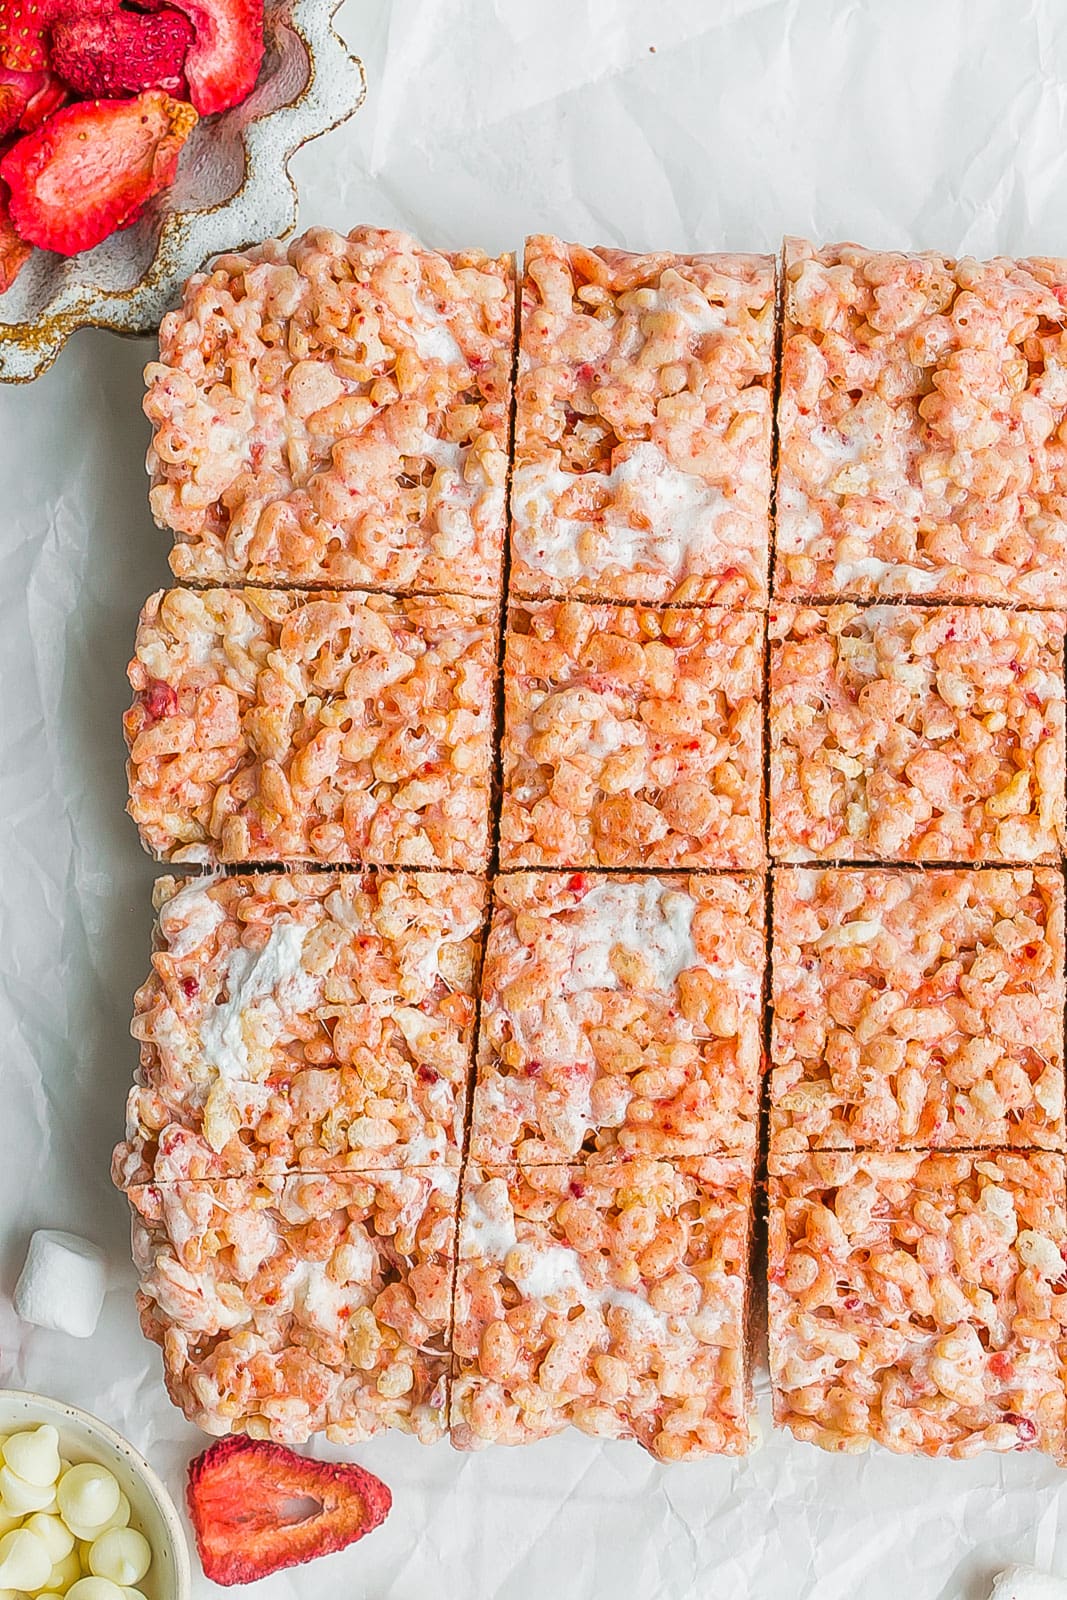
Strawberry Rice Krispie Treats are loaded with gooey marshmallows, crispy rice cereal, and has fruity strawberry flavor in each bite! Perfect for Valentine’s Day, school lunch boxes, parties, and more!
PIN these Strawberry Rice Krispie Treats to try later!
Strawberry Rice Krispie Treats
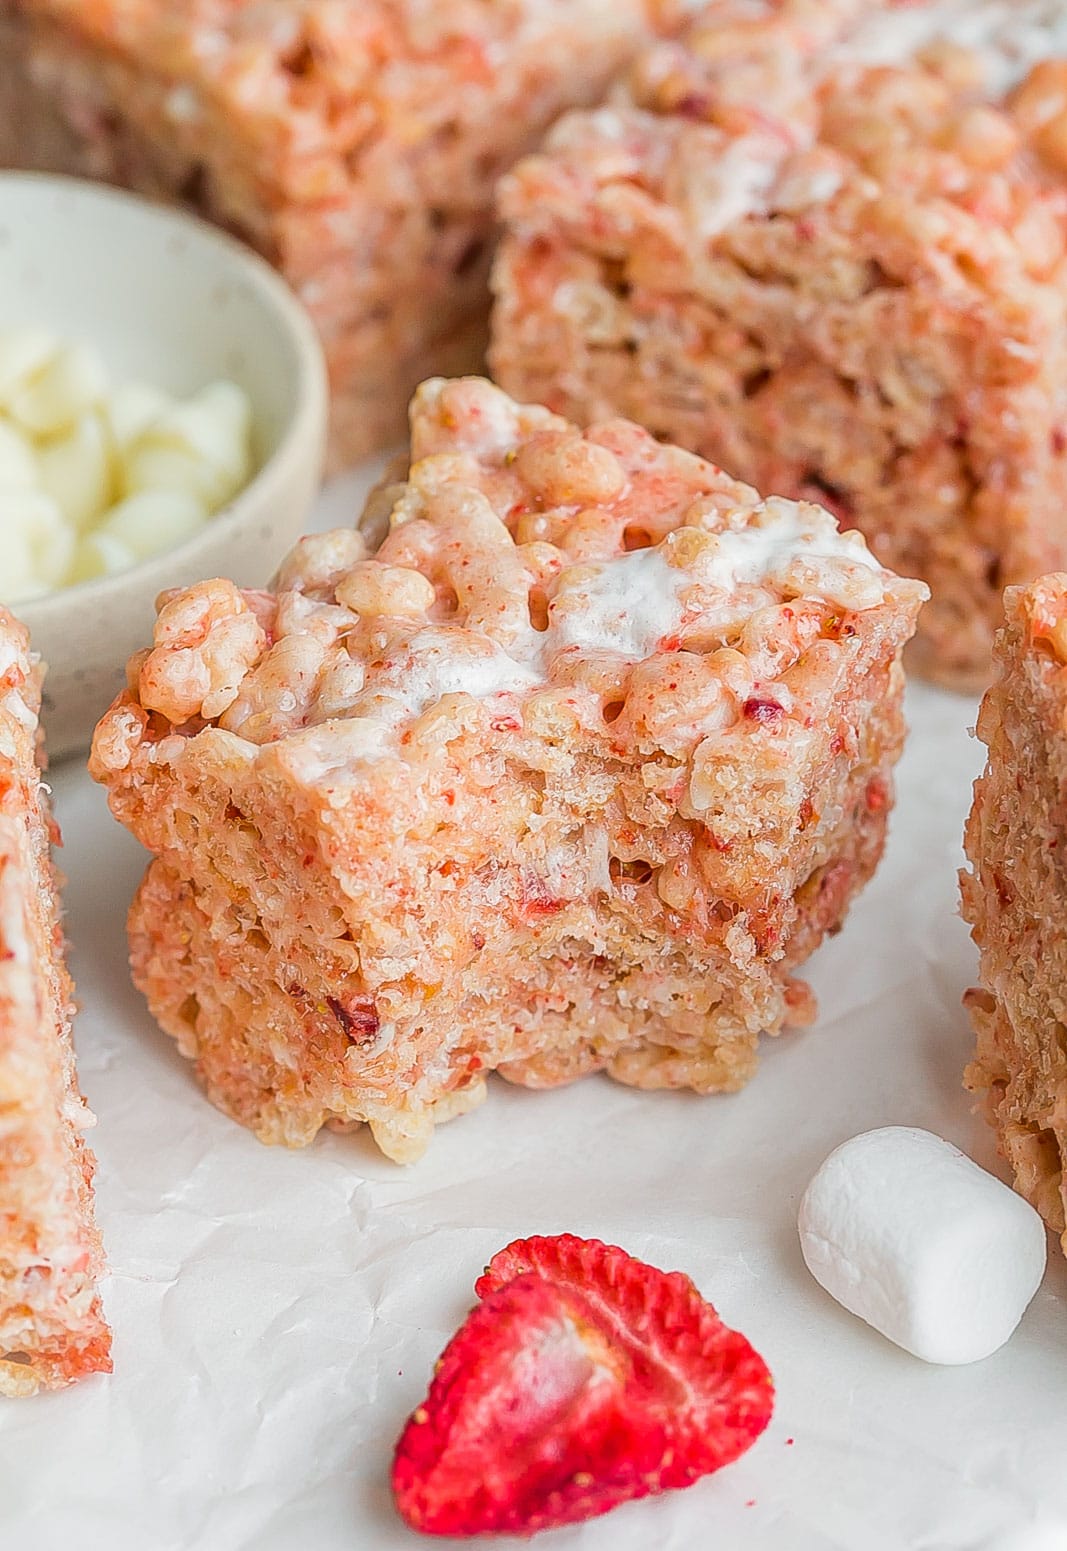
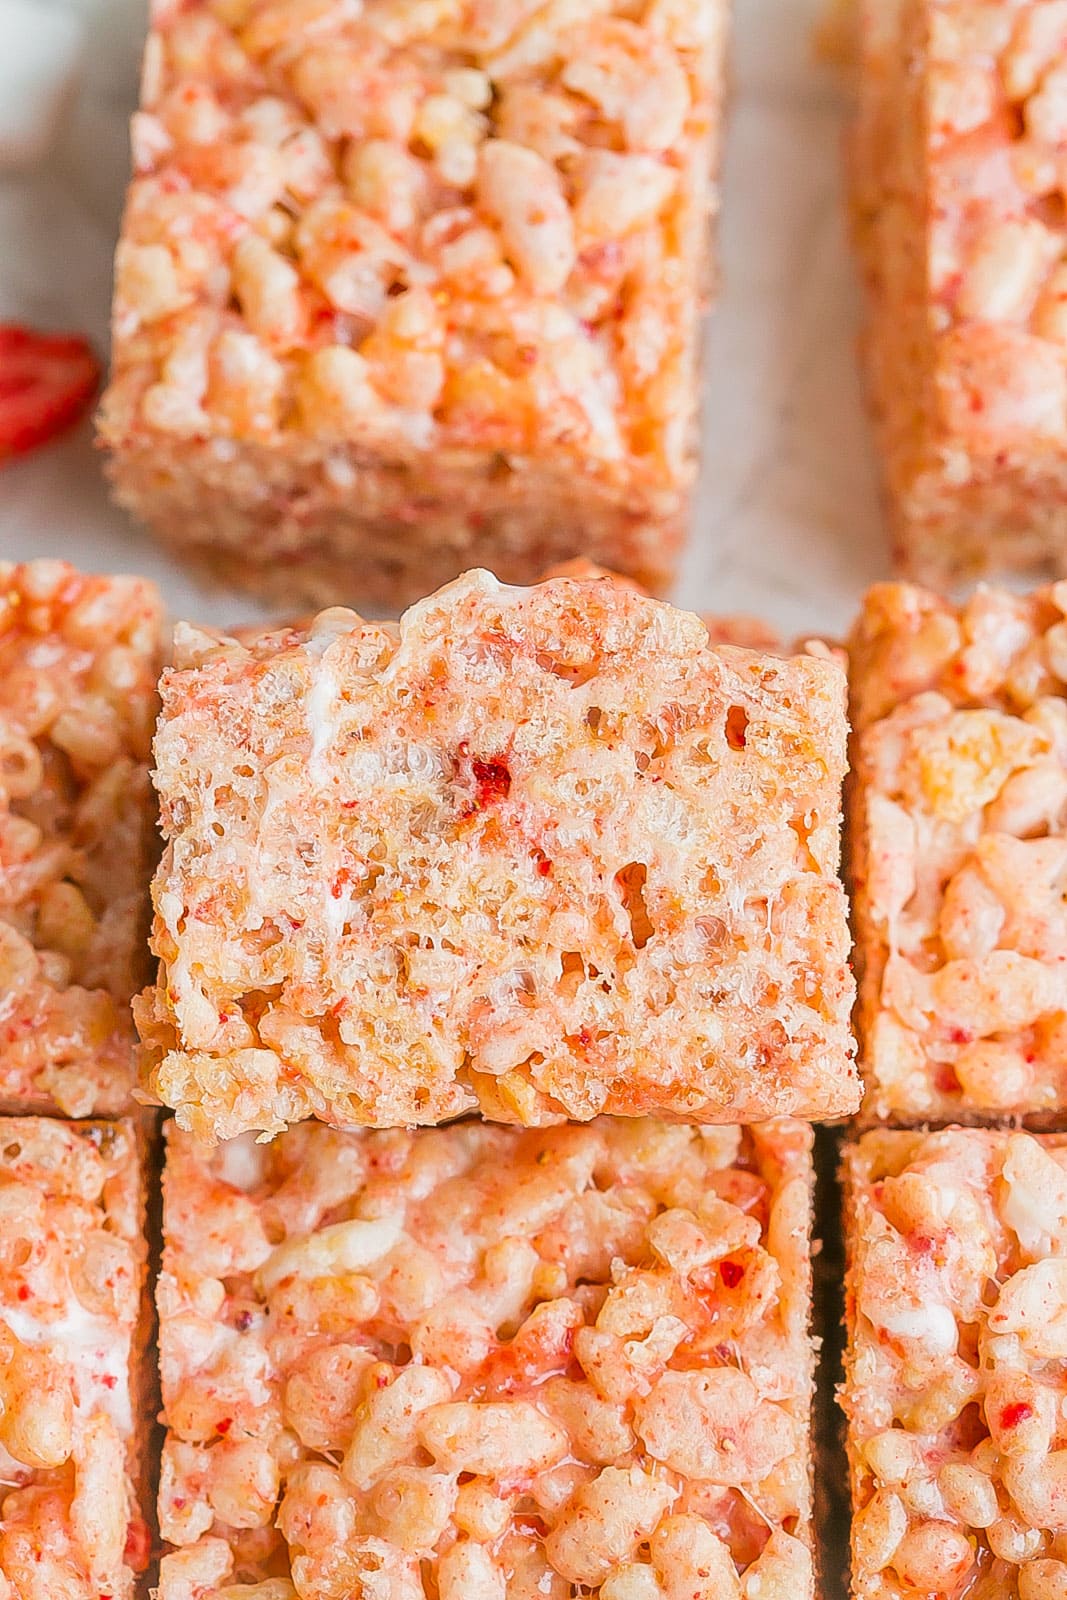
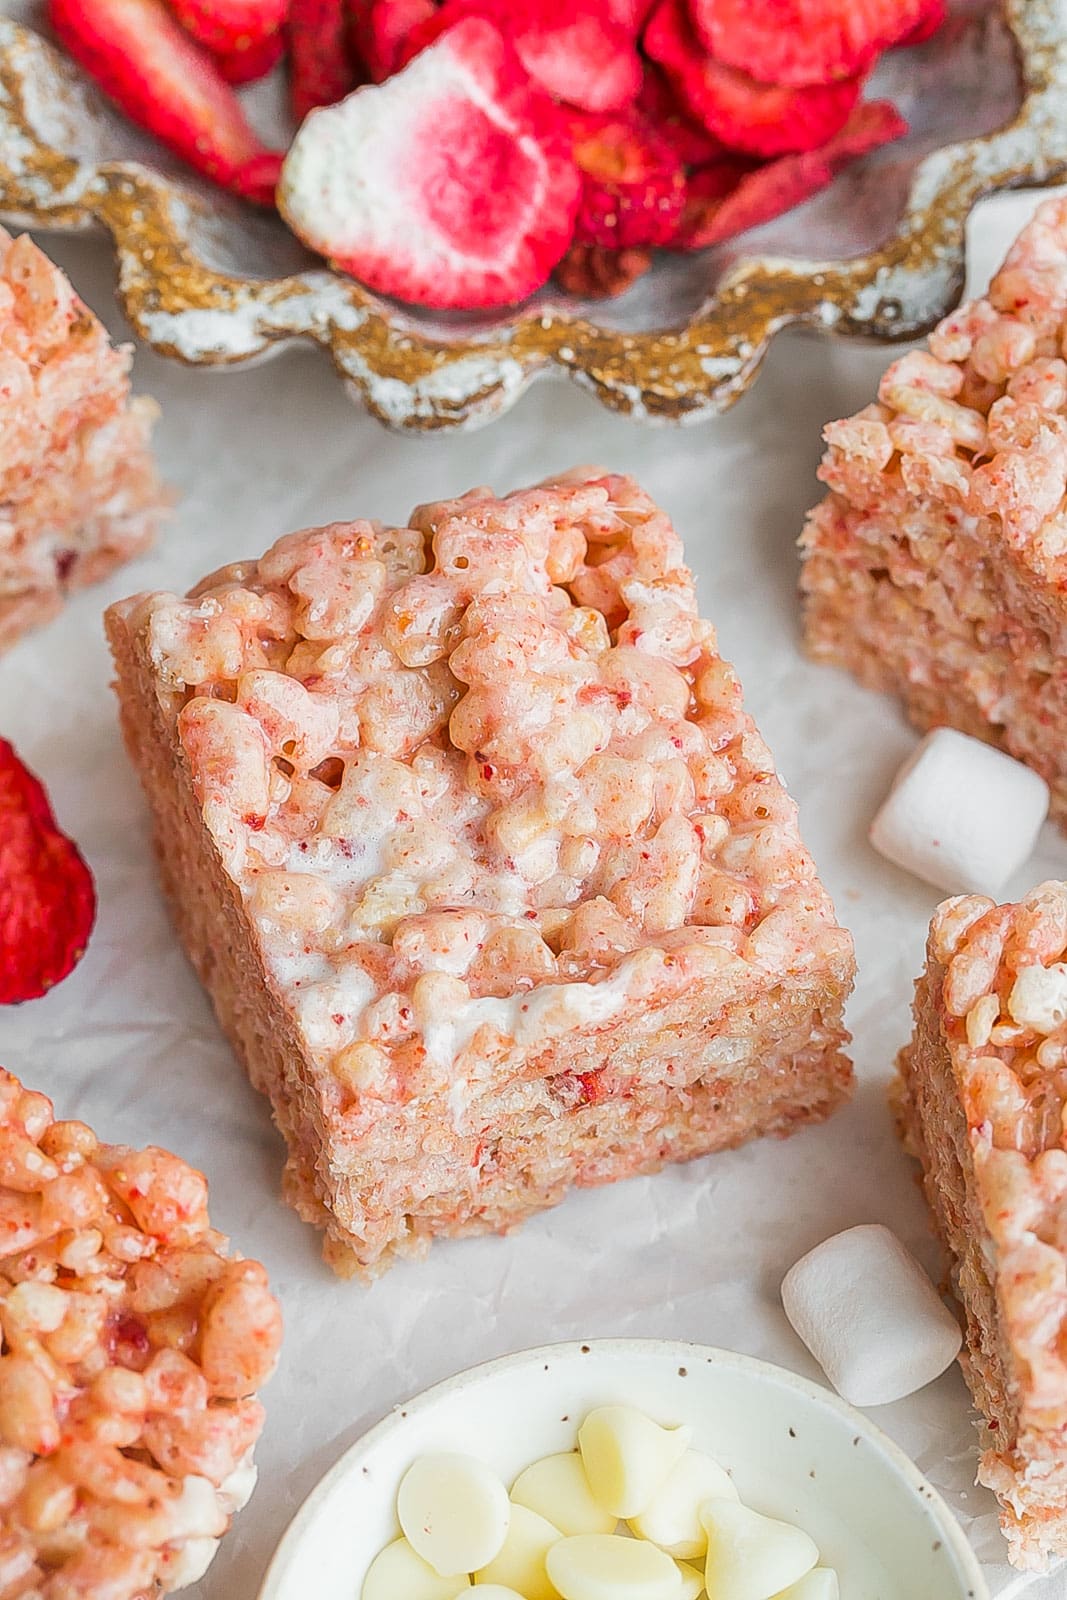
Strawberry Rice Krispies treats are loaded with crunchy rice cereal, pockets of soft gooey marshmallows, white chocolate chips, and bursting with strawberry flavor. These cereal treats are fun for just about any occasion, any time of the year.
Similar to Classic Rice Krispies except the only extra ingredient in these are…STRAWBERRIES! We use freeze-dried strawberries instead of fresh strawberries to give these treats the perfect texture and flavor. Fresh berries won’t do the same but you can serve them on the side for extra fruit flavor.
Why You’ll Love This Recipe
- Easy recipe: This no-bake dessert only takes minutes to whip these up and you need a handful of ingredients.
- A fun fruit twist on the classic cereal treat recipe: It’s always fun to switch things up and you can’t go wrong by adding sweet strawberries to this pink treat.
- Perfect for any occasion: Enjoy these treats as a snack, dessert, pack them in lunch boxes, Valentine’s Day, parties, picnics, or potlucks.
- Extra marshmallows: In addition to the 1 bag of marshmallows, I add an extra 2 cups so these are extra chewy and packed with marshmallow goodness.
- Natural flavors: We use real strawberries that are freeze dried so there are natural strawberry flavors in these treats. Alternatively, you could use strawberry gelatin but freeze-dried strawberries taste better in my opinion.
Key Ingredients
Mini marshmallows: you’ll need one full 10 ounce bag plus more to fold in in the rice krispeis. The marshmallows will melt and bind the other ingredients together. Mini marshmallows works best for this recipe as opposed to the large marshmallows.
Butter: I use salted butter to cut balance the sweetness a bit.
Rice Krispies cereal or crispy rice cereal: the base of this recipe. Any crispy rice cereal brand will work.
Vanilla extract: adds a warm flavor and enhances the flavors of the browned butter.
Freeze-dried strawberries (the star secret ingredient): adds the sweet and tangy strawberry flavor. Freeze-dried strawberries work best as apposed to fresh real strawberries because they don’t contain any moisture. It’s best to put the freeze-dried strawberries in a food processor to make a strawberry powder.
White chocolate chips: adds just the right about of sweetness and makes these taste similar to a strawberry shortcake. The chips will melt once they are combined into the mixture making them extra gooey and soft.
How To Make Strawberry Rice Krispie Treats
Prepare square pan: Line a 9×9 inch pan with foil or parchment paper and grease with butter or nonstick cooking spray.
Make strawberry marshmallow mixture: Bring a large saucepan, large pot, or stock pot to low heat. Add butter and melt. Then add the 6 cups of mini marshmallows and stir until melted. Add vanilla extract and freeze dried strawberry powder. Stir again until the ingredients are completely combined and melted together.
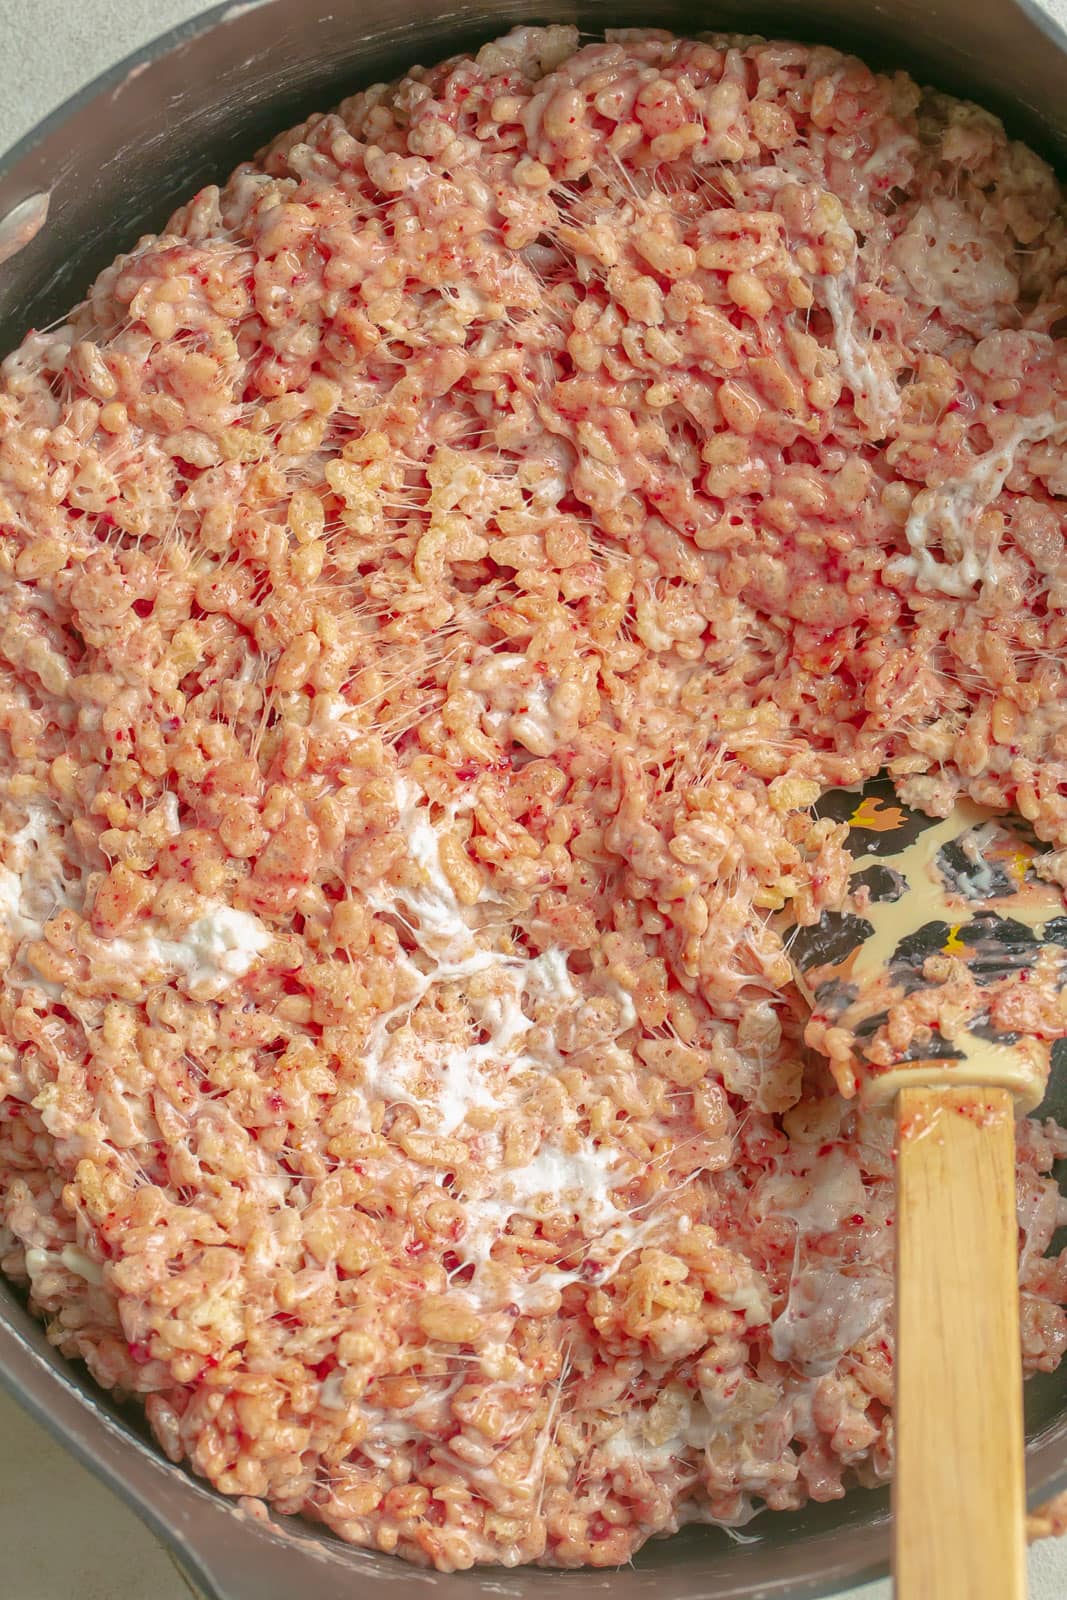
Add in cereal: Remove the pot from heat and stir in the rice krispie cereal until the marshmallow mixture completely coats the cereal. Stir in the remaining 2 cups of marshmallows and white chocolate chips until evenly distributed.
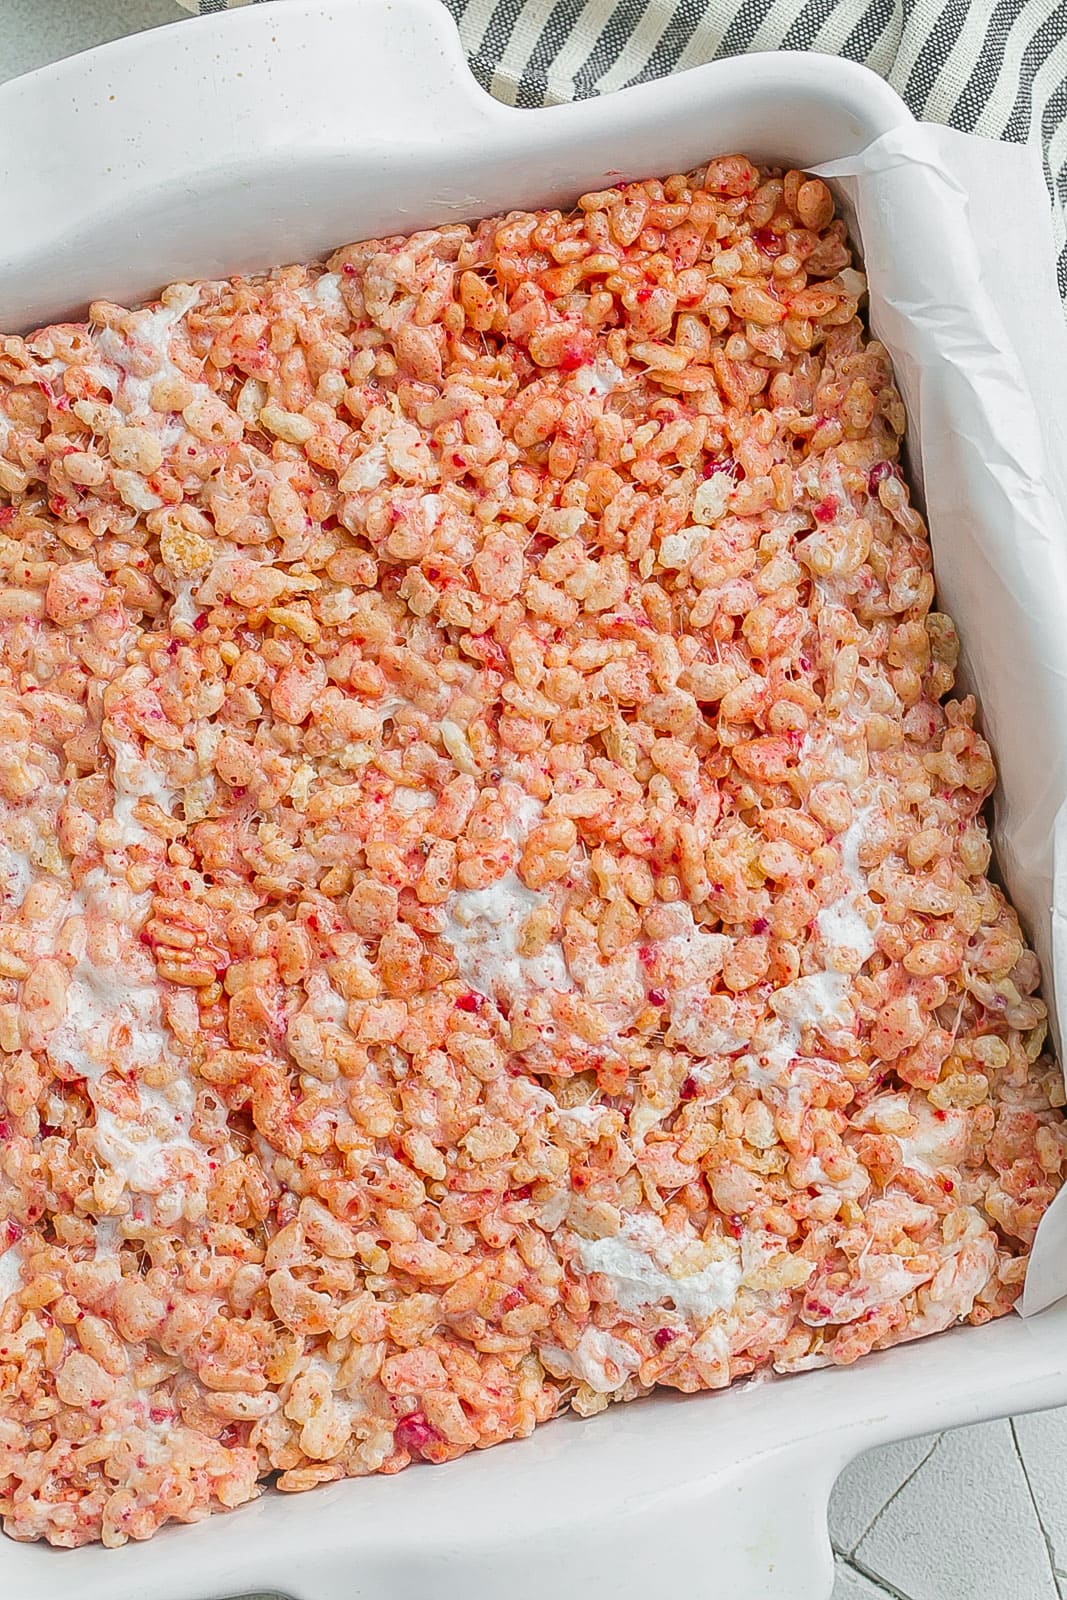
Add to pan: Add the mixture to the prepared pan and gently press the mixture into the pan. Make sure you don’t press too hard otherwise your treats will be too dense and hard. Let sit for 30-60 minutes, slice into 16 squares and enjoy!
Recipe Tips & Variations
Topping Ideas: These treats are delicious just as they are but if you wanted to make them extra special you could add sprinkles, frosting, a drizzle of melted chocolate, or more freeze-dried strawberries.
Alternative cereal: You can use are chocolate rice krispie cereal, Fruity Pebbles, Cheerios, or Chex cereal.
Add-Ins: Red and pink M&Ms (for a Valentine’s Day treat), chopped nuts, chopped dried fruits, pretzels, milk chocolate chips, or any other of your favorites for added crunch, texture, and flavor.
Spray your hands or rubber spatula: Use either cooking spray or rub them with butter before you press the rice krispie mixture on into your dish. This will prevent your hands from sticking to the sticky mixture. You can also use a butter wrap to press the mixture.
Marshmallow tips: Be sure to use melt the marshmallows on LOW heat to insure they stay soft and will make the treats fluffy. Only use fresh marshmallows- stale marshmallows won’t make these treats as gooey.
Treat size: I use a 8×8 or 9×9 inch pan because I love the thicker sized treats, but you can also use a 13×9 inch pan to yield 20-24 treats.
Brown the butter: If you’ve ever had Brown Butter Rice Krispie Treats, you already know how amazing they are. Follow the steps in this recipe to brown the butter first before adding the marshmallows. This will add a rich, caramel, nuttiness flavor to your treats.
Heart shaped: Use a heart shaped cookie cutter and cut the treats into heart shapes for the cutest Valentine’s Day treats. Put them o on a lollipop stick to make them into Rice Krispie pops!
FAQs
Are Rice Krispie Treats Gluten-Free?
Although rice is gluten-free, some of the manufacturers make their crispy rice cereal with malt which contains gluten. If you want to make these gluten-free, be to check the cereal packaging.
Can You Freeze Rice Krispie Treats?
Yes you can! However, it can cause them to be less soft and gooey so I do not recommend it.
How To Make Strawberry Powder?
Add freeze-dried strawberries to a small food processor or blender and blend until a powder-like consistency forms. If you want chunks of strawberries in your treats, chop them by hand with a sharp knife.

Leftovers & Storage
To-store on counter: Place leftover rice krispie treats in an airtight container or cover a plate tightly with plastic wrap. If you need to layer the bars, I recommend placing a piece of parchment paper or wax paper in between each layer. They will store for up to 4-5 days without tasting stale. You can also store in a large ziplock bag.
To-store in the refrigerator: These treats will last a bit longer if you store them in the refrigerator. They will store well for up to 1 week. Be sure to let sit out for at least 30 minutes because they will become hard.
More Rice Krispie Treat Recipes
- Cinnamon Toast Crunch Cereal Bars
- Lucky Charms Rice Krispie Treats
- Cinnamon Toast Crunch Treats
- Browned Butter Rice Krispie Treats
- Birthday Cake Rice Krispie Treats
- Chex Rice Treats
- Fruity Pebbles Marshmallow Treats
Other Strawberry Desserts
- Strawberry Cream Cheese Cookies
- Strawberry Brownies
- Easy Strawberry Muffins
- Healthy Strawberry Ice Cream
- Fruit Pizza Cookies
- Strawberry Shortcake Smoothie
NEVER MISS A RECIPE
Join thousands of subscribers & get
easy recipes via email for FREE!
Want to be Featured?
If you make this recipe, please let me know how it turned out…
Kathryn’s Kitchen Blog
Easy, simple, and delicious recipes anyone can make. Click the button below so you don’t miss any recipes!
Strawberry Rice Krispie Treats
Ingredients
- 6 tablespoons salted butter
- 6 cups mini marshmallows plus 2 cups
- 1/2 teaspoon vanilla extract
- 1/4 cup freeze-dried strawberries (about a 1.2 ounce bag) finely chopped or blended in a food processor
- 6 cups rice krispies or crispy rice ceral
- 1 cup white chocolate chips
Instructions
- Line a 9×9 inch pan with foil or parchment paper and grease with butter or nonstick cooking spray.
- Bring a large pot or stock pot to low heat. Add butter and melt. Add the 6 cups of mini marshmallows and stir until melted. Add vanilla extract and freeze dried strawberries. Stir again until the ingredients are completely combined and melted together.
- Remove the pot from heat and stir in the rice krispie cereal until the marshmallow mixture completely coats the cereal. Stir in the remaining 1 cup of marshmallows and white chocolate chips until evenly distributed.
- Add the mixture to the prepared 9×9 inch pan and gently press the mixture into the pan. Make sure you don't press too hard otherwise your treats will be too dense and hard. Let sit for 30-60 minutes, slice into 16 squares and enjoy!


I love Rice Krispie treats, and this strawberry version is so fun! The strawberry adds such a fresh flavor. I’ll definitely have to make them again with Valentine’s Day coming up.
I’m going to make these for my kids for Valentine’s Day! This is such a good idea — they love all things strawberry flavored.
My kids and I loved these strawberry rice krispies treats – they even helped make them which may have been the best part! A keeper for sure!
These are the cutest for Valentine’s Day, and my kids said they were the best yet….must be the browned butter tip you gave. So easy and delish!!!
Such an easy and delicious treat to make for Valentine’s Day! Going to make it for my hubby, he will love it 😉
These were so good! Anything with a hint of strawberry is better and they look so darn pretty too. A perfect treat for Valentine’s Day!
My kids had a blast helping me make these Rice Krispie treats this weekend. It was messy, but they were delish!
So yummy!! Thank you for the easy instructions. We loved these Strawberry Rice Krispie treats and they were no leftovers. I will make them again. Love the combination of marshmallows and chocolate.
Made these Strawberry Rice Krispie Treats for a Superbowl Party! I think they disappeared before the game even started. Such a big hit
These strawberries rice krispie treats were huge hit with my friend’s kids. Easy to make, Delicious to eat. Thanks for sharing!