Mini Oreo Cheesecakes
As an Amazon Associate, I earn from qualifying purchases. Read the full disclosure here.
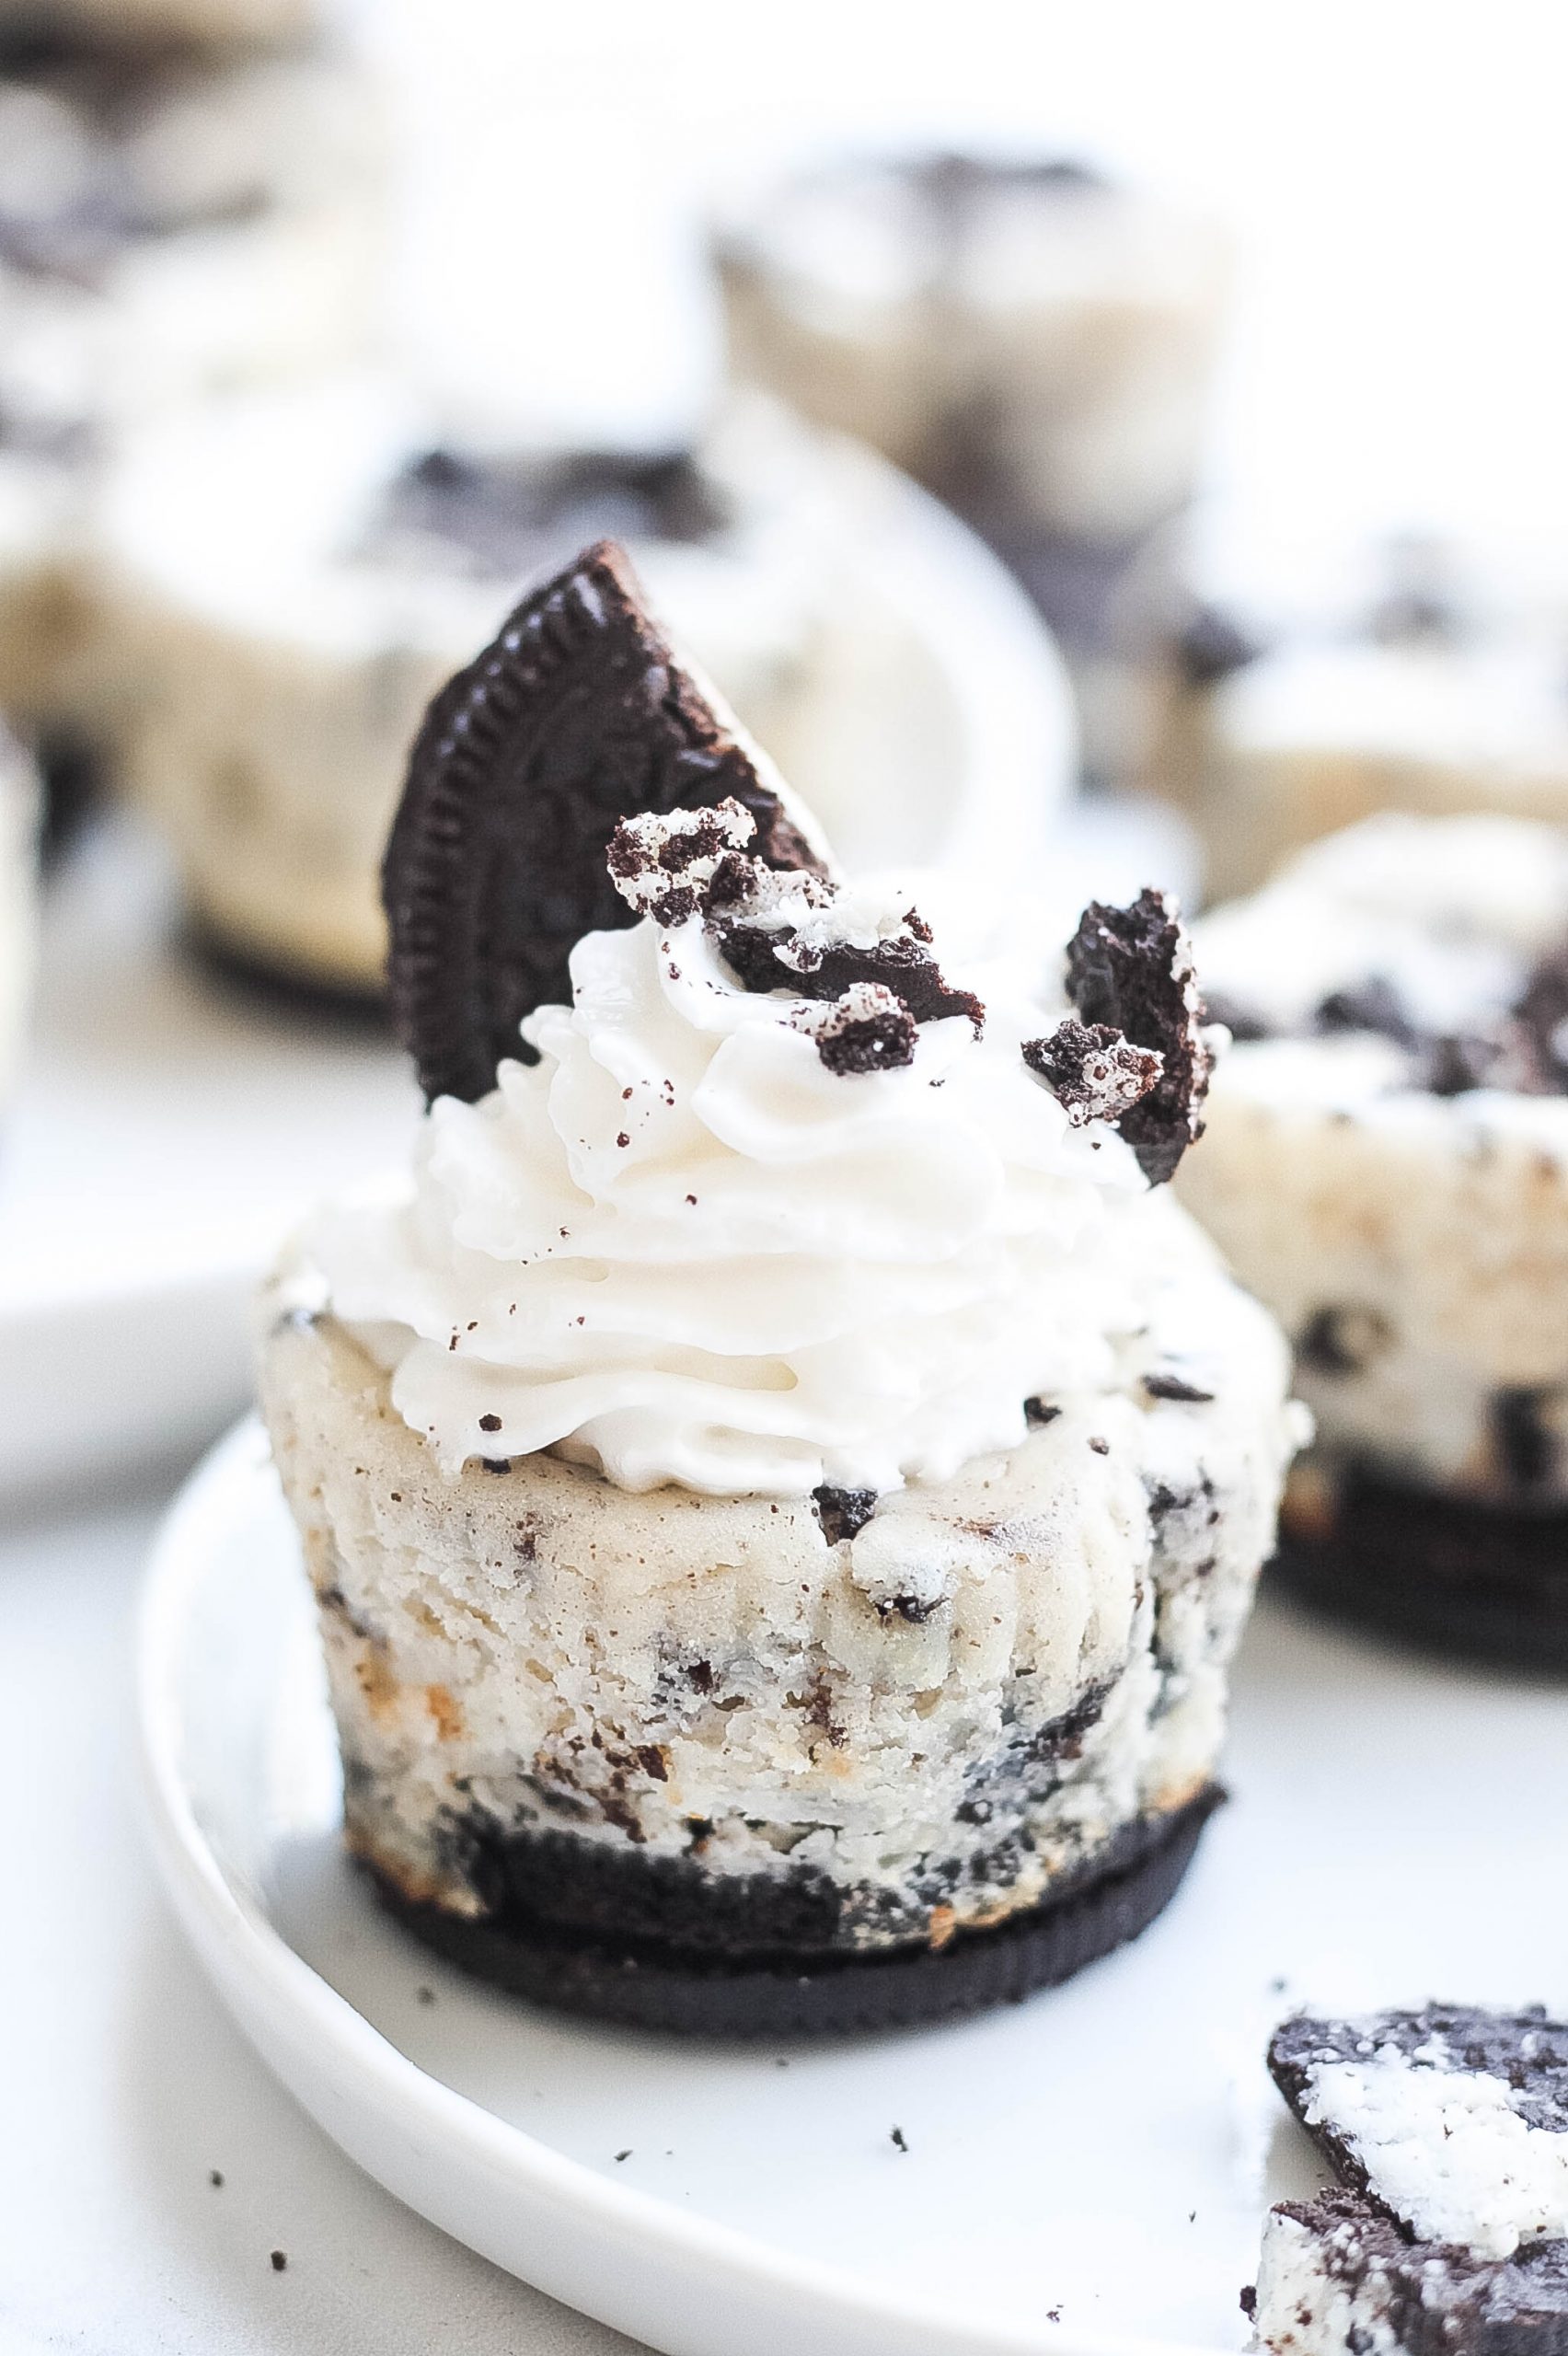
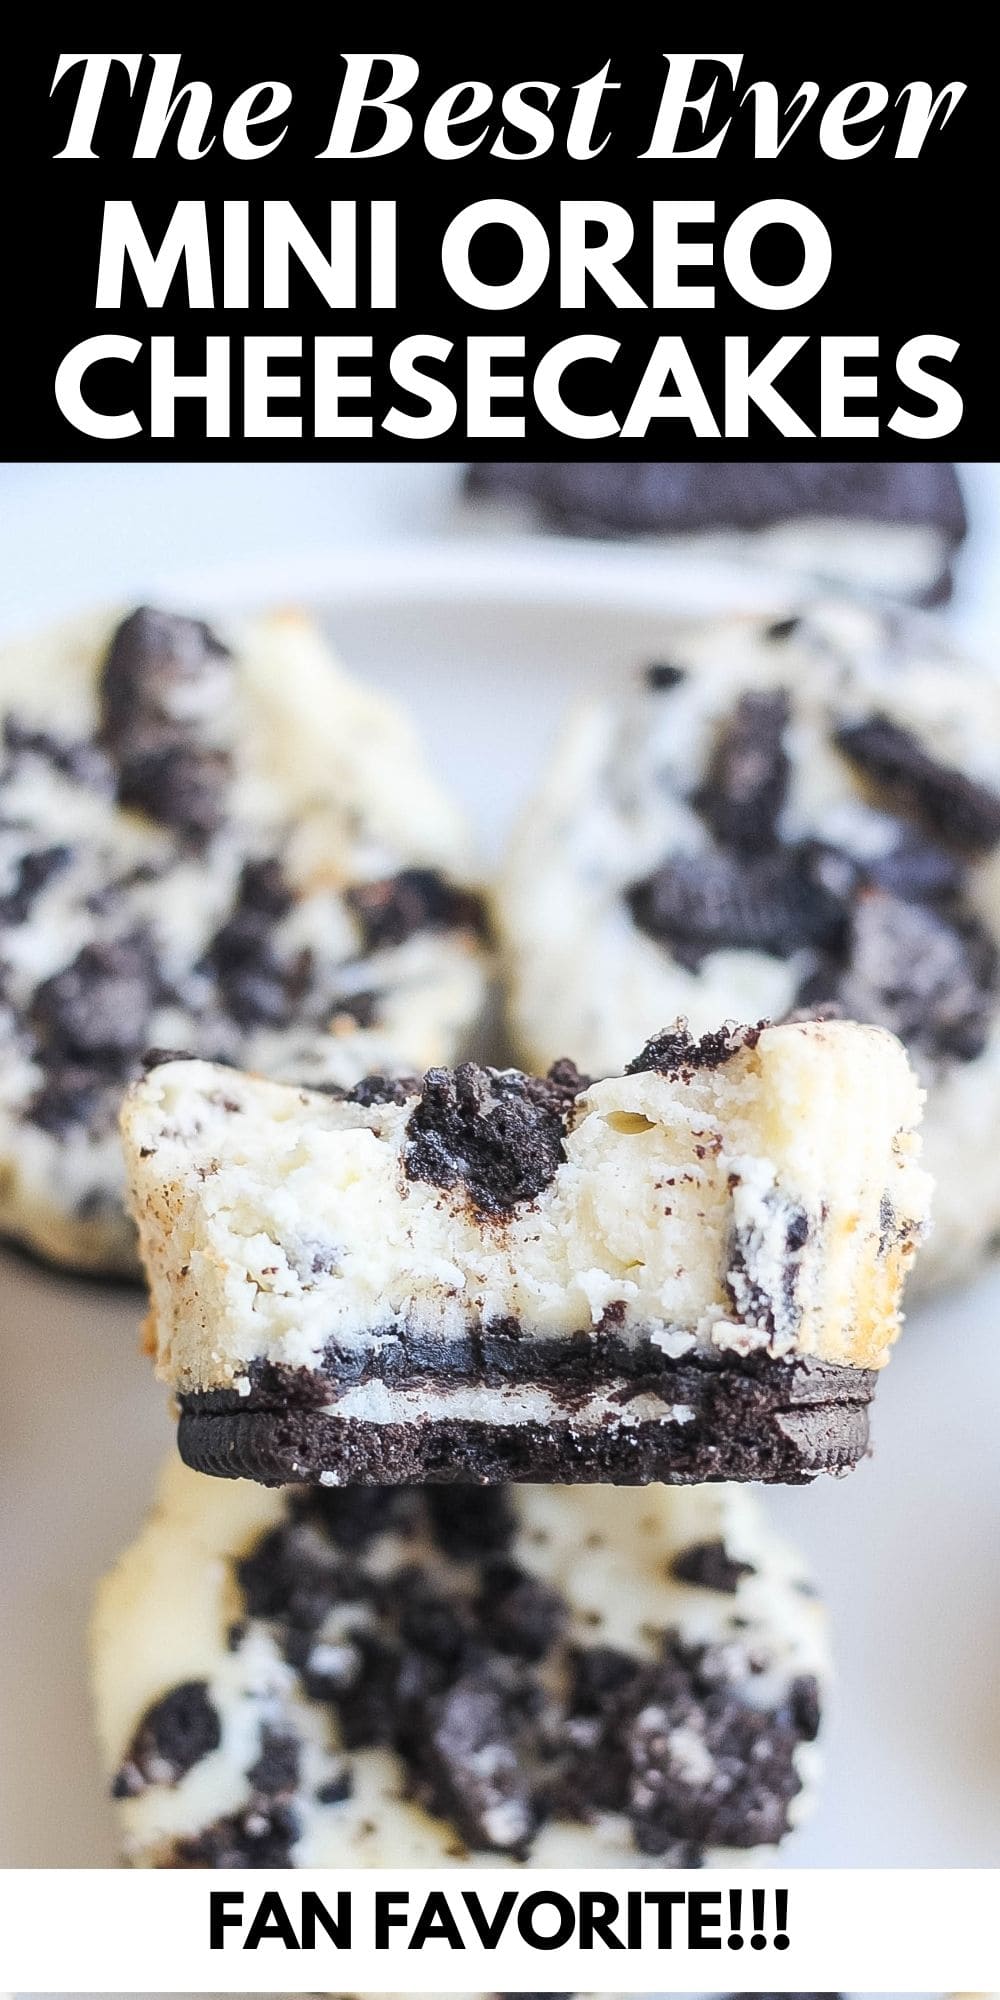
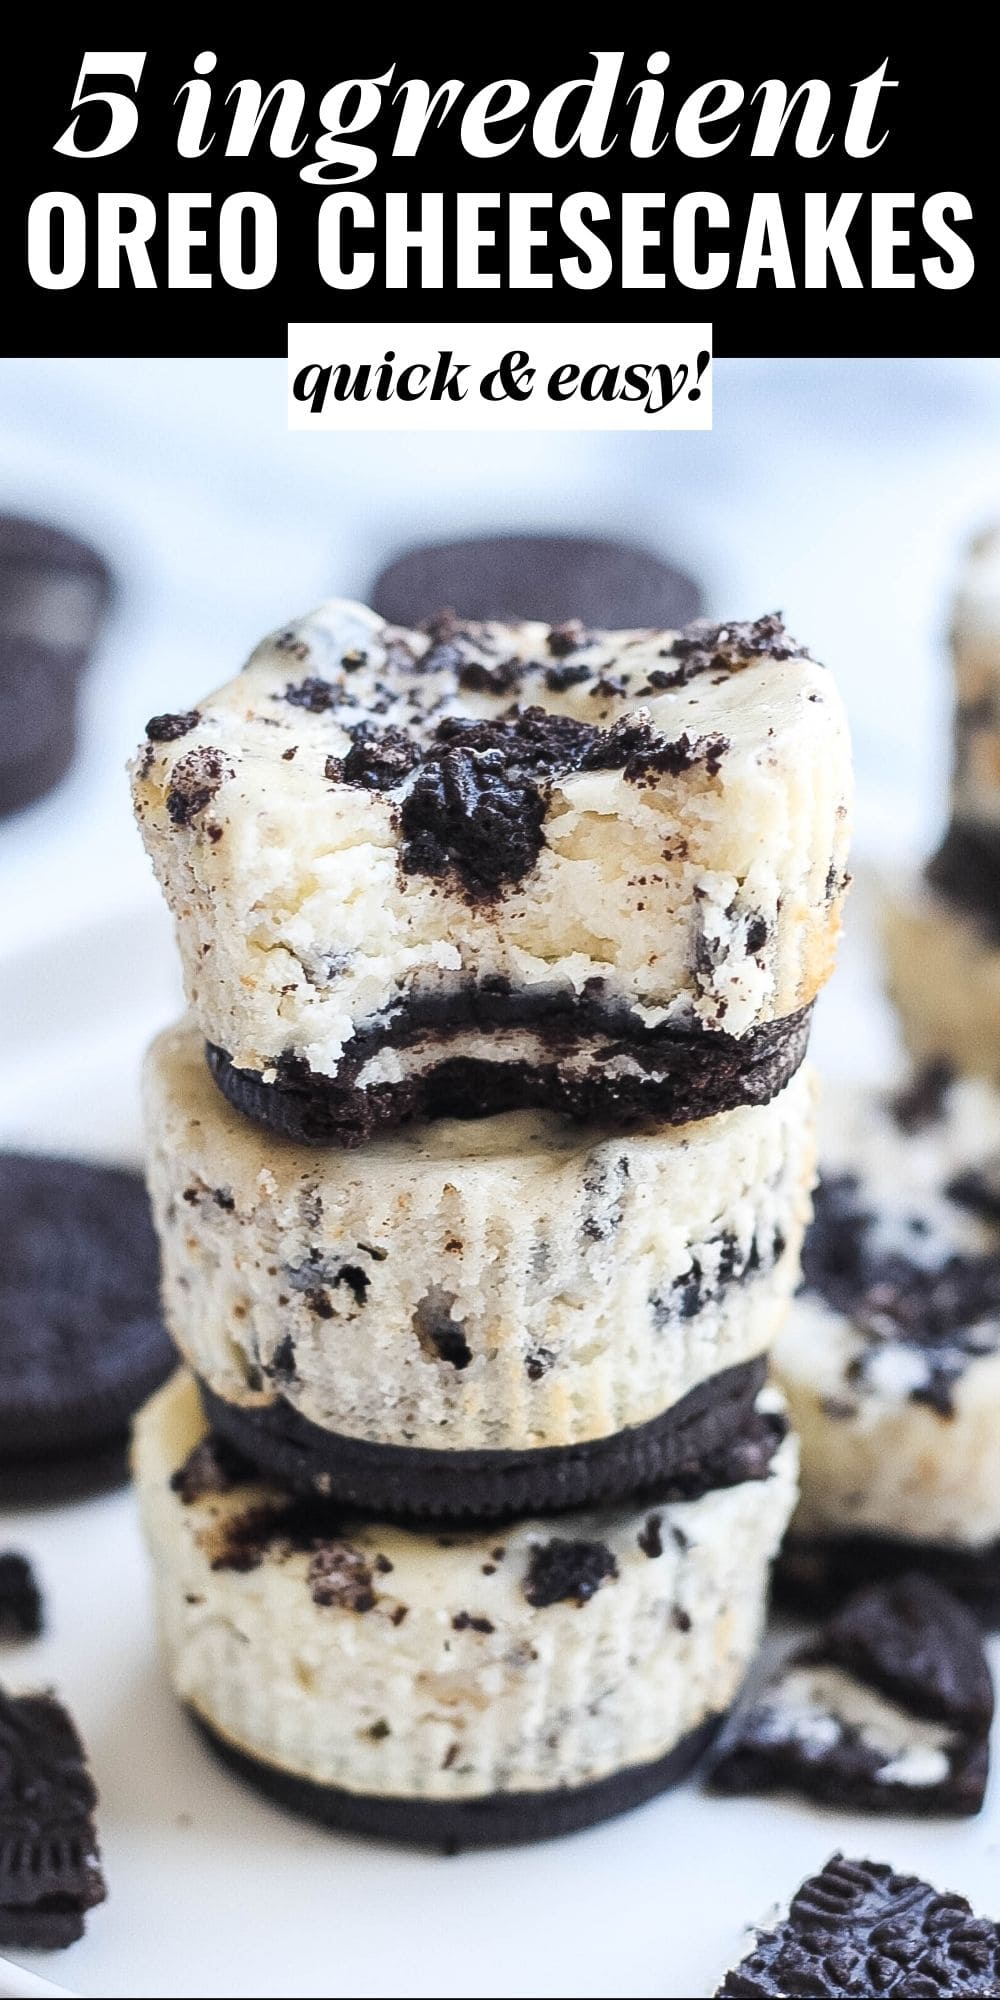
These delicious Mini Oreo Cheesecakes are made with a creamy cheesecake filling and Oreo cookie pieces. Baked in a muffin pan for the perfect dessert. Made with only 5 ingredients and take less than 30 minutes to make!
PIN Mini Oreo Cheesecakes to try later!
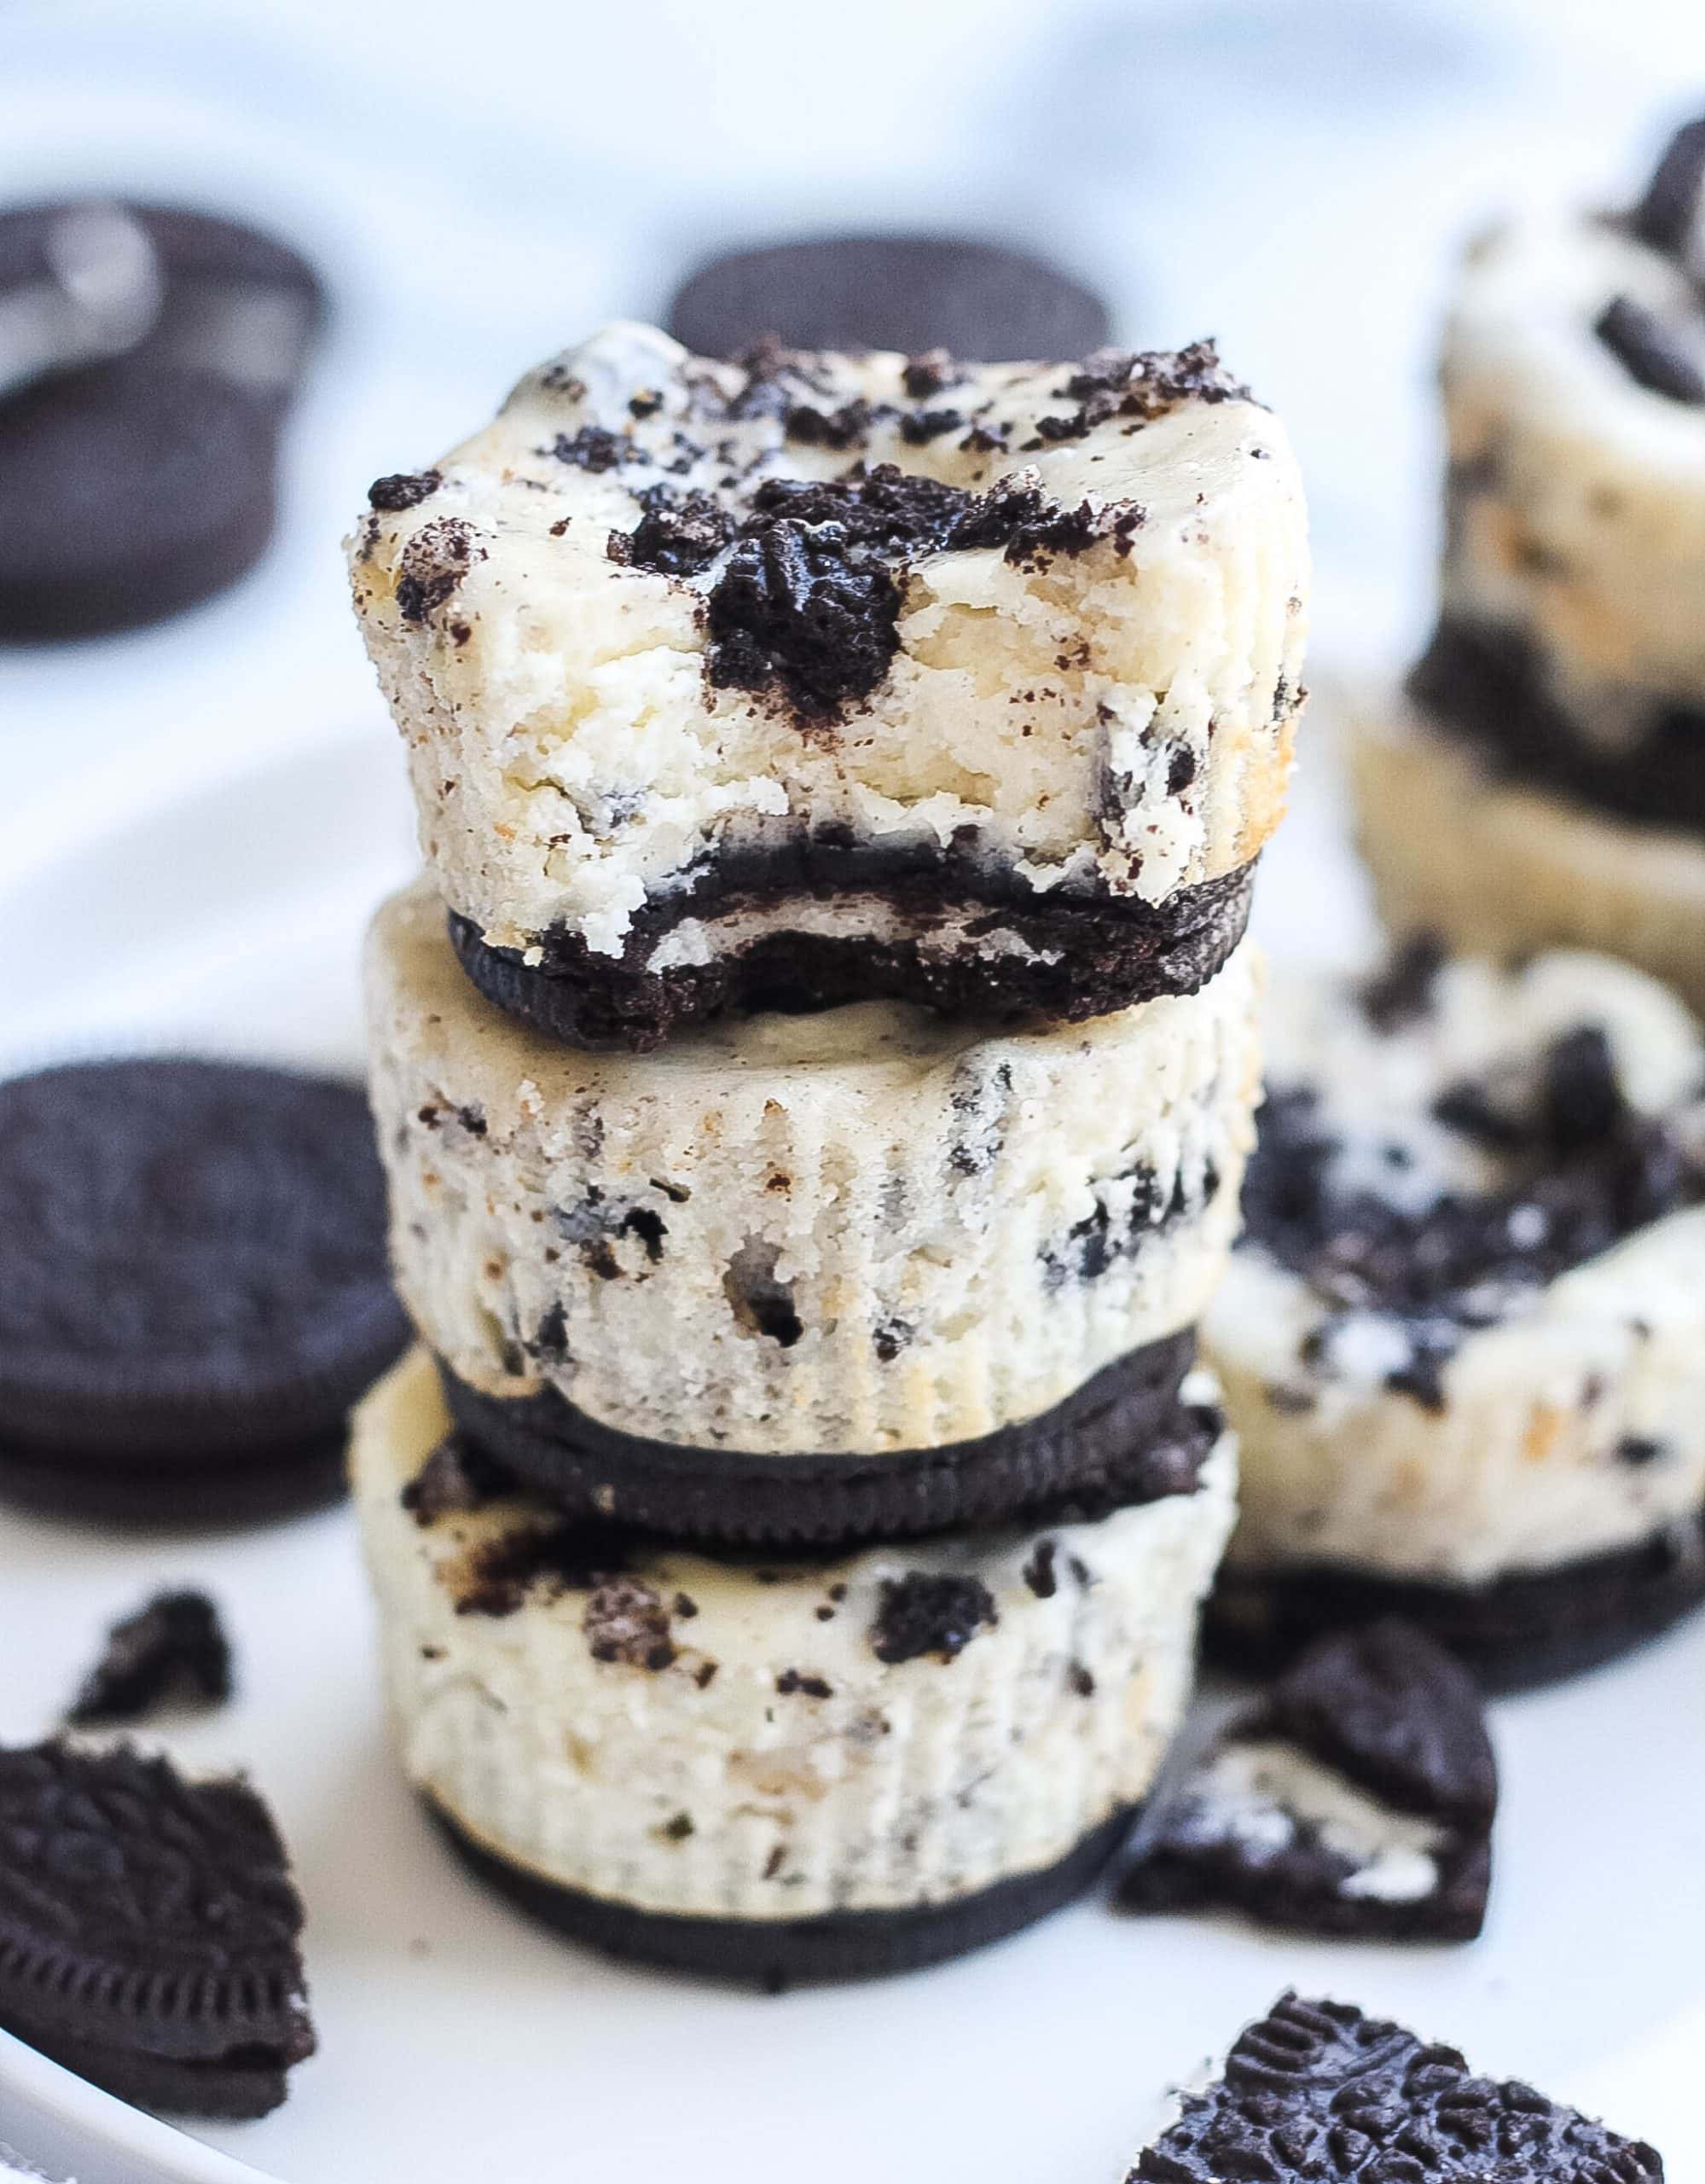
MINI OREO CHEESECAKES
If you love cheesecake and Oreos, you will fall in love with this dessert. These epic Oreo Cheesecake Bites have an Oreo cookie crust and filled with a luscious Oreo cookies and cream cheesecake filling. The tops of these Mini Oreo Cheesecakes are sprinkled with more Oreos and whipped cream.
These Mini Oreo Cheesecakes will be loved by adults and kids because of the cookies and cream flavor the Oreos give these cheesecake bites.
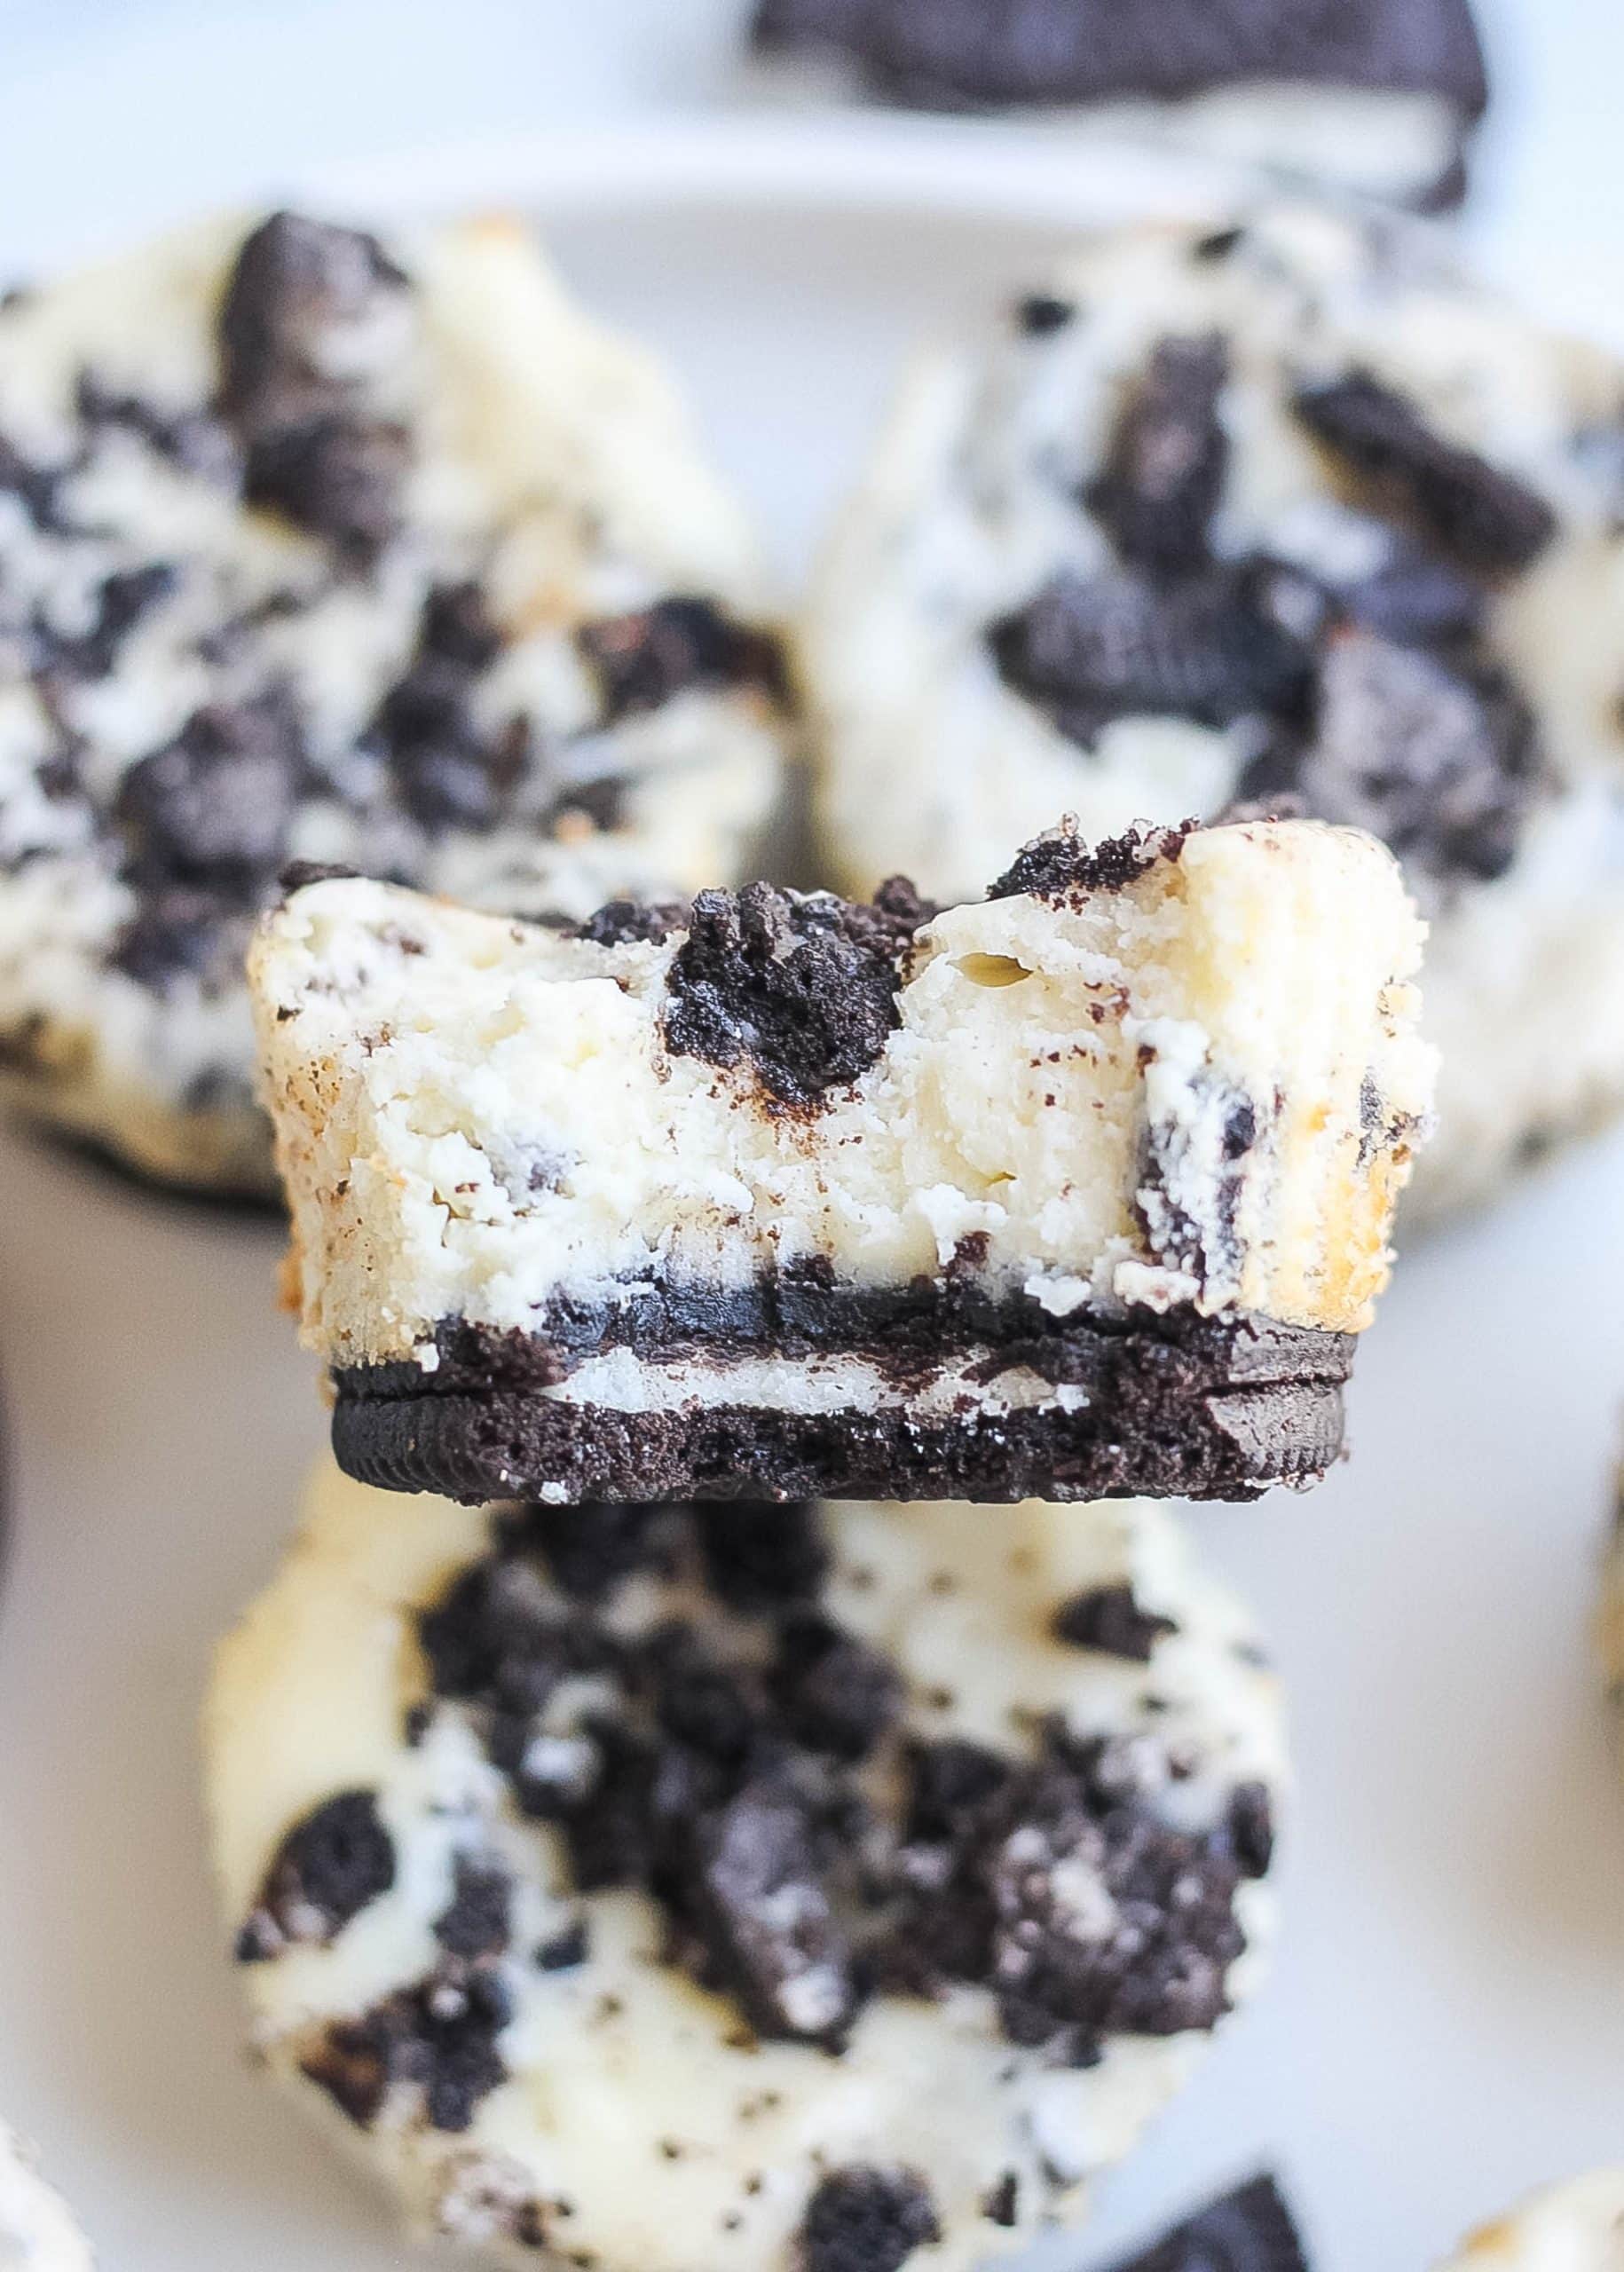
This is such an easy dessert to make especially since this recipe only requires a few simple steps and ingredients. The crust of these Mini Oreo Cheesecakes are made with a whole Oreos instead of a crumb crust to make it even easier.
Love cheesecake bites? Try my Best Ever Cheesecake Bites that’s one of my most popular recipes on my blog!
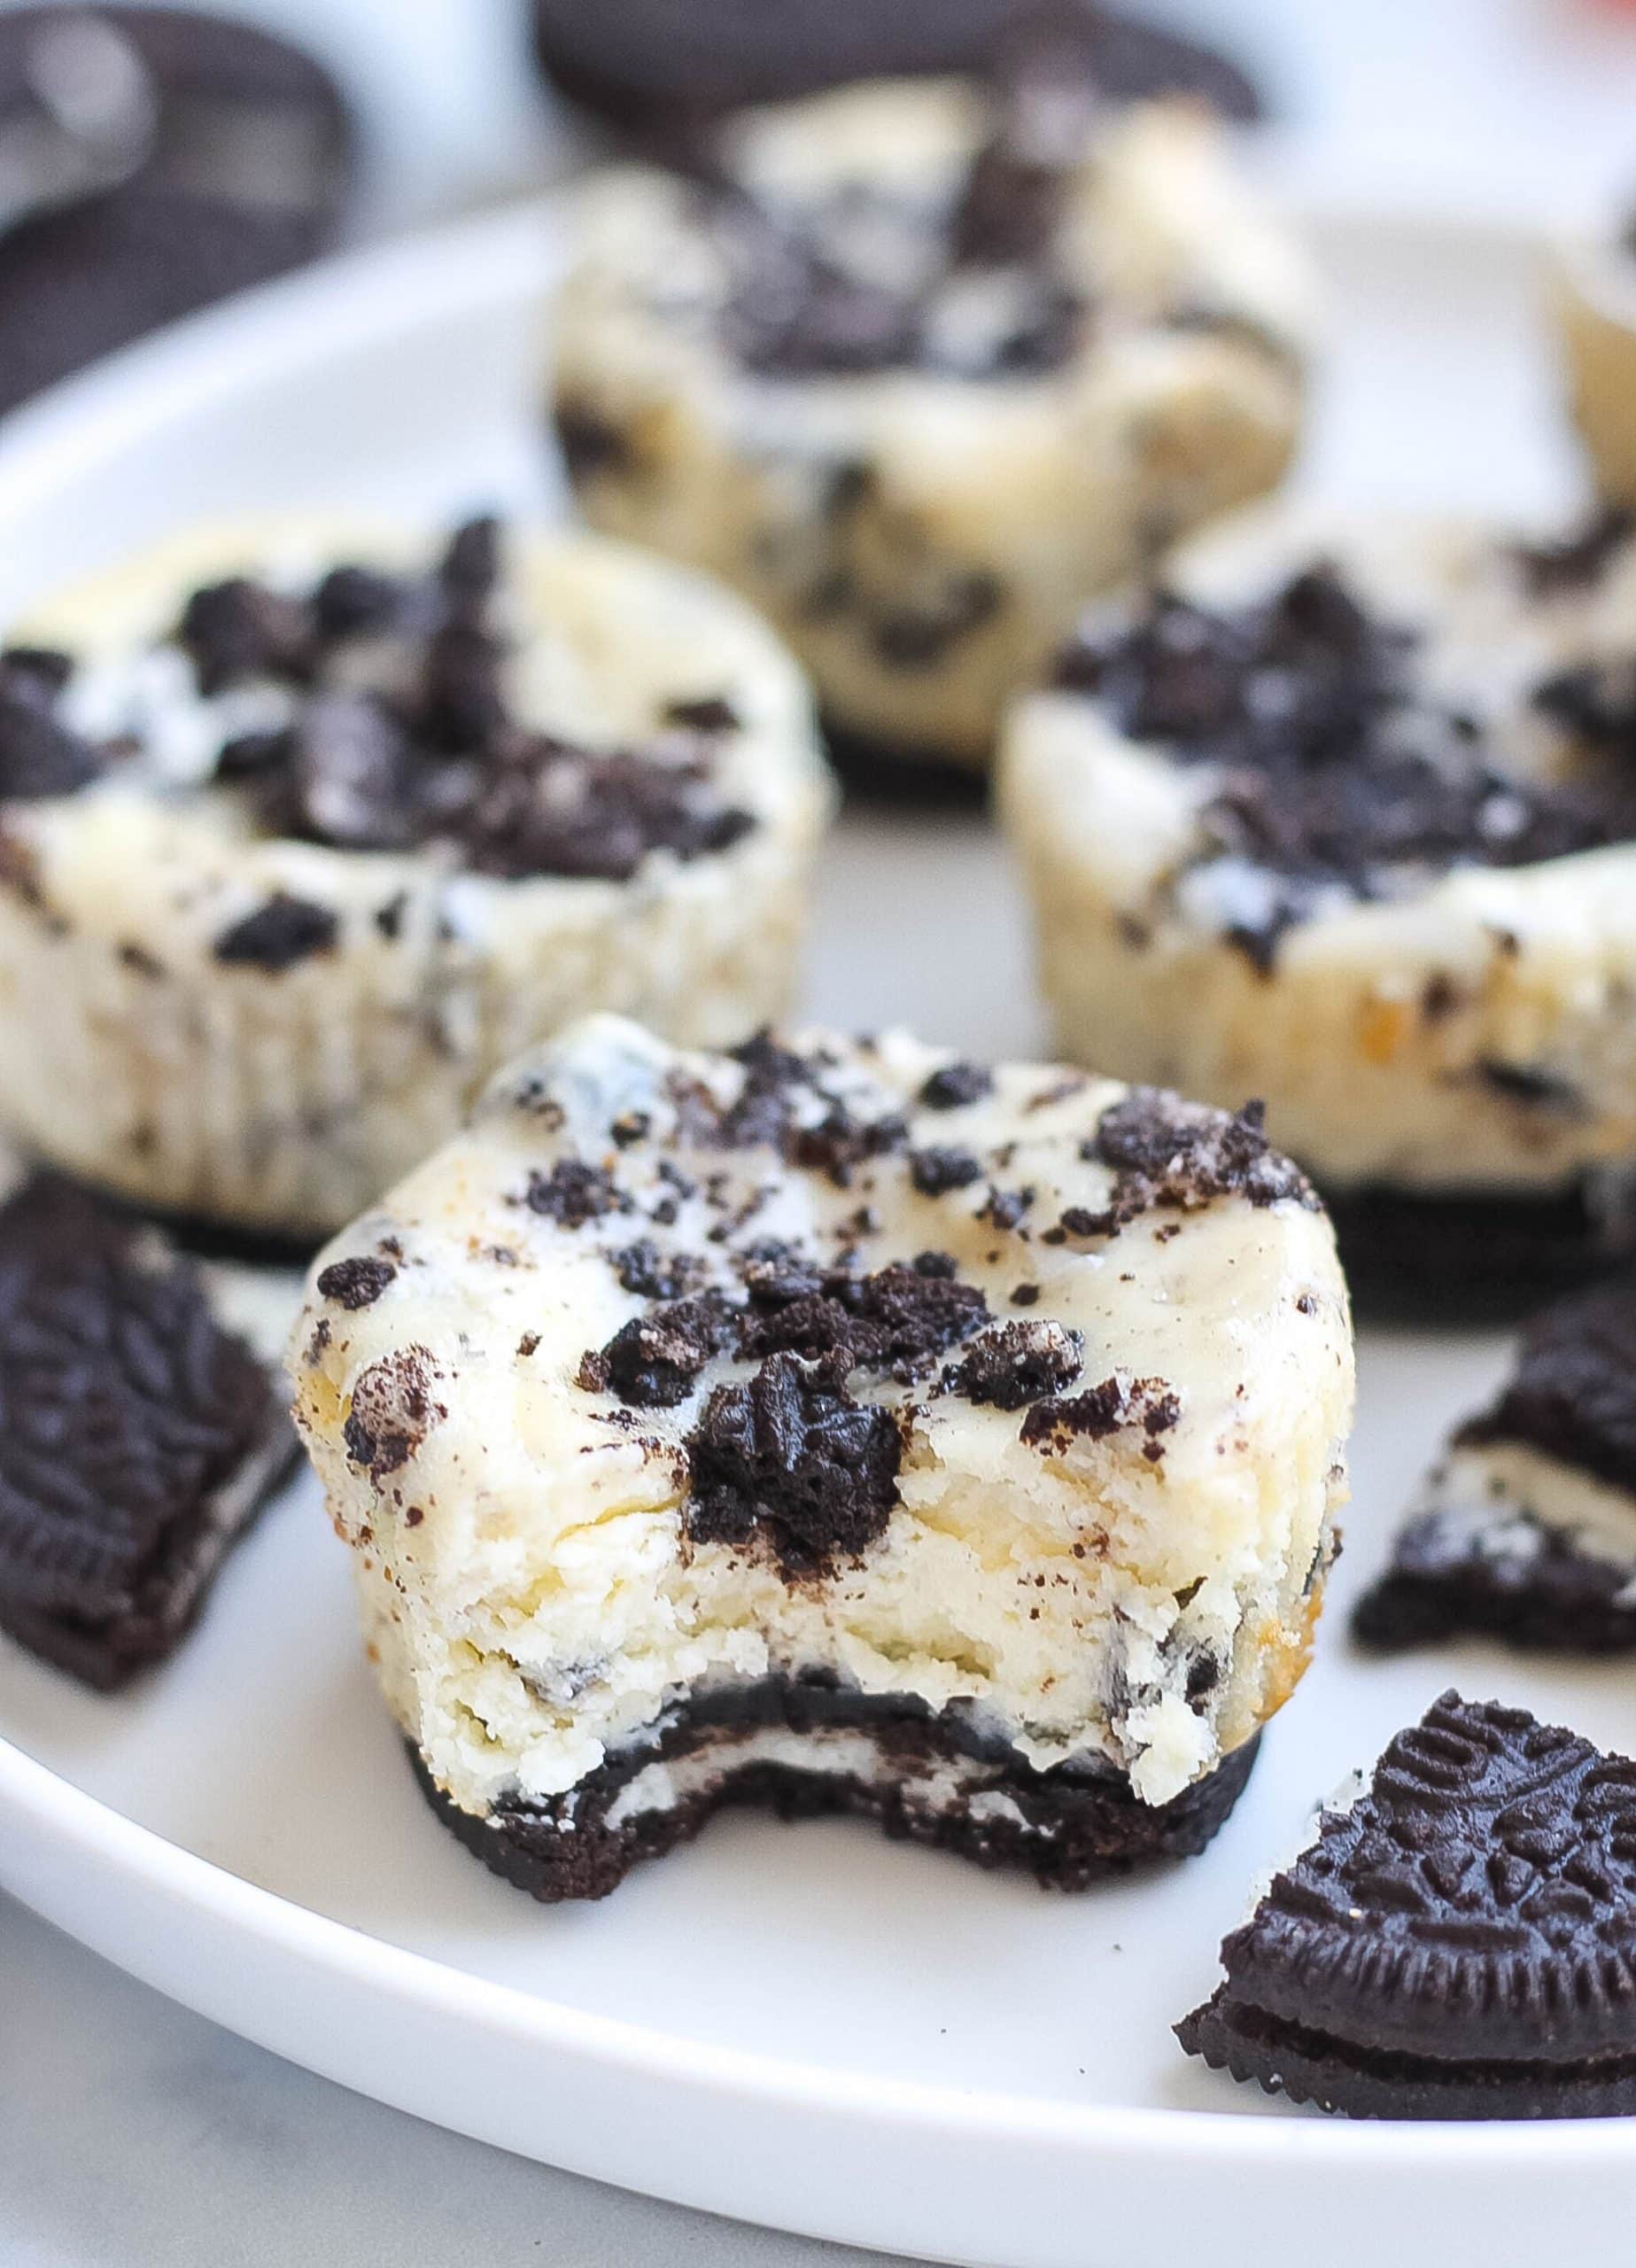
INGREDIENTS
- Cream cheese: softened and full-fat cream cheese works best with this recipe. You’ll need two 8 ounce packages total.
- Sugar: used to sweeten the cheesecake filling and tanginess of the cream cheese.
- Whole Eggs: adds richness and gives these cheesecake bites a rich and creamy texture. The eggs will also make the cheesecake batter smooth.
- Vanilla extract: enhances the “cookies and cream” flavor of this cheesecake.
- Oreos: you’ll need whole Oreos for the bottom of these cheesecakes and Oreo cookie crumbs for the filling and tops of the cheesecakes. Use both large and small sized cookie crumbs. More is always better 🙂
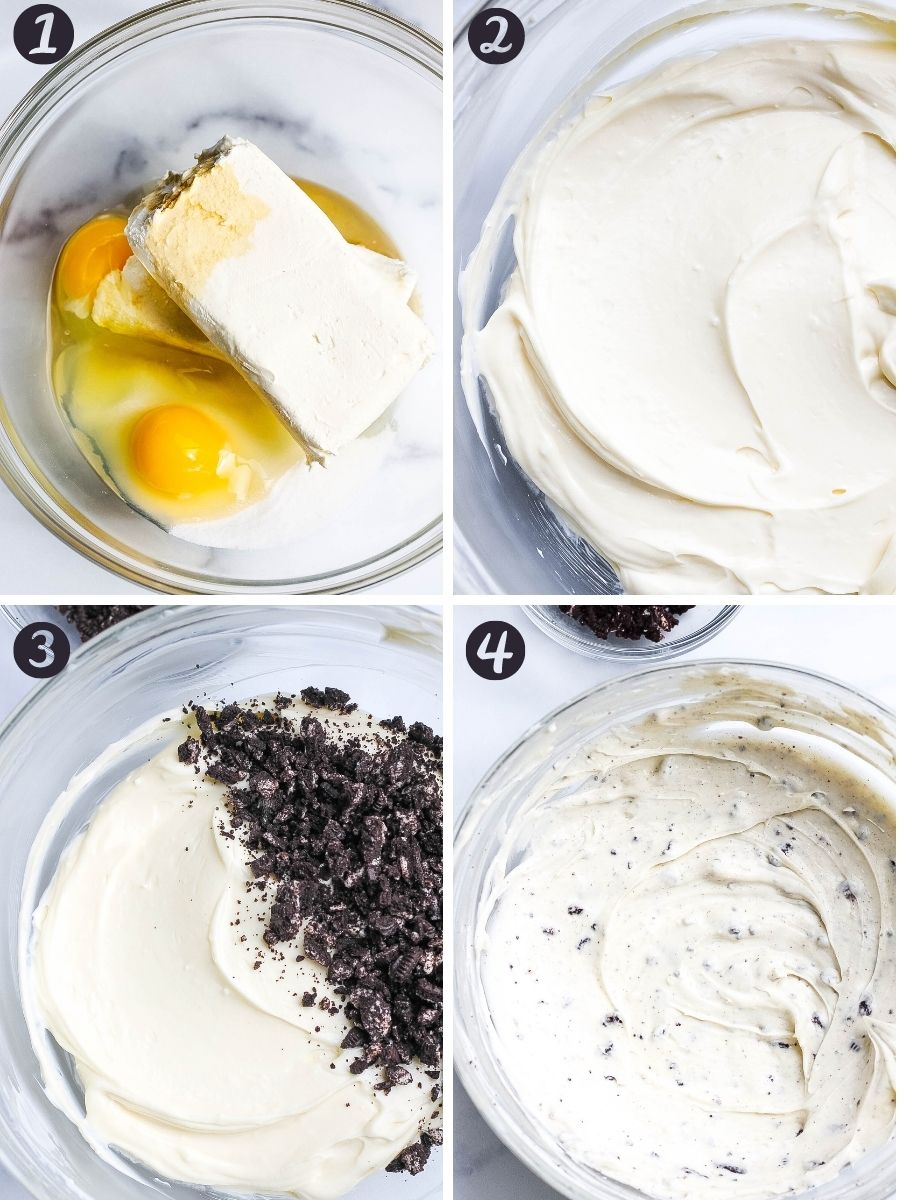
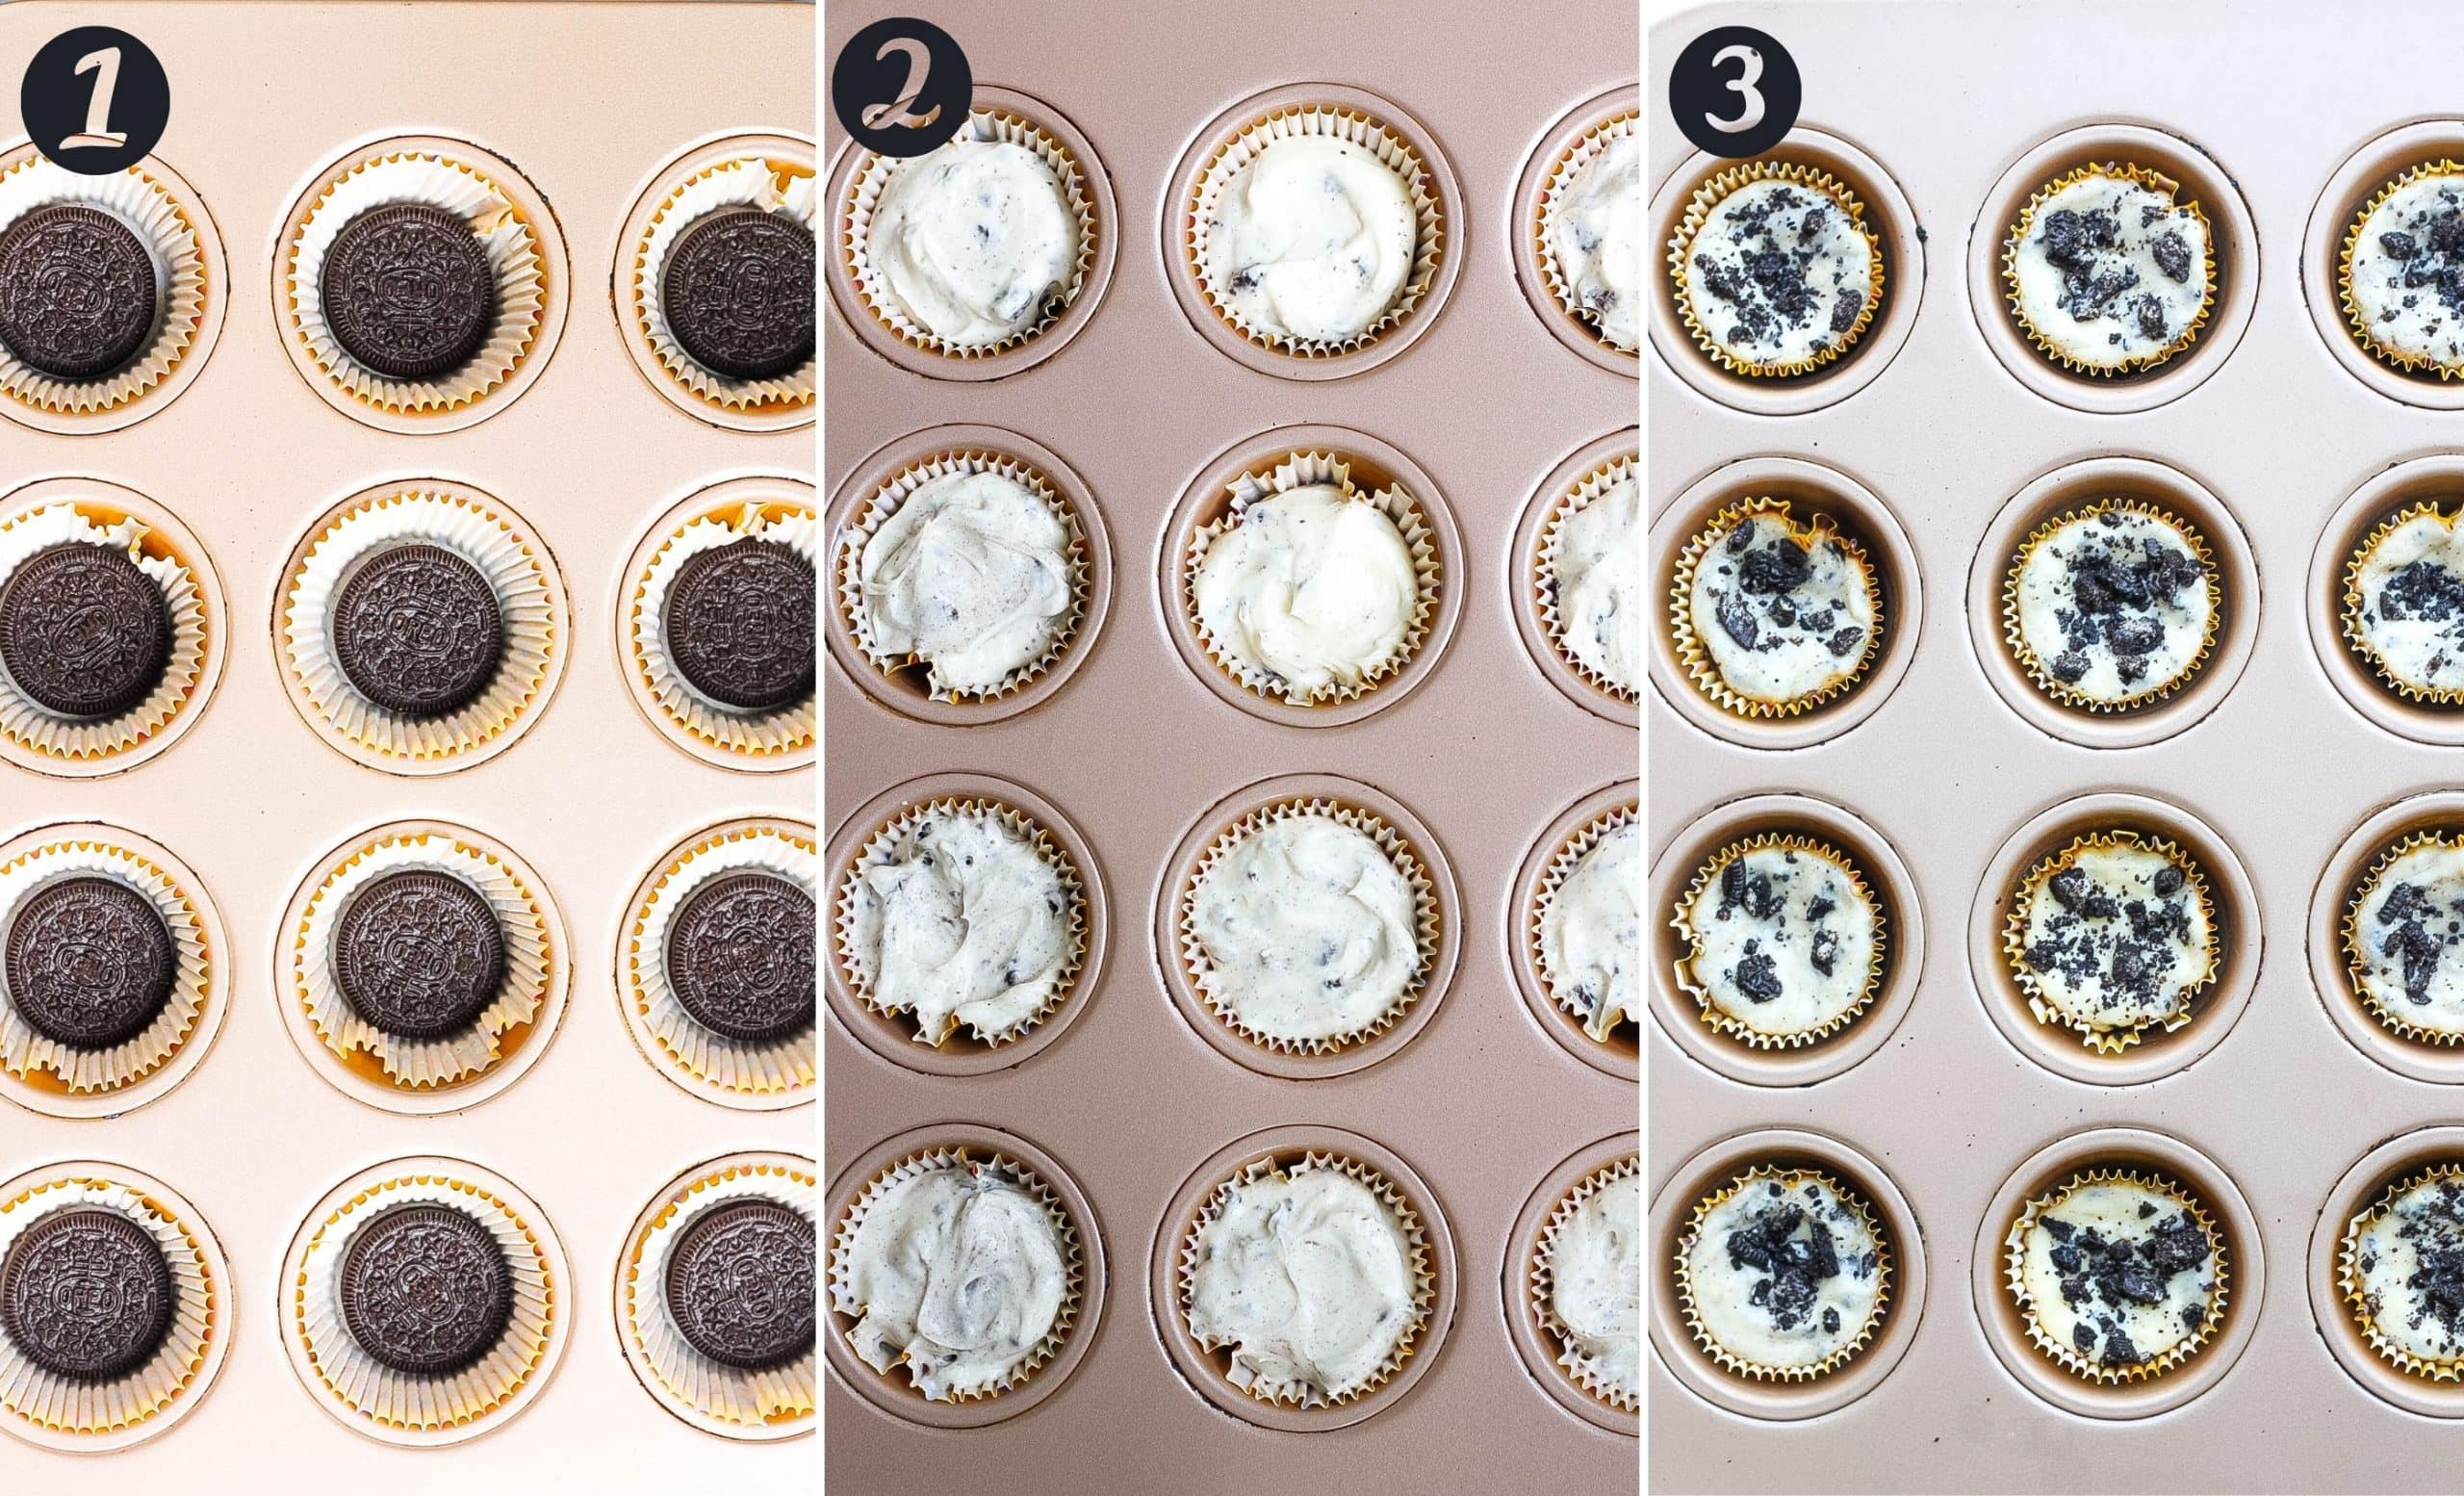
HOW TO MAKE MINI OREO CHEESECAKES
ADD OREO COOKIES TO CUPCAKE PAN. Preheat oven to 350 degrees F. Line a REGULAR cupcake baking pan with 16 paper liners and place one Oreo cookie in each liner. Set aside.
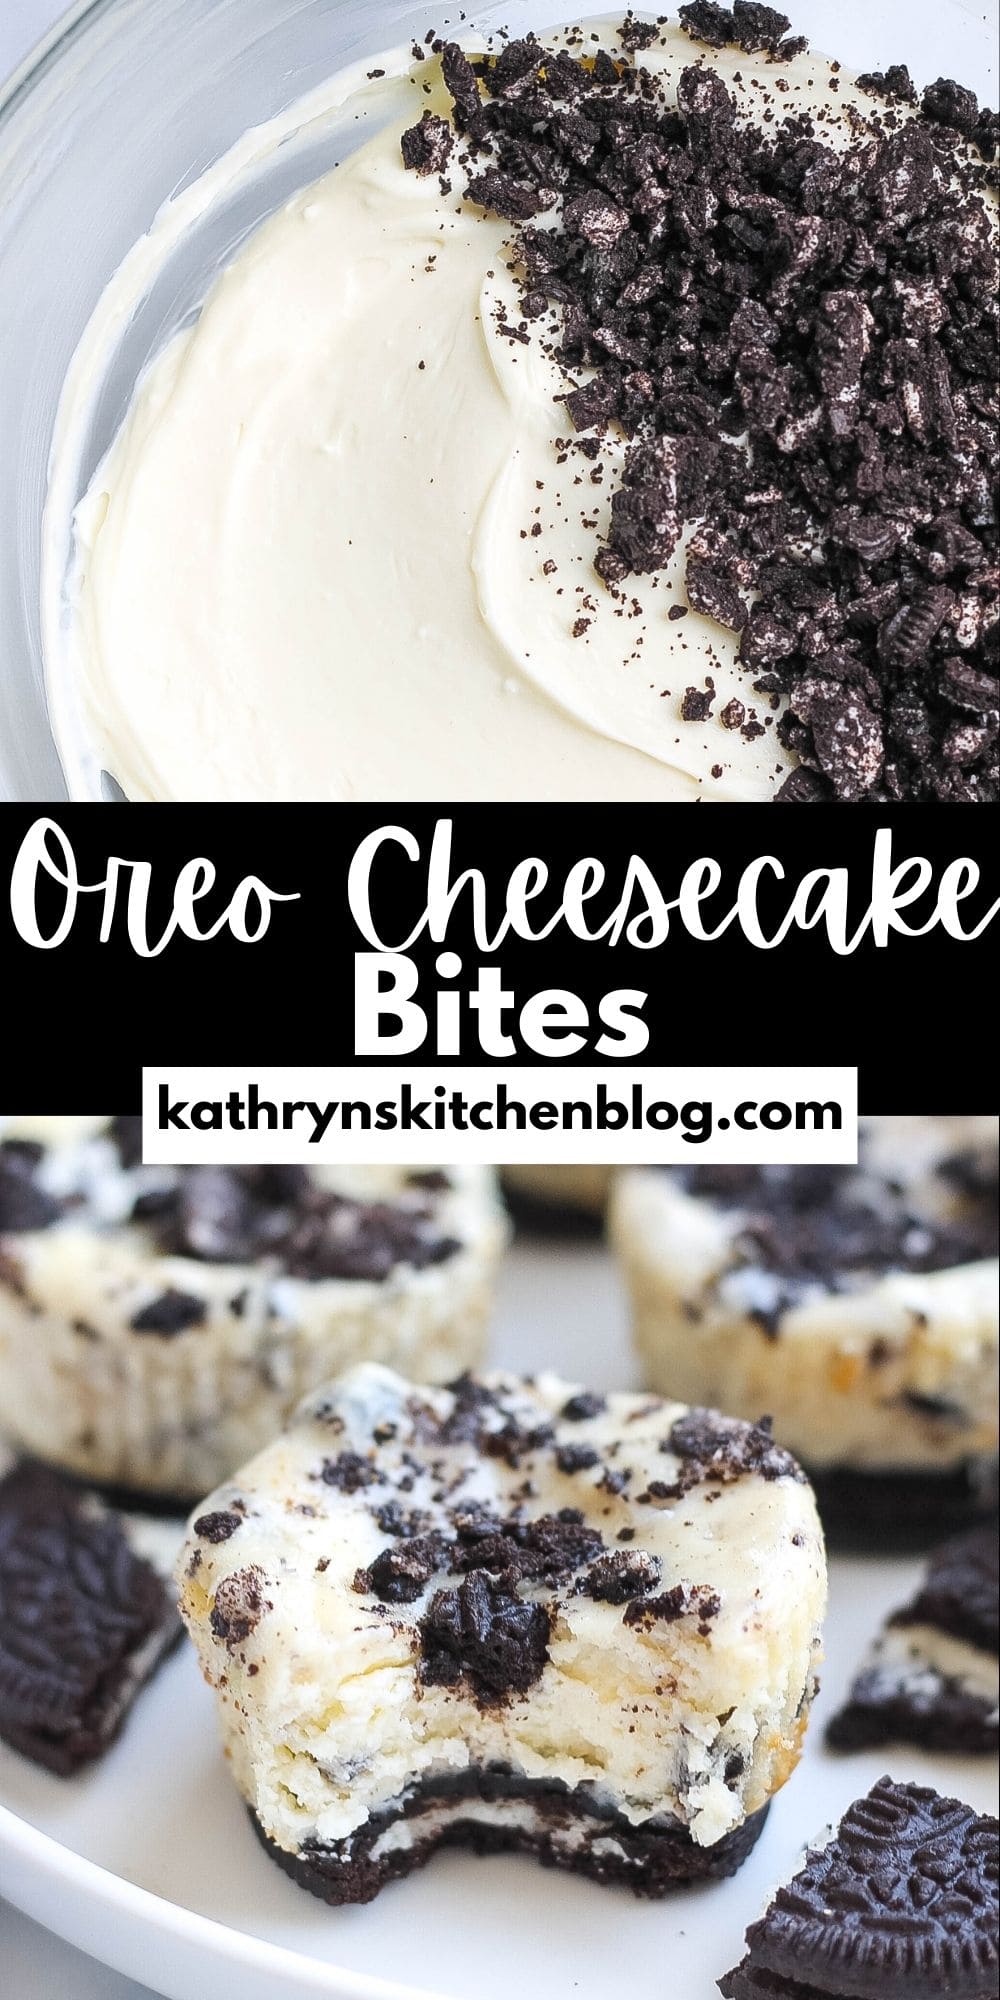
MAKE OREO CHEESECAKE FILLING. In a large mixing bowl beat together the cream cheese, sugar, eggs and vanilla extract with an electric mixer for a few minutes until smooth. Sprinkle in the Oreo cookie crumbs and fold in with a spatula until combined.
SPOON ON TOP OF OREOS. With a tablespoon, spoon the Oreo cheesecake mixture evenly on top of the Oreo cookies, about two tablespoons of cheesecake batter per cupcake cup. Sprinkle each cheesecake with more Oreo cookie crumbs.
BAKE AND COOL. Bake for 14-16 minutes or until the middles are set. Let the cheesecake cool for at least 30 minutes and remove paper wrappers. Place in the refrigerator until ready to serve.
THESE MINI OREO CHEESECAKES ARE
- Perfect for just about any occasion, everyone will adore these treats- I promise!
- So easy to make and require no water bath or sour cream! You’ll need only 5 ingredients.
- Great for any occasion such as birthday parties, baby showers, potlucks and any holiday. Everyone loves desserts that are miniature.
- Creamy, dreamy and filled with the delectable flavors of cookies and cream, Oreos and cheesecake. Each bite is heavenly and so so delicious.
HOW TO CRUSH OREO COOKIES
Simply place the Oreo cookies in a large zip-lock bag and roll them with a rolling pin. You can also put the Oreo cookies in a food processor and pulse a few times just until the cookies are crumbly.
HOW TO STORE LEFTOVER CHEESECAKE BITES
Store any leftovers in an airtight container in the refrigerator for up to 1 week.
You can also freeze your cheesecakes bites by individually wrapping each cheesecake with plastic wrap and then with aluminum foil. Place them in an airtight container. Be sure the cheesecake bites are completely cool before freezing.
They will freeze up to 3 months. When ready to eat the frozen cheesecakes bites, simply defrost on the counter for 2-4 hours and enjoy. This is great for individually servings.
LOOKING FOR OTHER CHEESECAKE DESSERTS? TRY THESE!
- Cheesecake Sprinkle Cookies
- Apple Pie Cheesecake Bites
- Snickerdoodle Cheesecake Bites
- N0-Bake Cheesecake Balls
- Mini Chocolate Cheesecakes
- Lemon Cheesecake Bites
- Mini Pumpkin Cheesecakes
- Best Ever Mini Cheesecake Bites
- Funfetti ‘Dunkaroo’ Cheesecake Bites
- Lemon Cheesecake Bars
CAN’T GET ENOUGH?
Subscribe and I’ll send all my newest and FREE recipes to your inbox! You can also keep up with me on Pinterest, Instagram, and Facebook. If you make this recipe, please let me know how it turned out! Leave a comment below and share a picture on Instagram so I can see and feature you!
Oreo Cheesecake Bites Recipe
Ingredients
For the Cheesecake Crust
- 16 Oreos
For the Cheesecake Filling
- 16 ounces cream cheese; softened* (2- 8 ounce packages)
- 1/2 cup sugar
- 2 whole eggs
- 1 tsp. vanilla extract
- 3/4 cup Large and small Oreo cookie crumbs; chop Oreos with a knife to get both large and small cookie chunks.Reserve a few tablespoons for topping cheesecakes Do not use a food processor as it will turn the cookies into fine crumbs. (about 6 oreos)
Instructions
- Preheat oven to 350 degrees F. Line a REGULAR cupcake baking pan with 16 paper liners and place one Oreo cookie in each liner. Set aside.
- In a large mixing bowl beat together the cream cheese, sugar, eggs and vanilla extract with an electric mixer for a 2-3 minutes until smooth. Sprinkle in the Oreo cookie crumbs and fold in with a spatula until combined.
- With a tablespoon, spoon the Oreo cheesecake mixture evenly on top of the Oreo cookies, about two tablespoons of cheesecake batter per cupcake cup. Sprinkle each cheesecake with more Oreo cookie crumbs.
- Bake for 14-16 minutes or until the middles are set. Be sure not to over-bake. Let the cheesecake cool for at least 30 minutes and remove paper wrappers. Place in the refrigerator until ready to serve. It's best to let the cheesecake bites get cold, about 2 hours in the refrigerator. Optional: top with whipped cream and more crushed Oreos!
Notes
- It’s extremely important that your cream cheese is softened and at room temperature. If it’s not softened, your cheesecake batter will not be smooth.
- Leftovers: Store any leftovers in an airtight container in the refrigerator for up to 1 week. You can also freeze your cheesecakes bites by individually wrapping each cheesecake with plastic wrap and then with aluminum foil. Place them in an airtight container. Be sure the cheesecake bites are completely cool before freezing. They will freeze up to 3 months. When ready to eat the frozen cheesecakes bites, simply defrost on the counter for 2-4 hours and enjoy. This is great for individually servings.
Happy #NationalCheesecakeDay 2021 hosted by Lynn from Fresh April Flours! Let’s celebrate this delicious day with our favorite cheesecake recipes– from fruity to chocolatey and mini to InstantPot, we’ve got you covered for your next cheesecake need!
More #NationalCheesecakeDay Recipes
- Peach Cheesecake from Fresh April Flours
- Chocolate Chip Cookie Dough Cheesecake from House of Nash Eats
- Chocolate Peanut Butter Cheesecake from That Recipe
- Easy No Bake Cheesecake from Salt & Baker
- Mini Chocolate Cheesecakes from Making Miracles
- White Chocolate Raspberry Cheesecake from Devour Dinner
- Mini Chocolate Chip Cheesecakes from Cheese Curd In Paradise
- Instant Pot Vanilla Cheesecake from Karen’s Kitchen Stories
- Easy No Bake Cherry Cheesecake in a Jar from Blogghetti
- Strawberry Cheesecake from Life Love and Good Food
- Mini Oreo Cheesecakes from Kathryn’s Kitchen Blog
- Instant Pot Vanilla Bean Cheesecake with Blueberry Compote from Hezzi-D’s Books and Cooks
- No Bake Fresh Mint Cheesecake from A Day in the Life on the Farm
- Mini S’mores Cheesecakes from The Freshman Cook
- Orange Creamsicle Cheesecake Bars from The Spiffy Cookie
- Mocha Cheesecake from The Redhead Baker




I’ll take 3 or 4 please!
🙂
Can you make these the day before an event and they will still be just as good?
Hi Sara, yes you can definitely make these cheesecake bites the day before! I usually do this so the cheesecake has extra time to chill and set 🙂 Enjoy!
Just made these again; this time I made them with a maple cream cookie instead of oreos, removed 2Tbsp of sugar and added 2 Tbsp of maple syrup, add chopped walnuts. They are very delicious and will make them again trying different variations since this one worked so well. Thanks for the recipe.
Hi Katelyn! Those sound like great modifications, I’ll have to try that next time. Thank you for letting me know and I’m so glad you loved these cheesecake bites! 🙂
The creaminess! The cookie chunks! I love everything about these cutie pie cheesecakes!
Aw thank you so much! There are so many cookie chunks in these cheesecakes 🙂
Can I make these with golden Oreos ?
Hi Misha! Yes you definitely can use Golden Oreos instead of regular Oreos. That would be delicious! 🙂
My Teen is going to adore these. Thanks for sharing.
Enjoy!!
These sound awesome! The Oreo on the bottom is perfect!
Thank you so much!
I love mini cheesecakes. Portion control (except when I have two)! These are adorable.
Thanks so much! These cheesecakes are perfect for portion control 😉
I have a whole crew that is going to love these!
Woohoo! I hope you all enjoy these Mini Oreo Cheesecakes:)
These look amazing and I love everything about them. From the creamy oreo top to the cookie bottom~YUM!
The bottom crust is my favorite!
Where has this recipe been my whole life!? These were the perfect oreo dessert and so scrumptious! This is now my go to dessert recipe!
Thanks so much! 🙂
I love how these are much quicker and easier than a traditional large cheesecake! Plus, since they are mini I can eat more, right?
Thank you Amy, and yes totally!! 😉
Delicious- I used gluten free Oreos and it was bomb! I’d highly recommend. So easy and not messy.
Thank you so much!! Love the gluten-free version 🙂
Can I leave the liners on so I can bring them to a party the next day?
I know this question was published a bit ago but the answer is yes! They are fine to leave in wrapper for day or two! Just in case anyone else wonders the same thing:)
I’m so sorry I just saw your comment- but yes they are perfectly fine to leave in the wrappers. 🙂 I hope you love this recipe!
Oh My Gosh!!! These were so delicious!!! I feed a family of six and my don in law wanted the whole pan to take on the boat (he is in the navy). I even got my grandchildren to eat them. I love them!!! Will definitely make them again!!
I LOVE that your family loved these cheesecake bites! Thanks so much for trying my recipe, Joni!
These look wonderful! Have you ever tried making them with the mini Oreos in a mini muffin tin? I need something to take to an event and I need something that is small and people can just pop in their mouths. Thanks!
Hi Tracy, you can make these in a mini muffin tin. You will need to make an Oreo crust since the regular Oreos won’t fit OR you can use mini Oreos instead. Make sure to reduce the baking time to a few minutes. I hope you love them!
I made these for a Christmas party and they were so easy and such a hit. Thank you!
Thanks for trying my recipe- I am SO happy you loved these cheesecake bites! They are perfect for holiday parties!!
These Oreo bites were a hit at our Christmas party. Thank you.
Thank you for letting me know! SO happy to hear that 🙂
Are they supposed to set more once they come out of the oven? I know by the time you see this the first batch will be done, but hopefully I can learn for the next one
Hi Justin, I hope you loved your cheesecake bite! Yes you should let them sit- it’s best to let them cool and then place in the refrigerator until ready to serve. Letting them sit in the fridge for 2 hours or more is ideal.
I don’t have an electric mixer will just mixing without one be fine and come out the same??
Hi Brittany, although mixing this cheesecake batter with some type of mixer is ideal because it’s the easiest way to get out all the lumps- however you can try to mix it with a whisk then wooden spoon. The cheesecake batter should be smooth so it’s important that your cream cheese is softened. Please let me know how they turn out if you do mix by hand! Enjoy!
Such a great dessert and really easy to make. Not the traditional cheesecake texture I was expecting but still liked it. Would you recommend adding any a small amount of flour to make it more fluffy and lense dense?
Hi Isabella, I’m so glad you loved these cheesecake bites and thanks for the review! I’m wondering if your cream cheese was soft enough? The flour does make the cheesecake more dense so you could try to add less next time. Please let me know if you do! 🙂
Ok I forgot to let my cream cheese come to room temperature and it was a little lumpy will it still be fine? It’s currently in the oven now
Hi Drea, I’m sure the flavor will still be good but the consistency may be different if the cream cheese wasn’t softened. I would love to know how they came out, thank you!
Two tablespoons is a good serving
These are amazing!
Thanks so much, Laura!
Could you use this to make a full cake instead of the bites?
Hi Ayla, you can! Just be sure to bake the cheesecake for about 10-20 minutes longer in the regular cheesecake pan than you would the cheesecake bites. If you try it, please let me know how it comes out. Thank you!
Love them !!!!
Thank you so much!! 🙂
I made these and they were so good but the crust or bottom of them were really hard, did I cook them to long?
Hi Hailey, thank you for trying this recipe- I’m so glad you loved them! Hmm I’ve never had that issue before, if you baked them on the bottom rack in the oven that could have made them hard.
These just came out of the oven. A very dear friend is arriving tomorrow for a visit and we made them as a treat. I do have a question, though … by what arcane source have you located a 16 cup standard muffin/cupcake tin? 😛 I solved my puzzle by using a 12 cup and 4 cups of a 6 cup tin, but was insanely curious. Anyway, these little rascals look so divinely delicious cooling in the kitchen, and I wanted to thank you for taking the time to post the recipe. SO much easier than baking a cheesecake! Thank you!
Hi Kathryn! I am wondering if I could substitute sugar with condensed milk? 1:1 ratio. I usually make no bake cheesecakes with condensed milk but I am not sure how it would hold up if I were to use it in this recipe and bake it.
Yummy cheesecake! My family loved this recipe!
These were really easy to make my whole family love them
Thank you so much, Taylor!
We used mega stuffed Oreos and took half the cookie off for the bottom part. Came out great. Everyone loved these. So easy to make and delicious!
Hi Wendy! I LOVE that idea!! Thank you so much for your review 🙂
For something as simple and quick as this to throw together, it sure is a crowd pleaser. 5 stars across the board for the taste and level of effort!
Isn’t this recipe so easy!? Thanks so much Shay!
I am now trying it for the second time because the first time I made this recipe, the instructions were a bit confusing for me. I was just getting ahead of myself and rushing through everything to get to the sugary stuff at the end. I did not put an Oreo at the bottom and made actual pie crust from the cookie. But in the end, they were delicious.
Hi Olivia, I’m so glad they came out for you with the Oreo crust. Thanks so much for trying my recipe!
They tasted so good and so easy to make 5 stars for 👍🏼
Hi Shauna! Thank you so much, I’m so glad you loved these cheesecake bites. They are one of my favorites!
When you say REGULAR, do you mean regular sized or regular material muffin pan? Can you use silicon? My muffin tin is only 12, but I do have a silicon one as well…
Delicious!!
Thanks Shannon, I’m so glad!