Red Velvet Truffles
As an Amazon Associate, I earn from qualifying purchases. Read the full disclosure here.
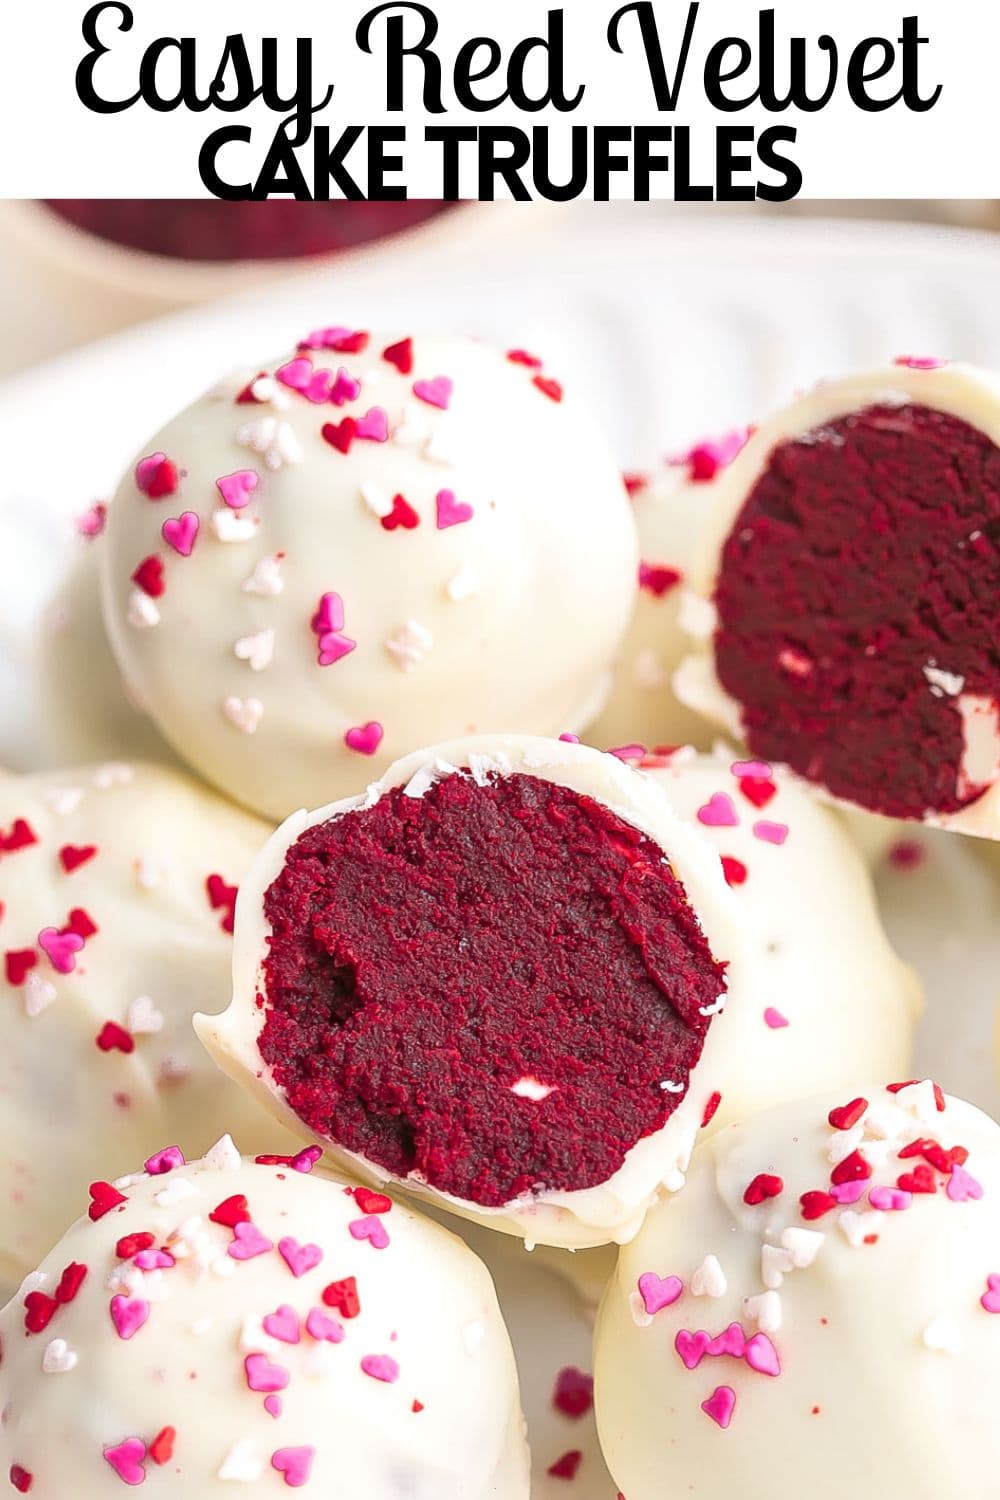
Red Velvet Truffles make the perfect sweet treat on Valentine’s Day! Made with boxed cake mix, frosting, cream cheese, and chocolate. These couldn’t be any easier to make!
PIN these Red Velvet Cake Truffles to try later!
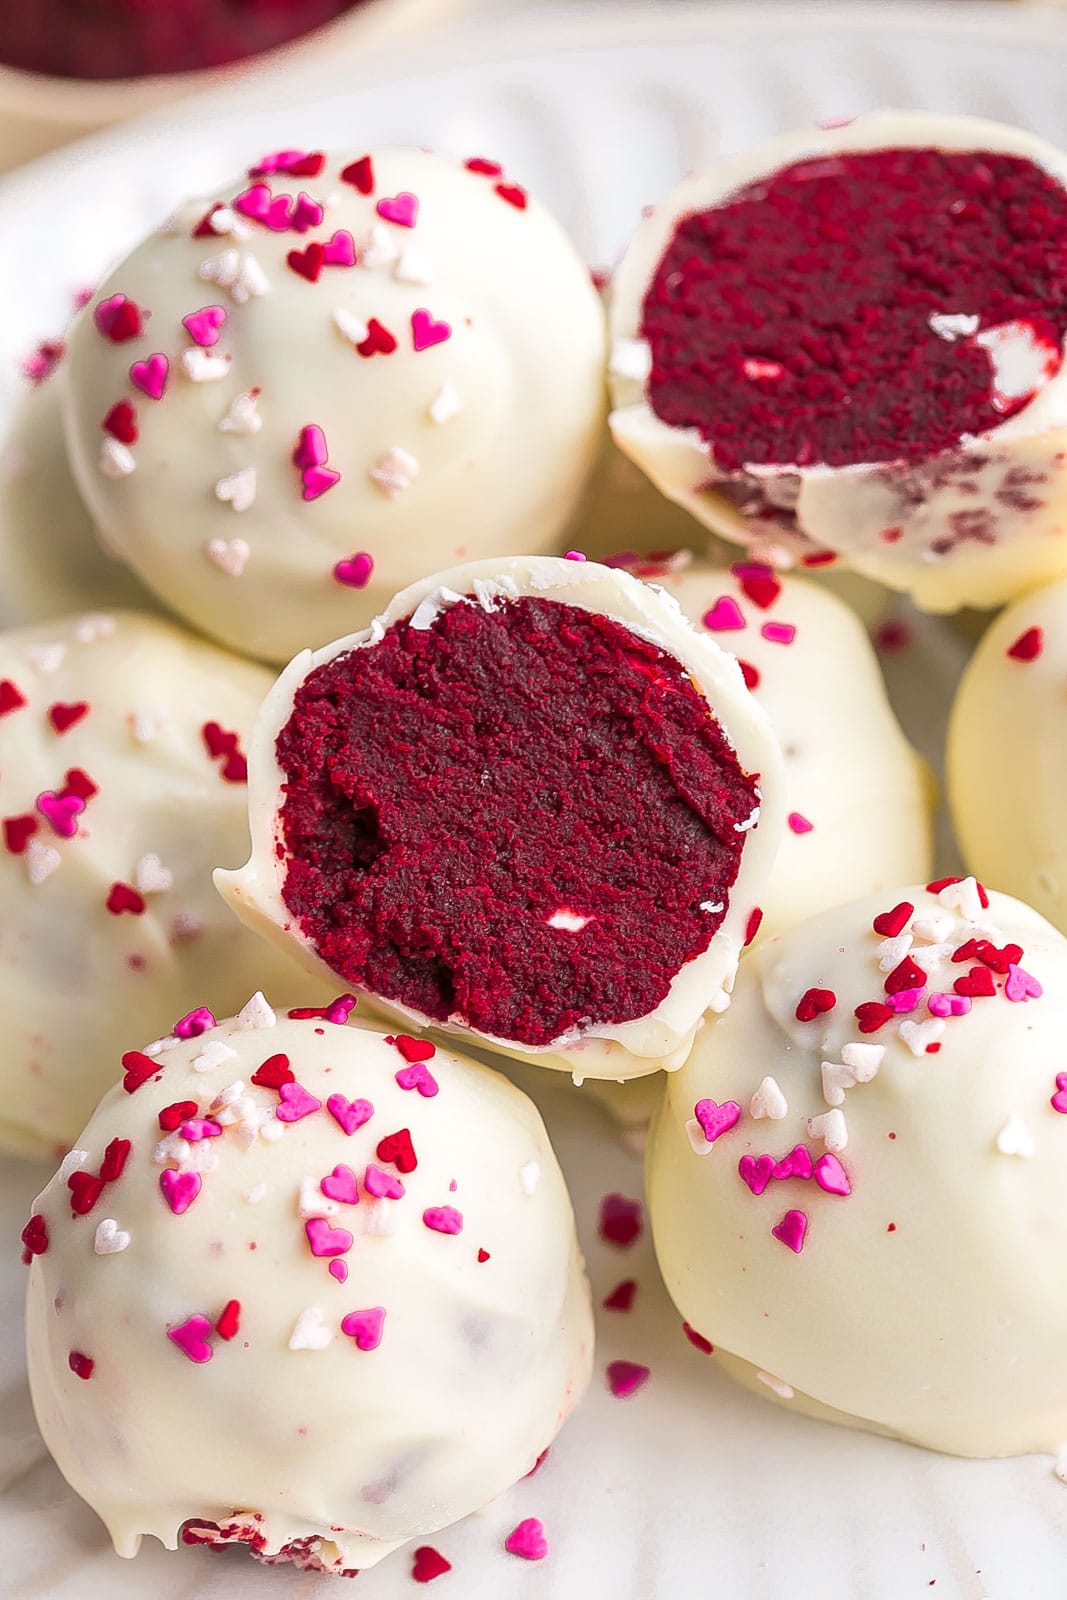
Red Velvet Truffles
Looking for a fun way to celebrate Valentine’s Day? These Red Velvet Truffles or you could also call them Red Velvet Cake Balls are perfect and made with only 4 ingredients so no need to spend too much time in the kitchen.
If you love cake, truffles, and chocolate..you’re in for the sweetest treat.
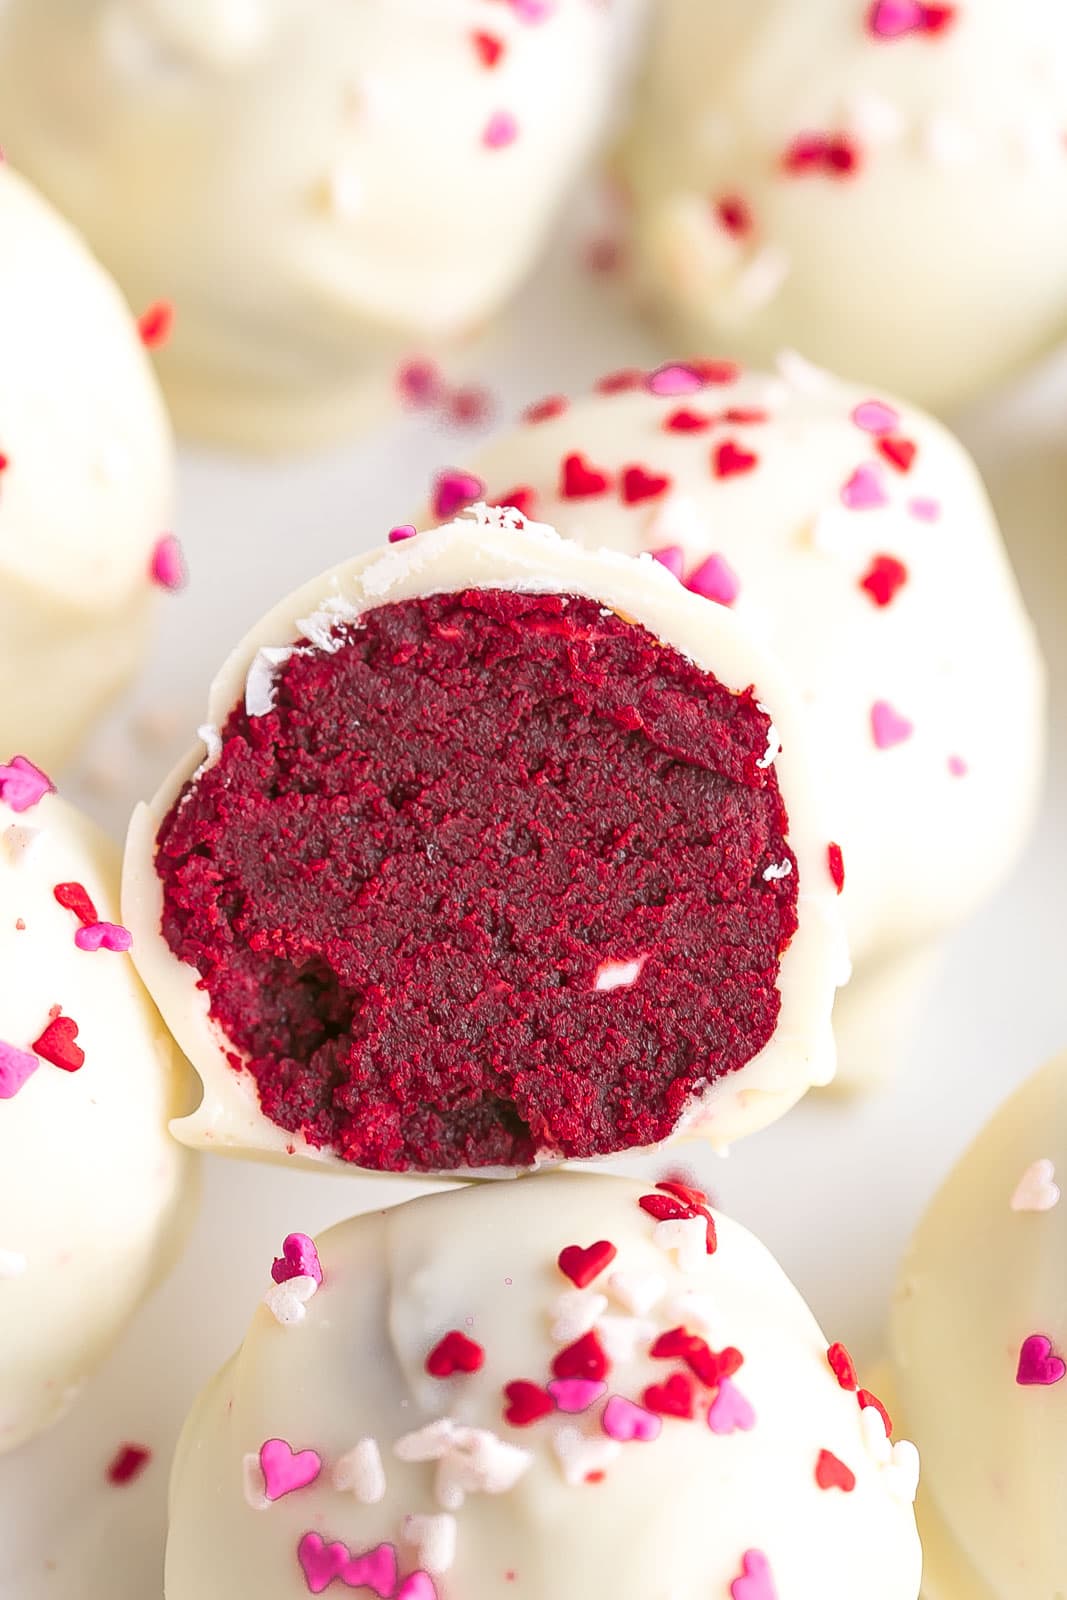
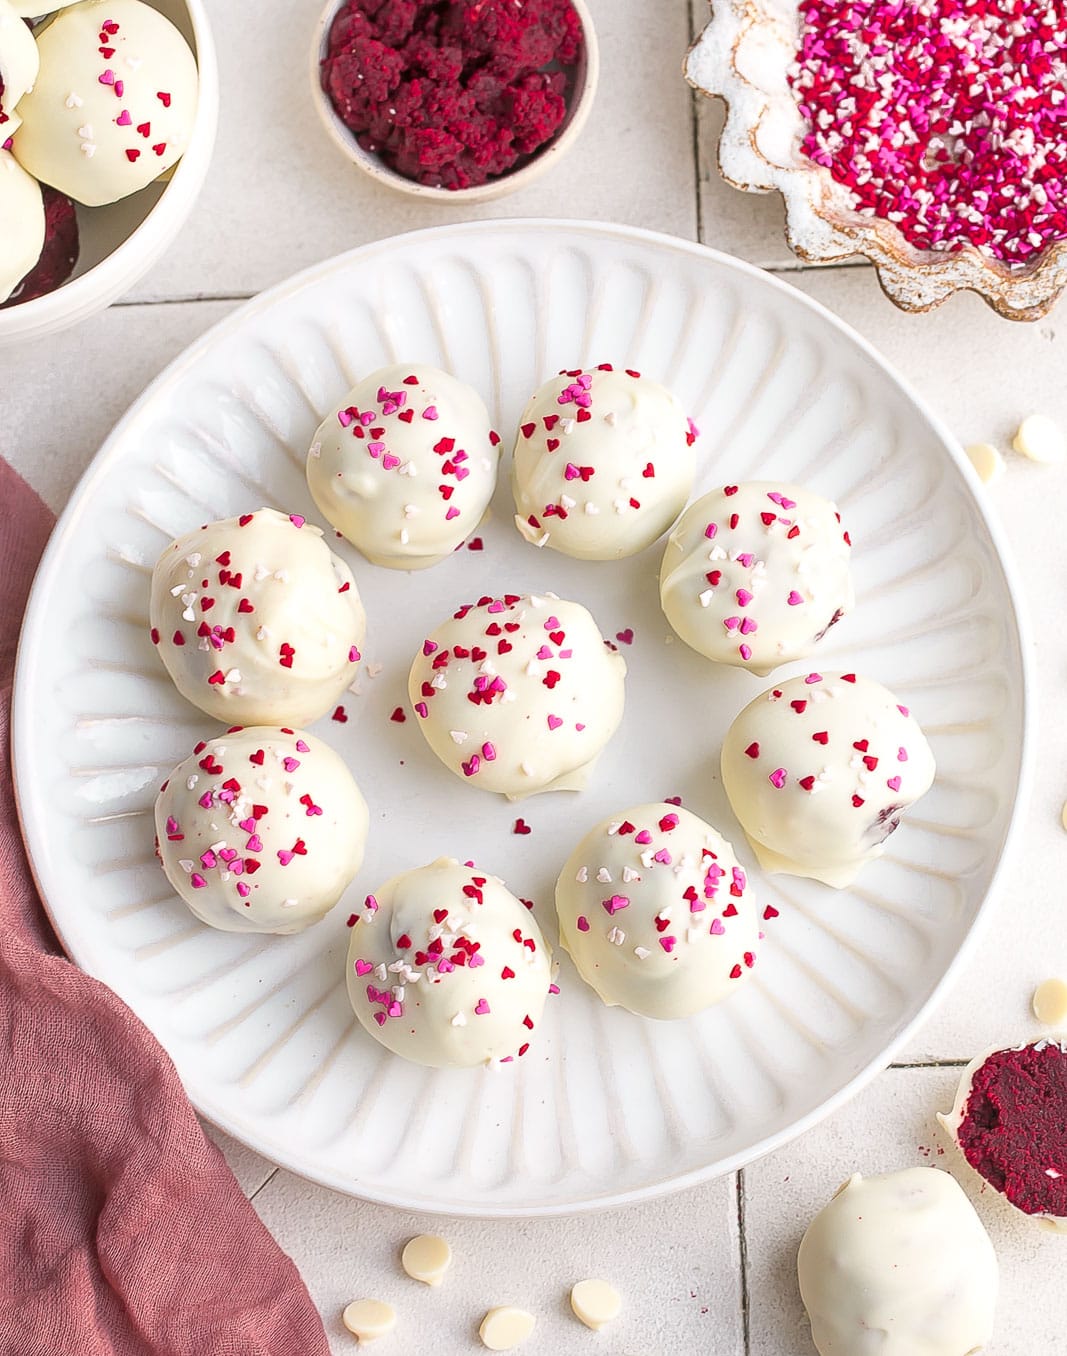
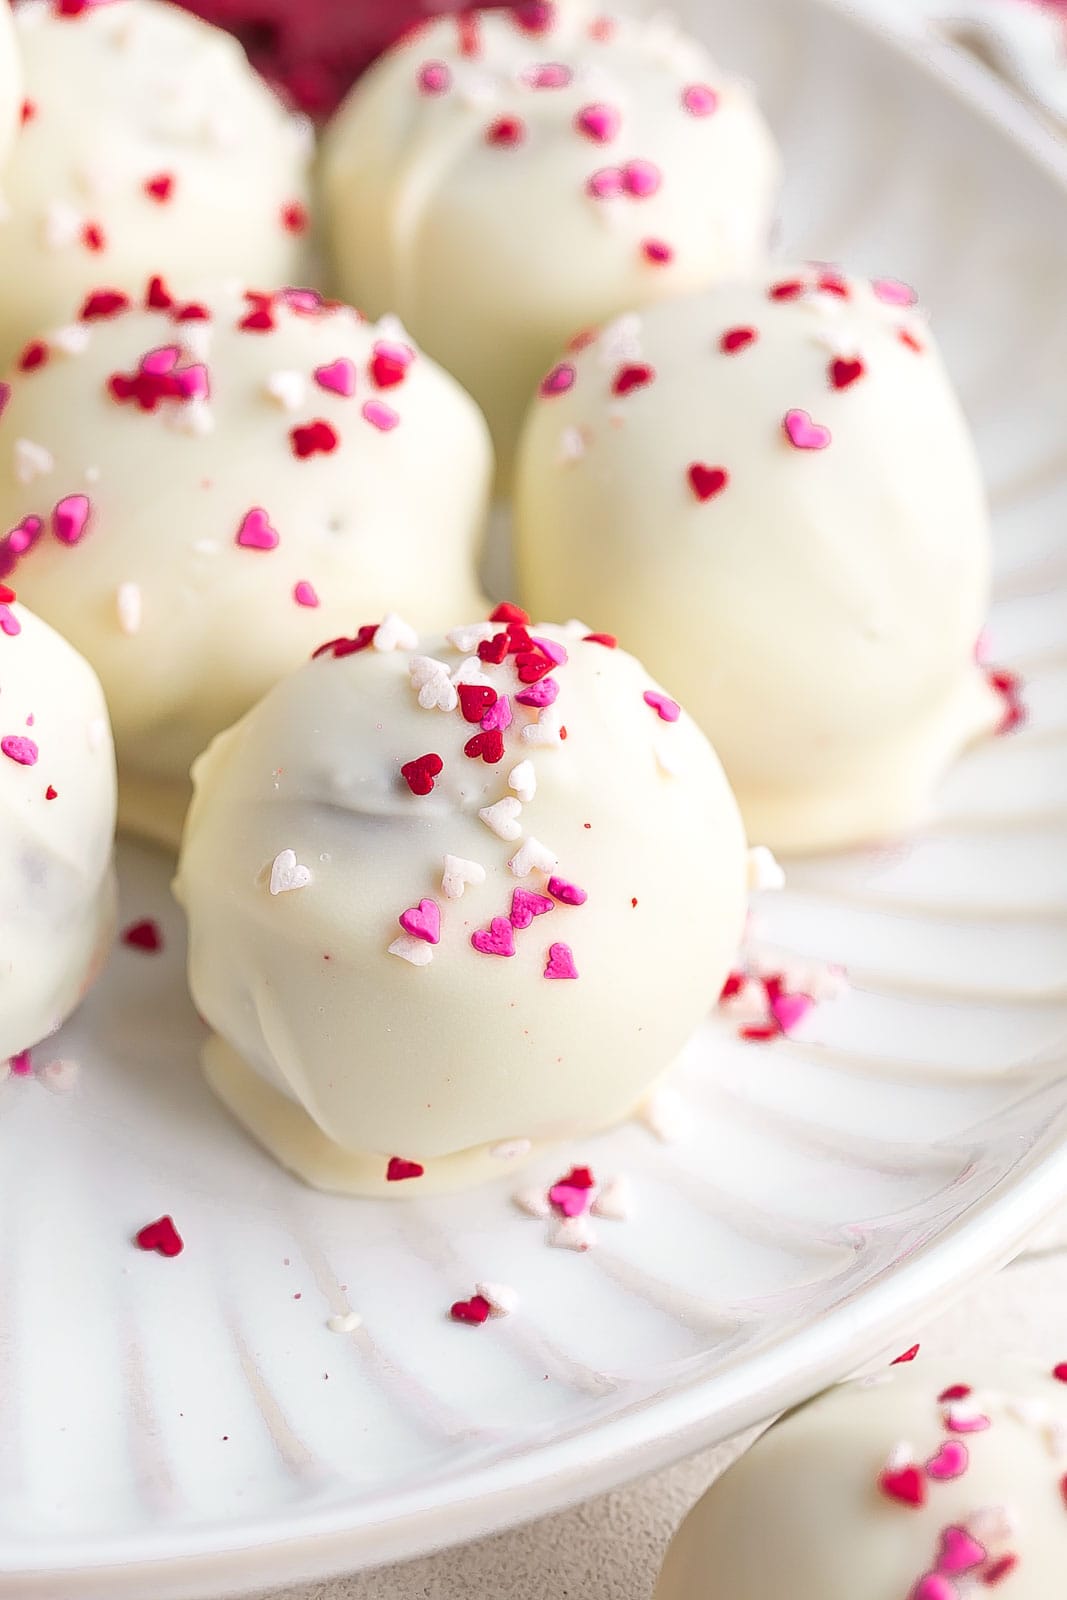
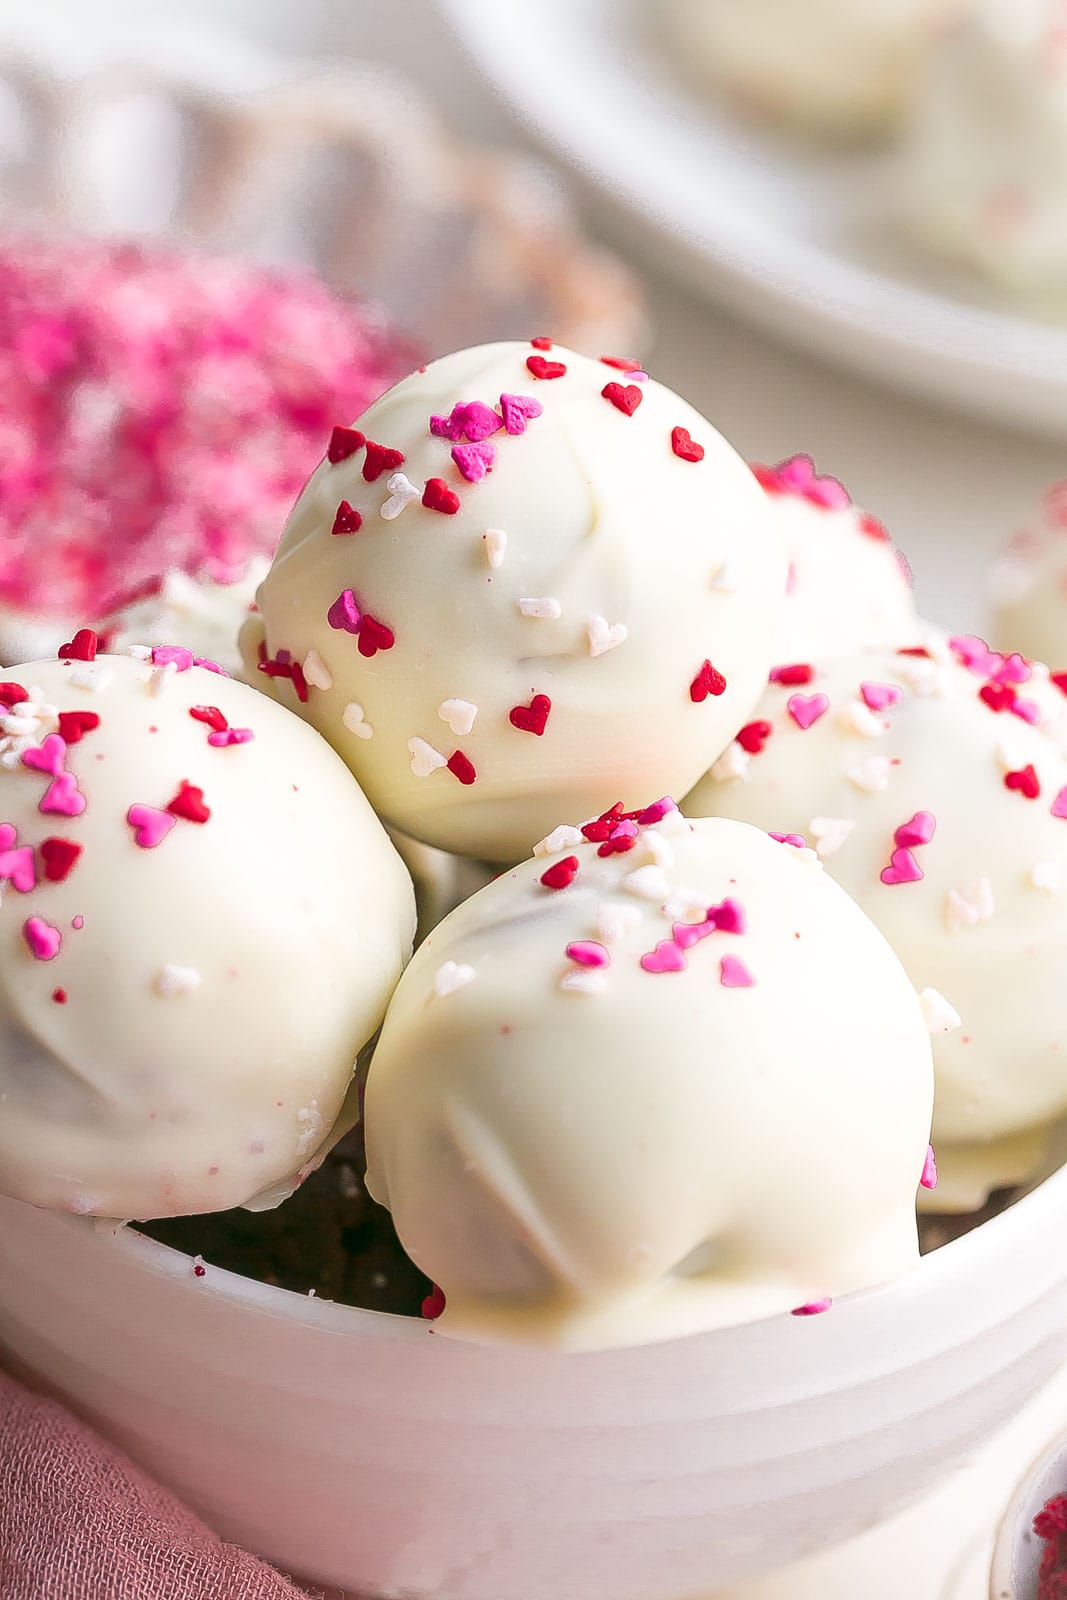
The center of these truffles are moist, rich, and taste like actual truffles. Dipped in a white chocolate coating and topped with pink and red sprinkles to make these extra festive. The best part of this dessert is these only take a few bites to eat so they are the perfect size for satisfying your sweet tooth.
Why This Recipe Works
Make-ahead: You can easily make these a day ahead if you are making these for a party. Just keep them refrigerated until ready to serve.
Perfect for any occasion: Make this easy treat for your favorite holidays! Just switch up the sprinkles and candy coating colors or leave them plain just as they are without sprinkles.
Portable: These can easily be transferred by placing them in an airtight container or platter covered with plastic wrap.
Fun for kids: Let the kids help you make this treat by having them crumble up the cake into small pieces, roll the truffle batter into balls, or add the sprinkles.
Valentine’s Day treat: Celebrate Valentine’s day by brining these to your next classroom party, work potluck, gifts for friends, or lunch box treats. You could also add pink or red food coloring to the chocolate to make these more festive and colorful.
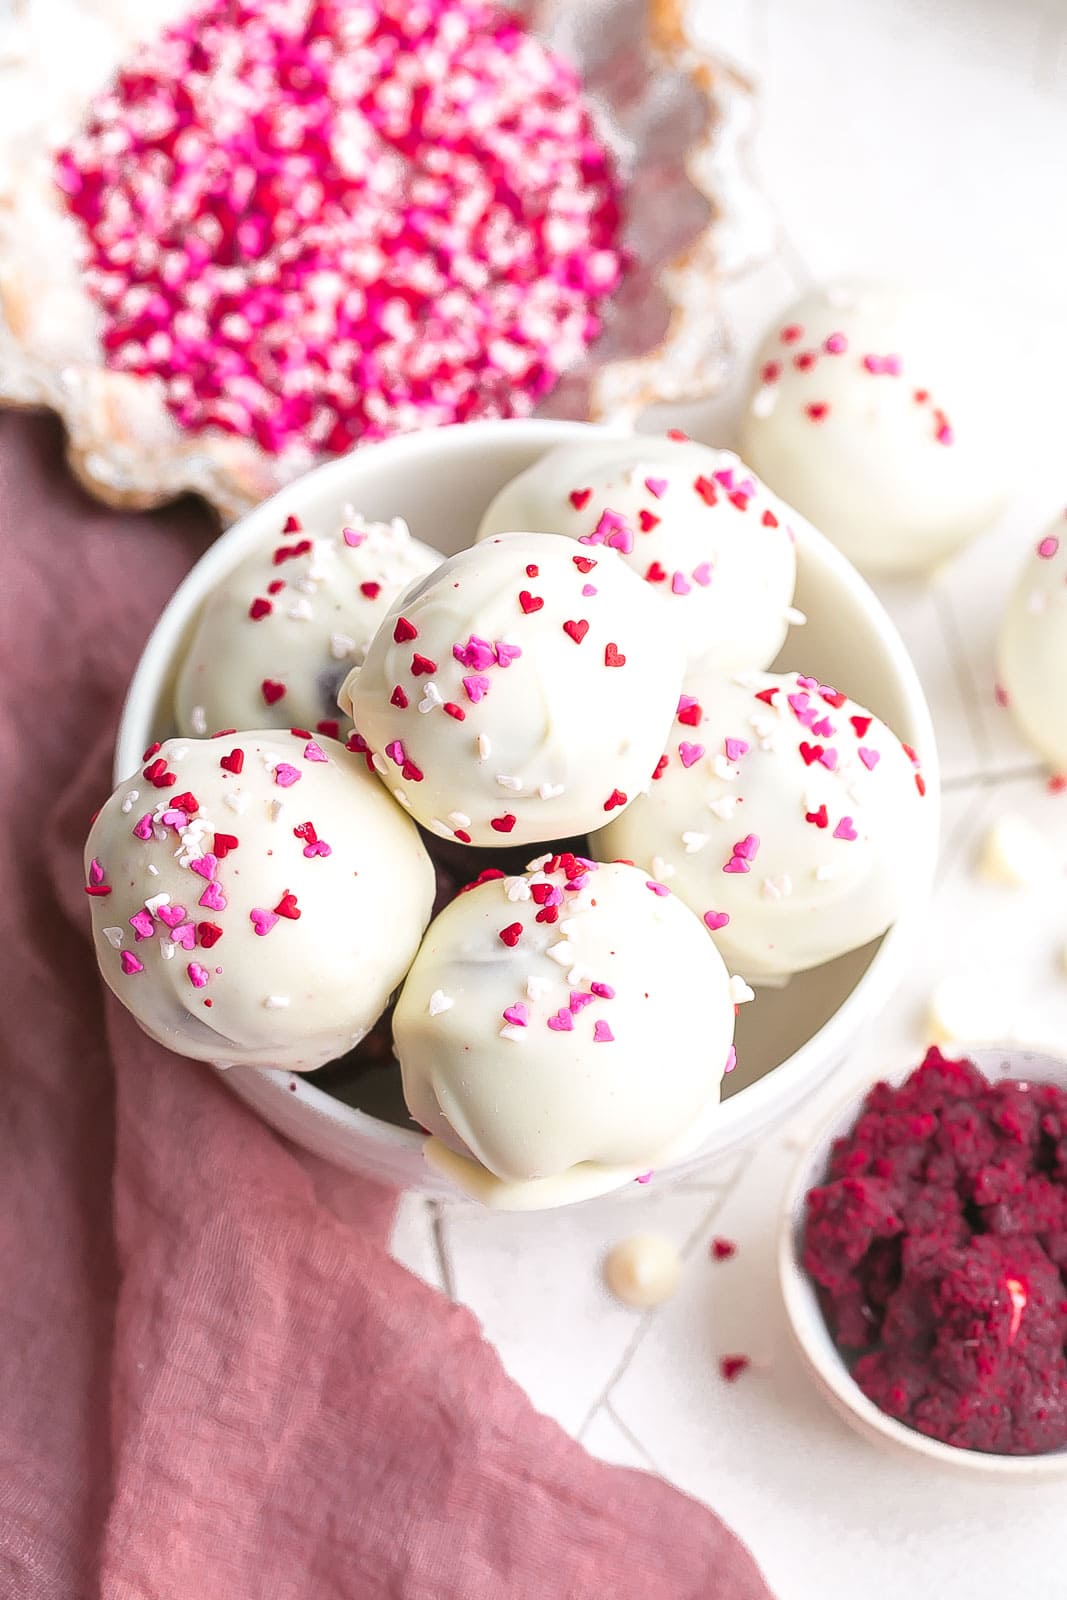
Key Ingredients
- Red velvet cake mix: You want to make the cake according to boxed mix instructions.
- Frosting: We use cream cheese frosting but you could also use vanilla frosting. The frosting will help bind the truffles together and give them an extra sweet flavor.
- Softened cream cheese: Make sure to use full-fat not low fat. Full-fat cream cheese will give the best flavor and consistency. The cream cheese makes these extra decadent and creamy like a real truffle!
- White melting chocolate or almond bark: You can also use milk chocolate if you prefer. I use either Ghirardelli or Wilton chocolates. White chocolate chips will work too but I find the melting chocolate melts easier.
- Sprinkles: To add color, this is totally optional. I used Valentine’s themed sprinkles but rainbow sprinkles are perfect all year round. You could also leave them plain.
How To Make Red Velvet Truffles
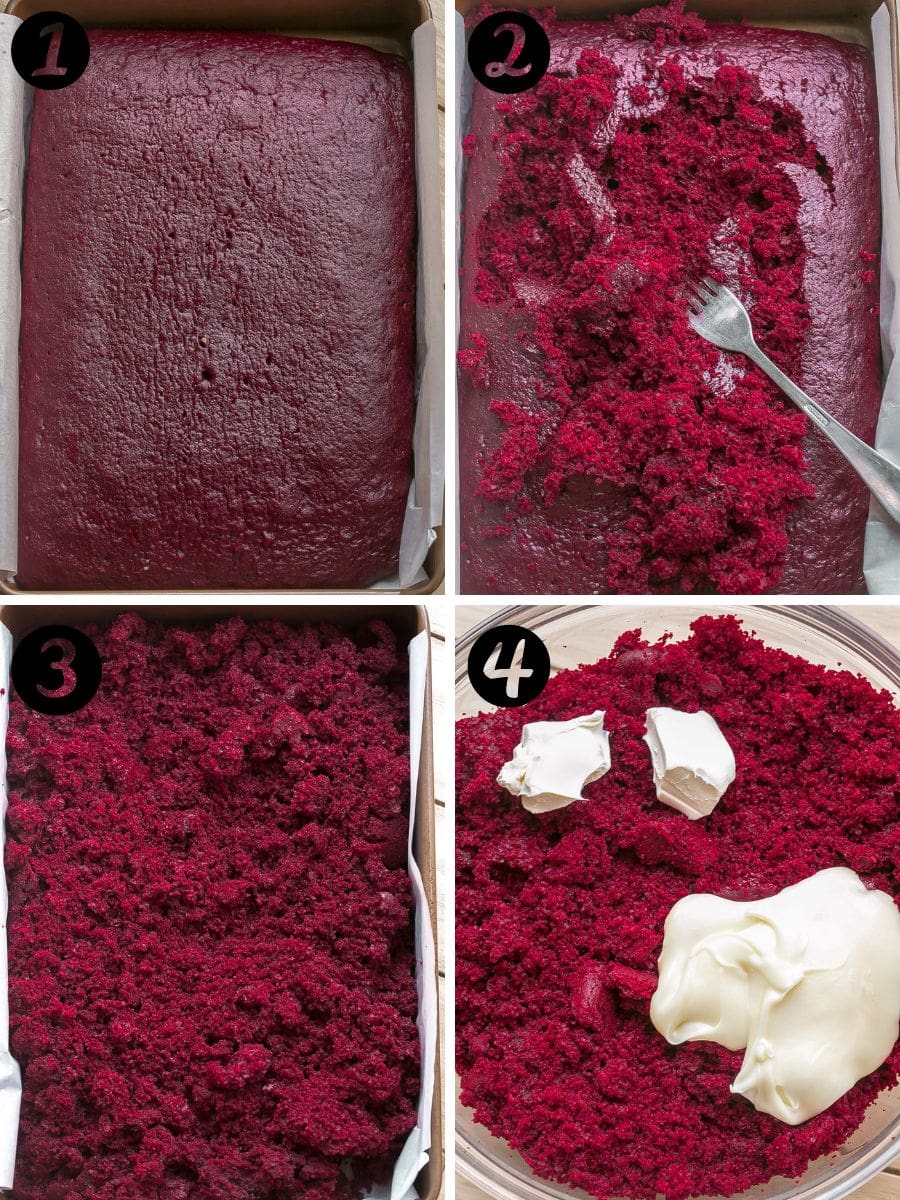
Bake cake: Prepare and bake the red velvet cake mix according to package directions in a 9×13 inch baking pan.
Crumble cake: Once the cake has cooled completely, crumble the cake with a fork to make small pieces and add to a large bowl.
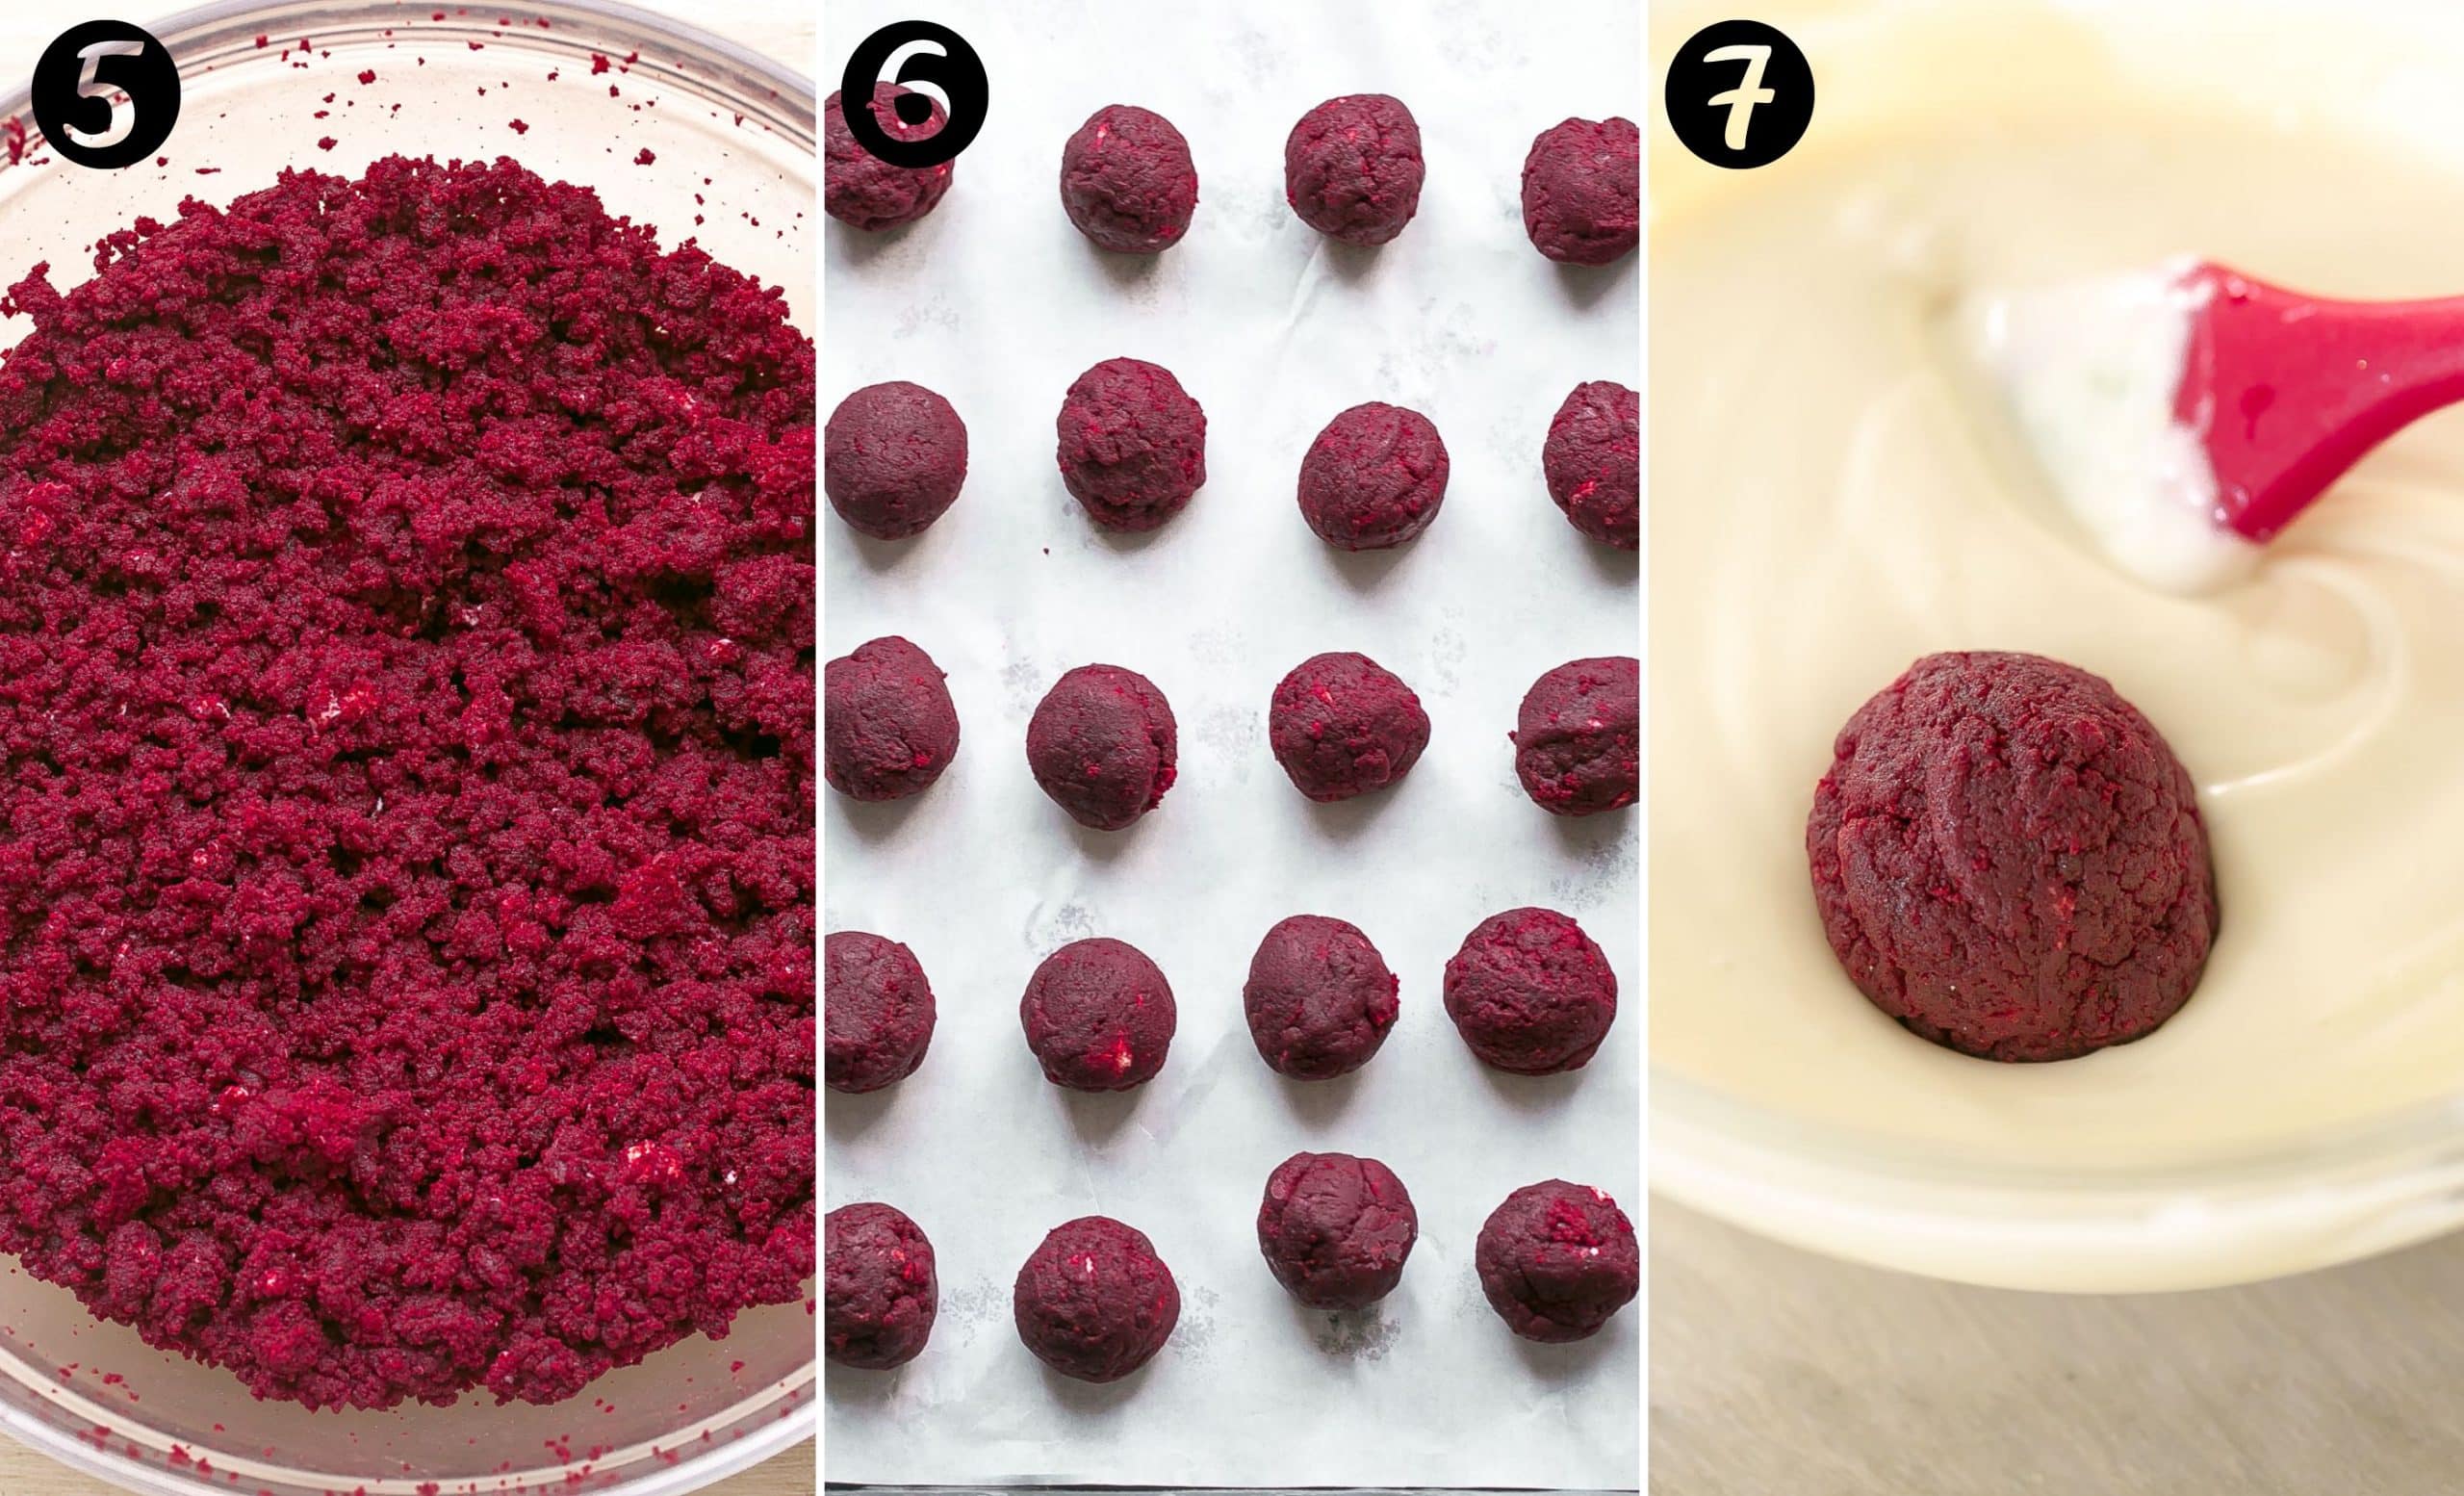
Mix cake with frosting and cream cheese: Warm the frosting in the microwave for about 15 seconds. Add the frosting and cream cheese to the cake and mix with an electric hand mixer just until well combined. It’s ok if there are a few cream cheese lumps.
Scoop into balls and freeze: Use a small cookie scoop (equivalent to 2 tablespoons) to scoop out balls of cake and roll in the palms of your hands to form a round ball. Place on a cookie sheet and freeze for 30 minutes.
Dip in chocolate and let harden: Place the candy melts in a microwavable safe bowl and microwave until melted and smooth. Once the cake balls have slightly hardened, dip each ball into the melted chocolate until each side has been coated. Remove excess coating by dragging the bottom of the truffle with a fork across the bowl. Add sprinkles (optional). Place the dipped truffle on a baking sheet lined with foil or parchment paper and refrigerator for another 15-30 minutes or until chocolate is set. Enjoy!
Recipe Tips & Variations
Red velvet cake pops: Add lollipop sticks to the truffle balls to make cake pops instead.
Switch up the flavor: Use chocolate cake, vanilla cake, strawberry cake, yellow cake or any of your favorite cake flavors. You could also switch the frosting and chocolate coating too. Some other flavors are milk chocolate, dark chocolate, or a combination. These truffles are easily customizable.
Be sure not to freeze the truffles completely: If you freeze the truffles completely it could cause the chocolate to crack. They will still taste perfectly fine but the chocolate coating won’t be as smooth and perfect looking.
Use a fork to dunk: When dunking the truffles in the melted chocolate, use a fork and scrape off the excess chocolate on the side of the bowl so you don’t get a ton of leftover chocolate on the bottom of your truffles.
What is Red Velvet?
Red velvet is a popular flavor during Valentine’s day because it’s made with a vanilla cake base, cocoa powder, red food coloring and often buttermilk and vinegar to offset the sweet flavor. The chocolate flavor in the cake is very subtle and has far less chocolate flavor than a chocolate cake does.
Leftovers & Storage
Leftovers: Any leftovers should be stored in the refrigerator in an airtight container or place them in a dish and wrap them in plastic wrap. They will last up to 5 days.
Freeze: You can freeze these truffles for up to 3 months in an airtight container. Simply thaw in the refrigerator overnight before serving.
Other Valentine’s Day Recipes
- Mini Chocolate Cheesecakes
- Strawberry Rice Krispie Treats
- Heart Shaped Sugar Cookies
- Valentine’s Day Oreos
- Heart Shaped Cherry Pies
Other Truffle Recipes
NEVER MISS A RECIPE
Join thousands of subscribers & get
easy recipes via email for FREE!
Want to be Featured?
If you make this recipe, please let me know how it turned out…

Kathryn’s Kitchen Blog
Easy, simple, and delicious recipes anyone can make. Click the button below so you don’t miss any recipes!

Red Velvet Truffles
Ingredients
- 1 package red velvet cake mix plus ingredients listed on box needed to make cake
- 1 cup cream cheese frosting I used canned frosting (about 8 ounces)
- 2 ounces cream cheese softened
- 2 10 ounce packages white melting chocolate
- sprinkles optional
Instructions
- Prepare and bake the red velvet cake mix according to package directions in a 9×13 inch baking pan.
- Once the cake has cooled completely, crumble the cake with a fork to make small pieces and add to a large bowl.
- Warm the frosting in the microwave for about 15 seconds. Add the frosting and cream cheese to the cake and mix with an electric hand mixer just until well combined. It's ok if there are a few cream cheese lumps.
- The cake should seem very moist if pinched or squeezed together with your fingers. If it seems dry, add more frosting.
- Use a small cookie scoop (equivalent to 2 tablespoons) to scoop out balls of cake and roll in the palms of your hands to form a round ball. Place on a cookie sheet and freeze for 30 minutes.
- Place the candy melts in a microwavable safe bowl and microwave until melted and smooth. Once the cake balls have slightly hardened, dip each ball into the melted chocolate until each side has been coated. Remove excess coating by dragging the bottom of the truffle with a fork across the bowl. Add sprinkles (optional). Place the dipped truffle on a baking sheet lined with foil and refrigerator for another 15-30 minutes or until chocolate is set. Enjoy!




Look at the colour of these truffles. Perfect for Valentine’s Day. I love anything red velvet.
These are so decadent! I need a little treat, and they were so good. I just love red velvet. Definitely making them again for Valentine’s Day!
I LOVE making truffles and these look like just the thing to make for my Valentine this year. Can’t wait to give these delicious looking treats a try!
Oh wow! These are so cute and are perfect to make for the Valentine’s. thank you for sharing this recipe so timely! 🙂
Not only were these truffles beautiful to look at, but they tasted amazing! A beautiful treat for upcoming VDAy. I am excited to gift them to my husband
I love that this recipe uses. boxed cake mix. It makes this whole process so quick and easy! Perfect for getting the kids involved.
Wow! This “Red Velvet truffle” looks incredibly delicious with such a very cool frosting on it! The added cream cheese and chocolate make it so flavorful and tasteful! Totally love this, a perfect treat this coming Valentine’s Day!
I had some leftover cream cheese frosting to use and I’m so glad I used it on these truffles! They are SO good. My kid is going to adore these; thanks!
OMG! These red velvet truffles were amazing and so easy to make! Thanks for the recipe
These truffles seem like a nice treat that everyone will enjoy and perfect for Valentine’s Day as well.