Oreo Halloween Cookies


As an Amazon Associate, I earn from qualifying purchases. Read the full disclosure here.
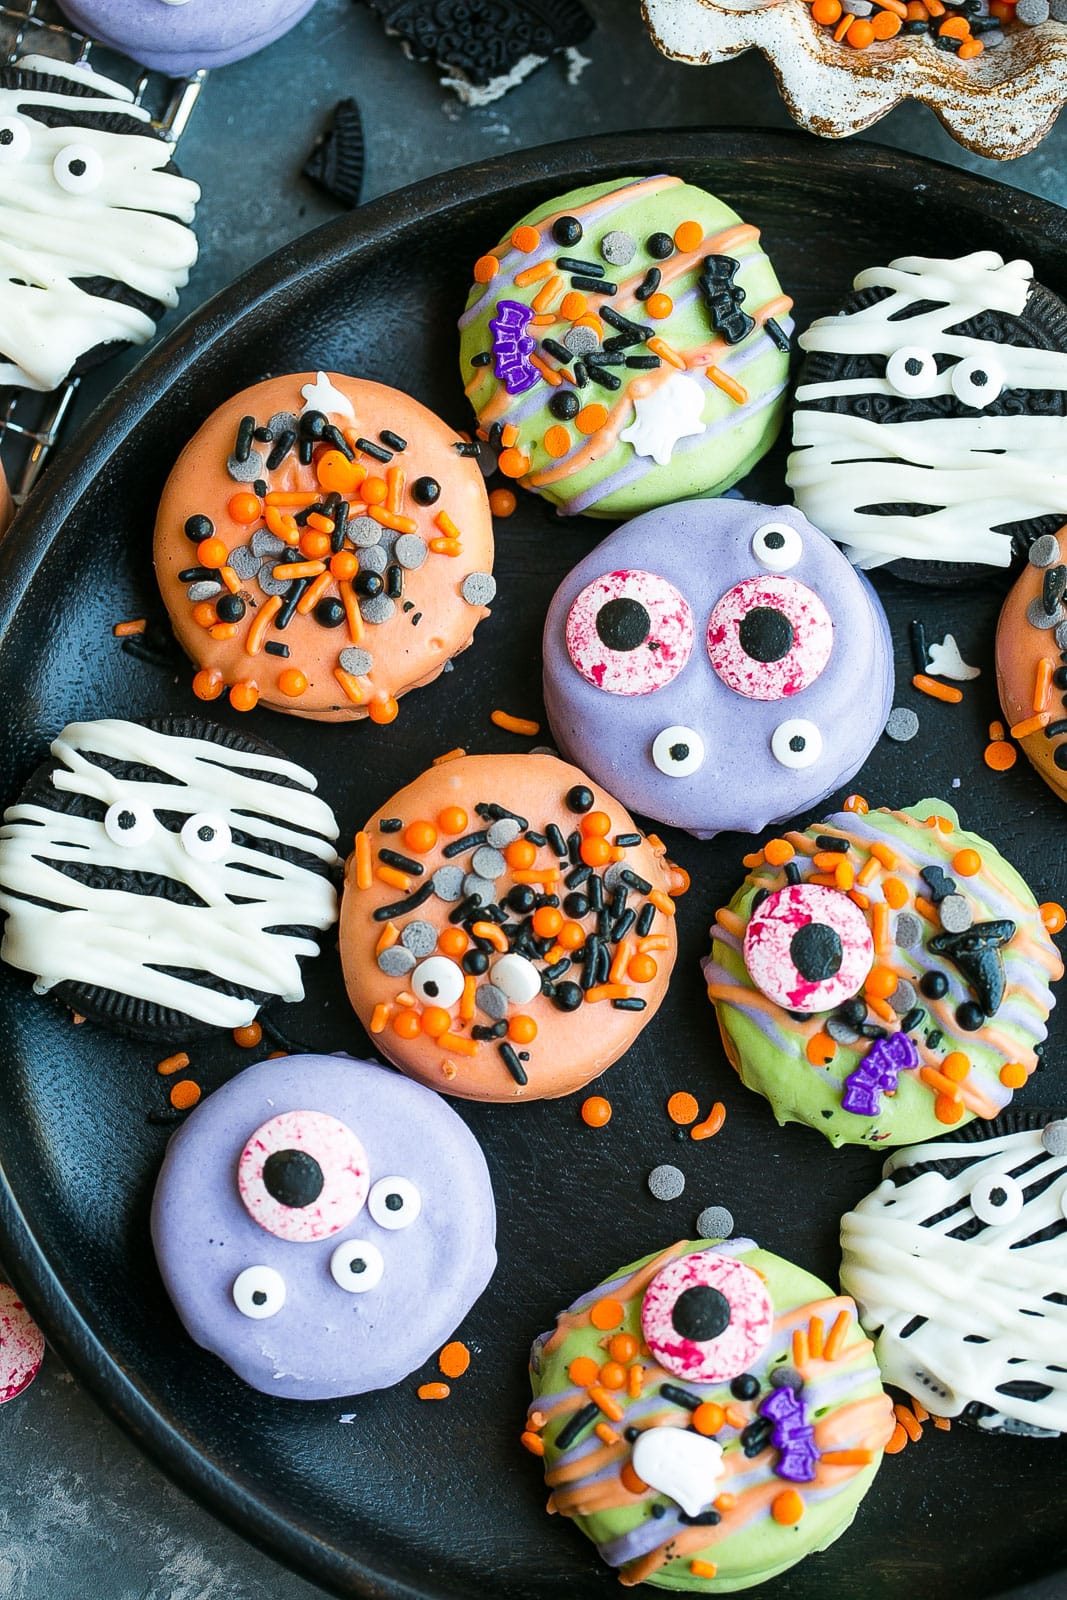
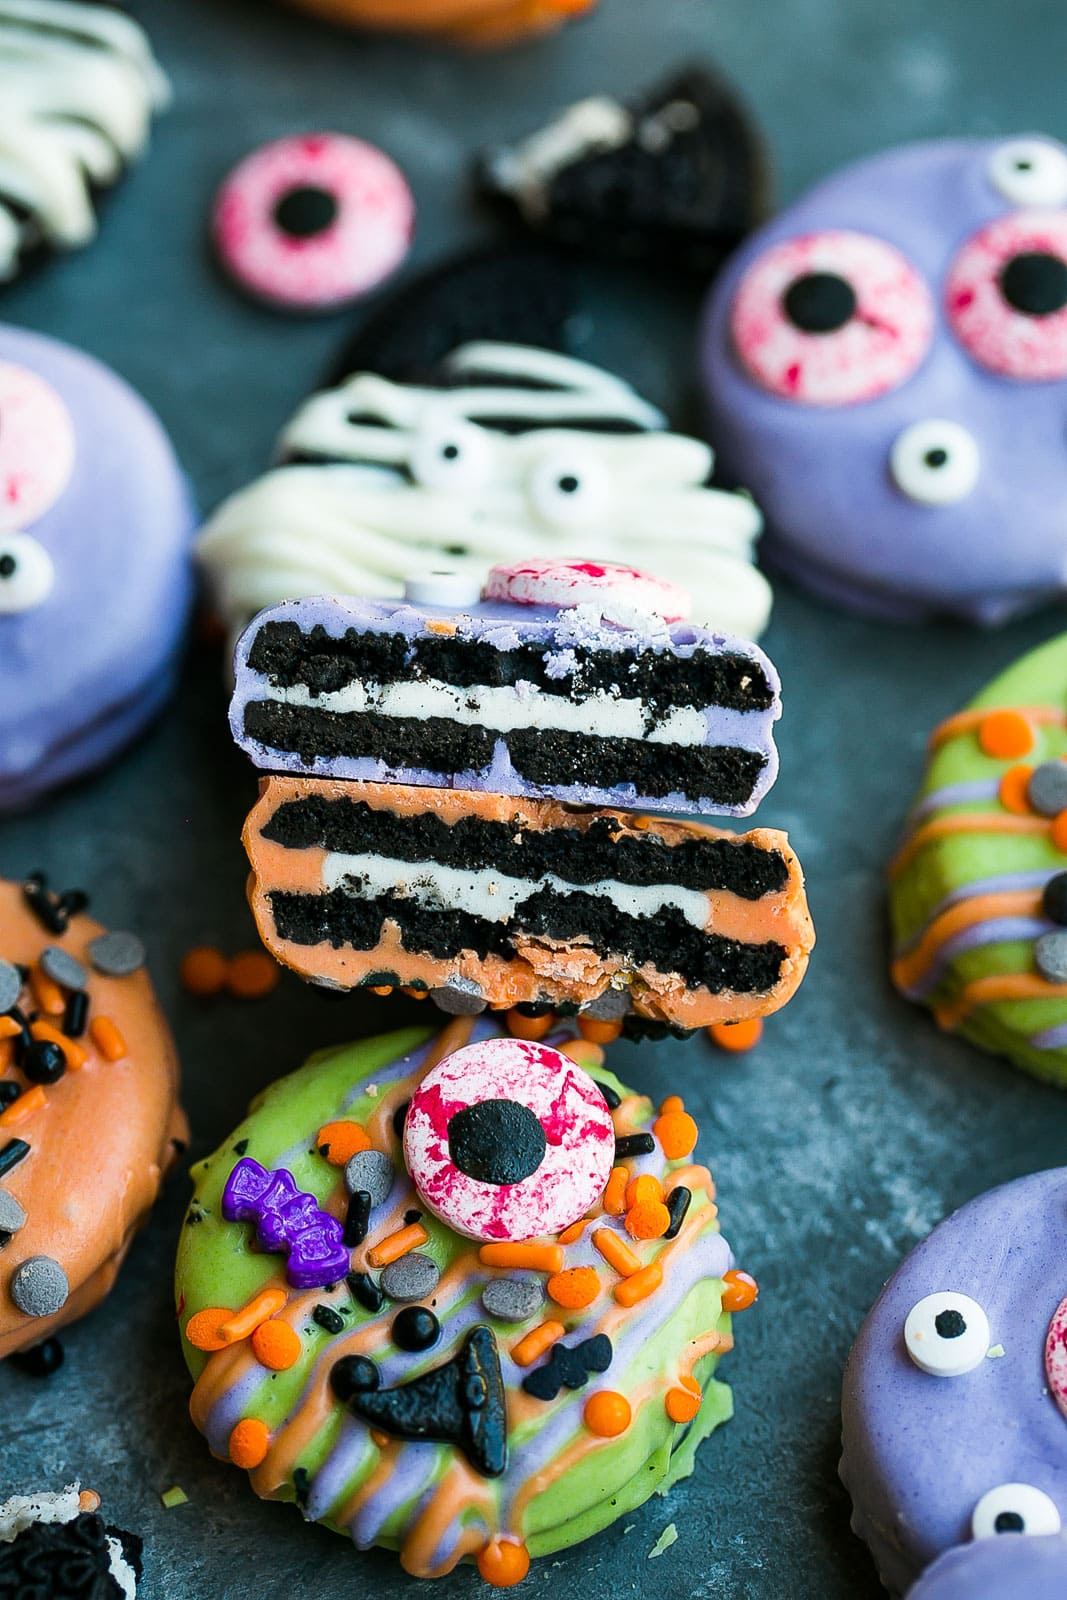
Oreo Halloween Cookies make a fun no-bake Halloween treat made with classic Oreo cookies and white chocolate! We make Mummy Oreos, Hocus Pocus Oreos, Sprinkled Oreos, and Purple Monster Oreos. Made with only 3 ingredients and is perfect for your next Halloween party!
PIN these Halloween Oreo Cookies to try later!
OREO HALLOWEEN COOKIES
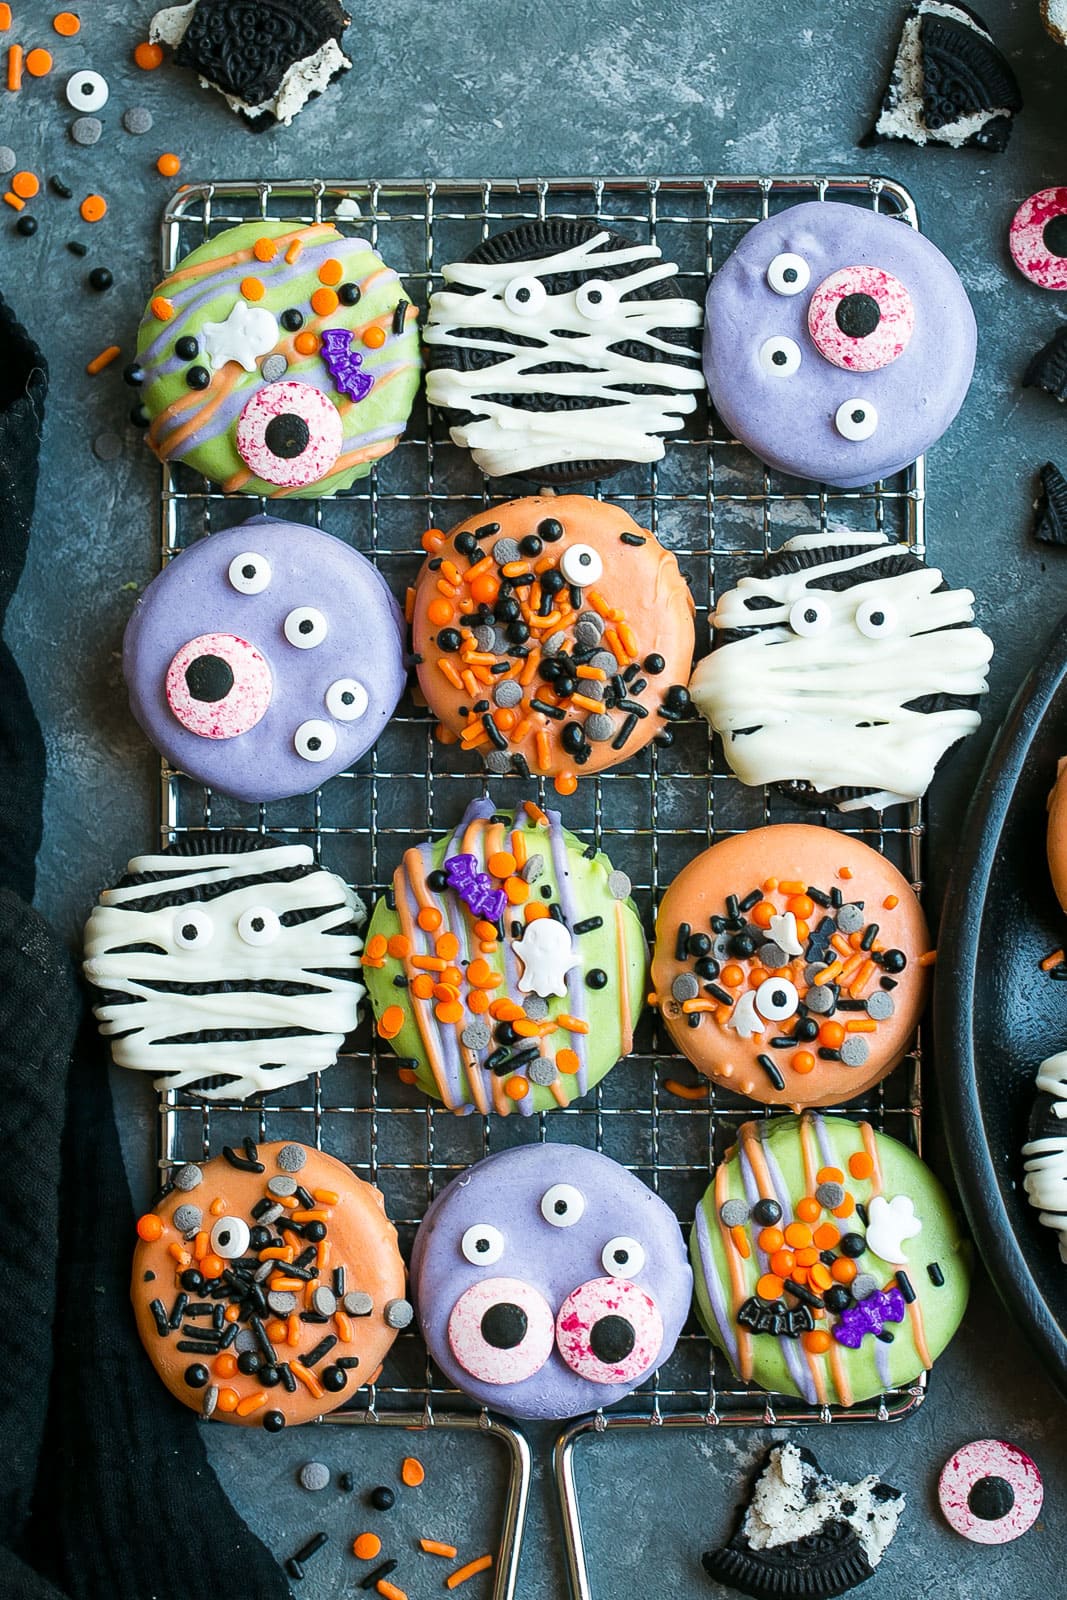
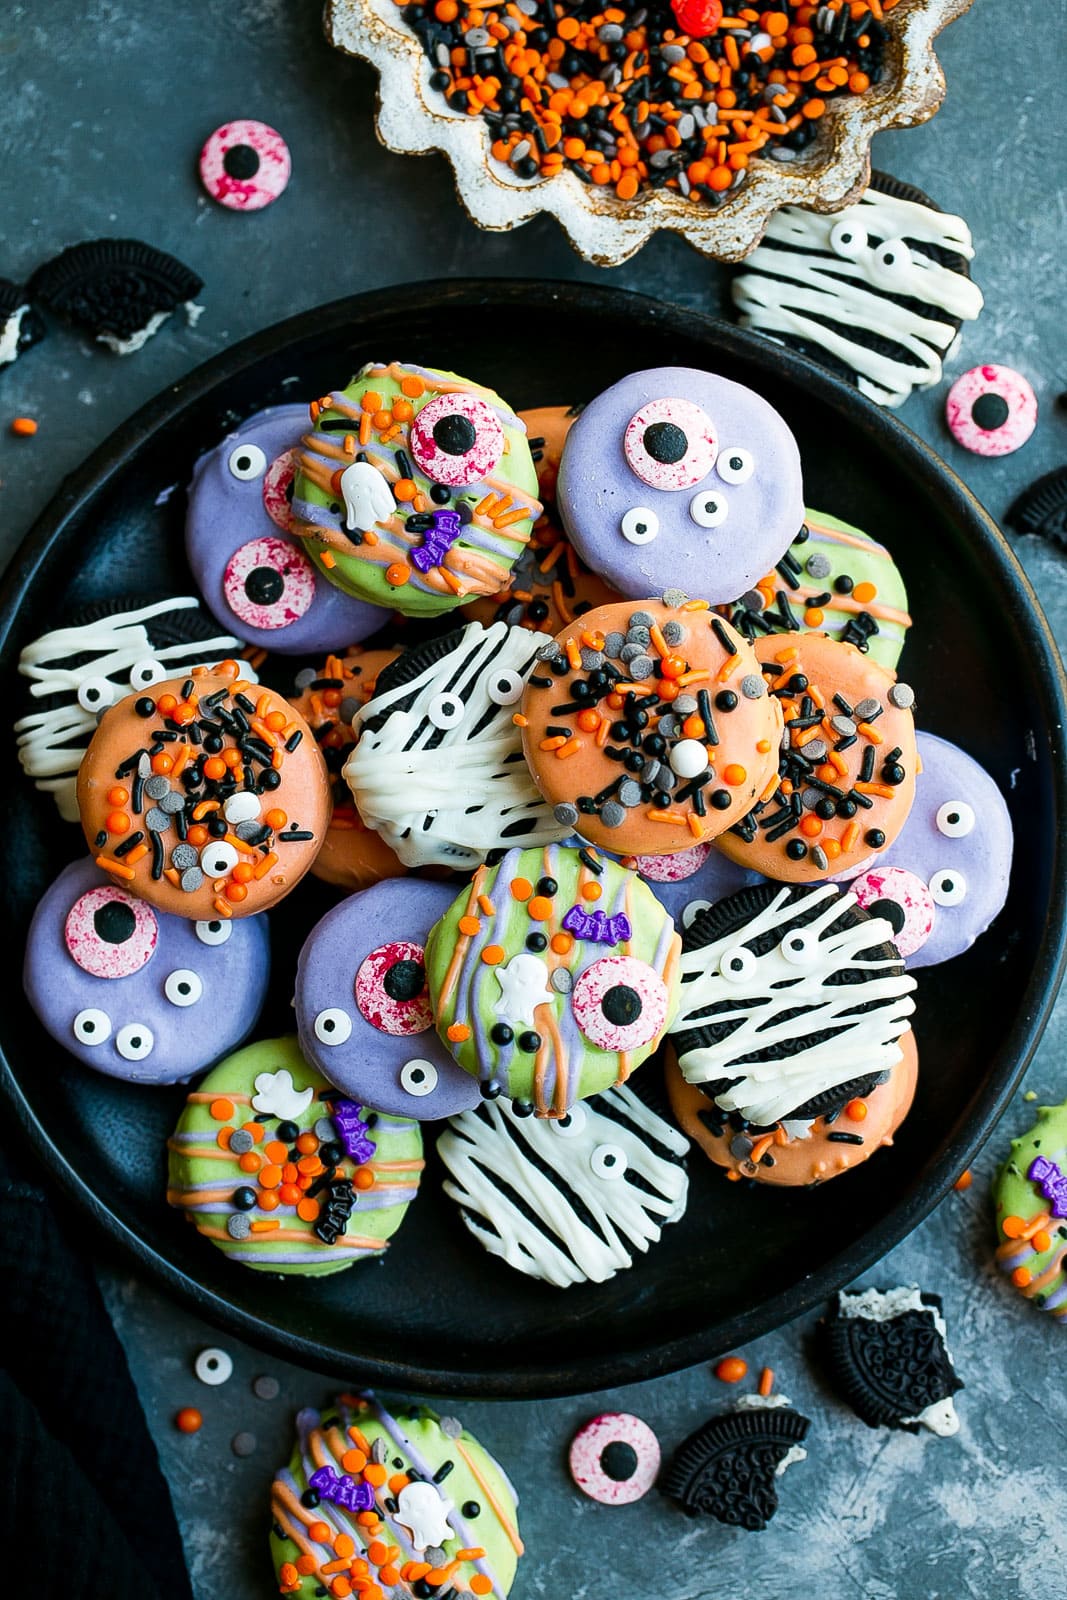
Halloween Chocolate Covered Oreos make a fun and delicious treat that kids, adults, and your taste buds will love. We make these into 4 cute and spooky designs and they are so easy to assemble- they are nearly impossible to mess up.
These Halloween Oreo Treats make a great treat for any Halloween party or any of your Trick or Treat festivities! You can also pass these treats out instead of Halloween candy if you really want to spread the love. They are so adorable and can be made as spooky (or not) as you desire. Get as creative as you want and use your favorite edible Halloween decorations to decorate.
We use creamy melted white chocolate chips to dunk the cookies in and added some food gel coloring, decorations and voillaaaa! You’ll have cutest Halloween Dipped Oreos.
Other no-bake Halloween desserts to try is my Halloween Bark, Halloween Brownie Batter Dip, Halloween Bark, and Mummy Rice Krispies. If you wanted a savory Halloween treat, this Hocus Pocus Charcuterie Board is epic and always a favorite.
Why You’ll Love This Recipe

key ingredients
- Oreos: The star ingredient! Use any brand you love, we use regular Oreos but Trader Joe’s Joe Joe’s will work just as well. Feel free to switch up the Oreo flavor for different occasions and you can also use the Double Stuf Oreo for more of a frosting flavor.
- Melting chocolate: You can use either candy melts, white almond bark, white chocolate chips, or any type of melting candy. If you use regular white chocolate chips, be sure to add coconut oil to the bowl when heating.
- Edible candy eyes: You can usually find these at your local grocery store, if not you can use mini milk chocolate chips for the mummies.
- Sprinkles: I use a few different Halloween sprinkles for fun! You can find these just about at any grocery store in October or on Amazon any time of the year ;).

how to make oreo halloween cookies
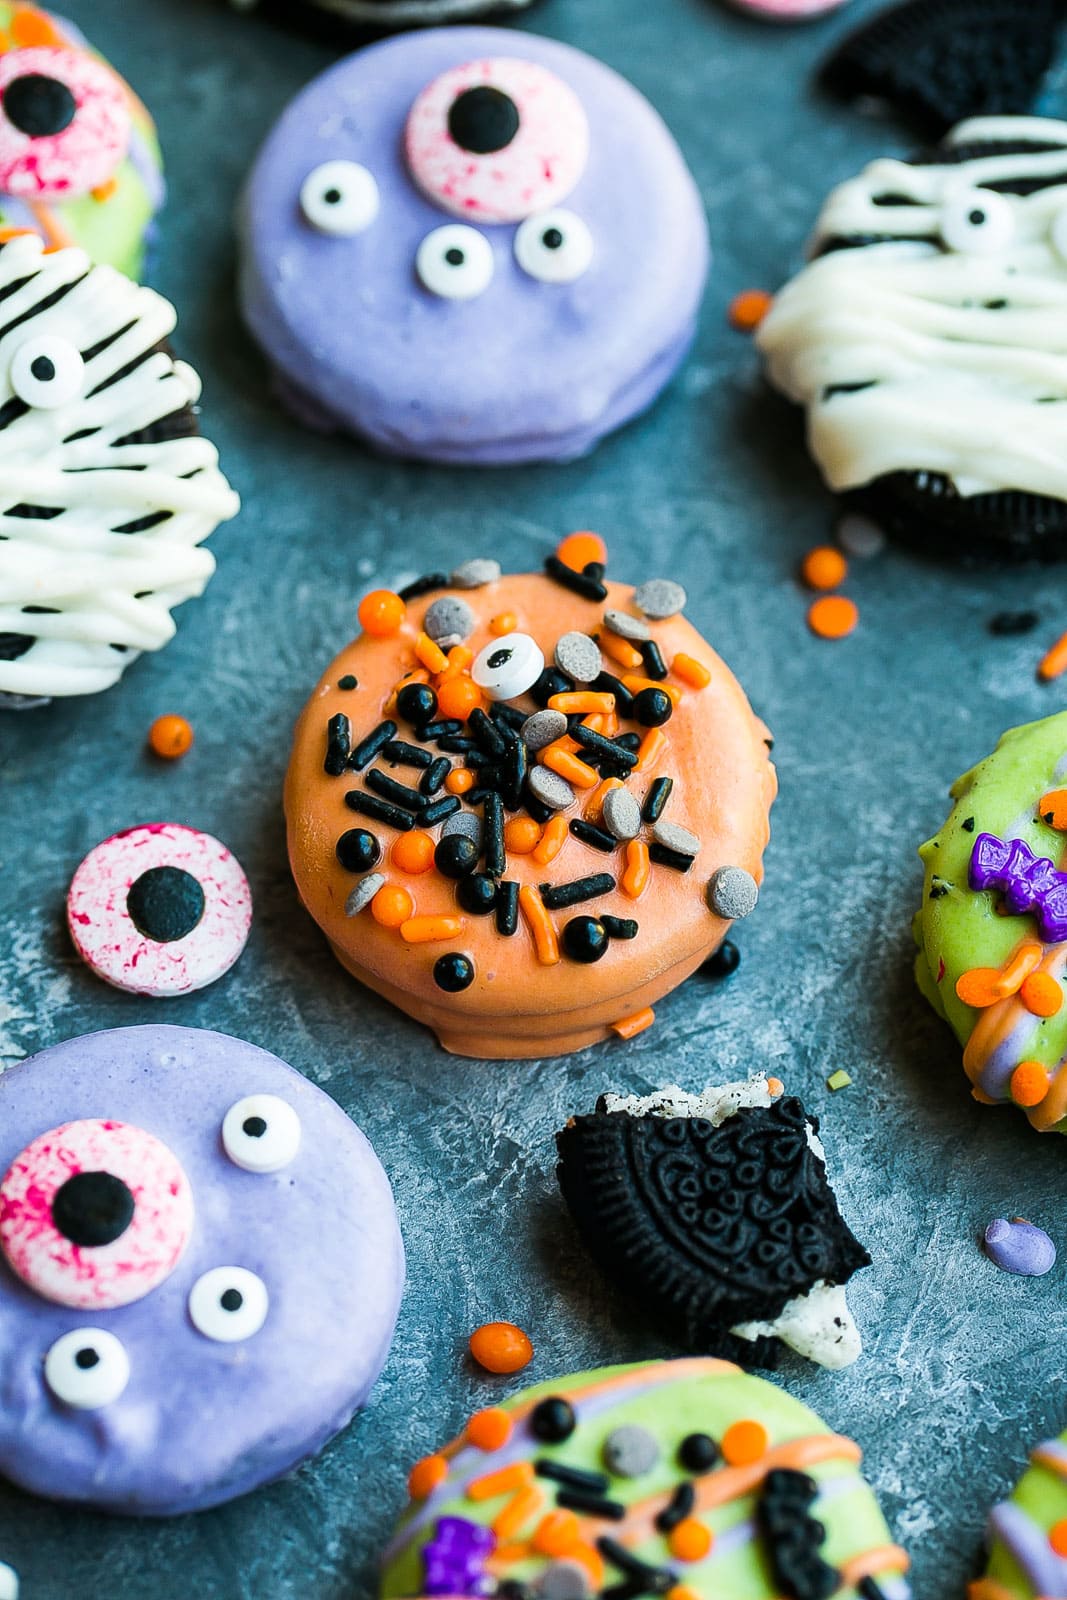
PURPLE EYED MONSTERS
In a microwavable safe bowl, add 6 ounces of candy melts and microwave until smooth and melted in 30 second increments. Add purple food gel coloring until desired shade.
Place each Oreo in the melted chocolate and coat completely. Lift out with a fork and gently shake the cookie side-to-side to remove any excess chocolate. Transfer to prepared baking pan then top with edible eyes.
MUMMY OREOS
In a microwavable safe bowl, add 6 ounces of candy melts and microwave until smooth and melted in 30 second increments.
Place the melted white chocolate into a ziplock bag and cut a small slit in the corner. Drizzle the melted chocolate across the top of each cookie in a random pattern to look like a mummy wrap. Add edible eyes.

ORANGE SPRINKLED OREOS
In a microwavable safe bowl, add 6 ounces of candy melts and microwave until smooth and melted in 30 second increments. Add orange food gel coloring until desired shade.
Place each Oreo in the melted chocolate and coat completely. Lift out with a fork and gently shake the cookie side-to-side to remove any excess chocolate. Transfer to prepared baking pan then top with Halloween sprinkles.
HOCUS POCUS OREOS
In a microwavable safe bowl, add 6 ounces of candy melts and microwave until smooth and melted in 30 second increments. Add green food gel coloring until desired shade of green.
Place each Oreo in the melted chocolate and coat completely. Lift out with a fork and gently shake the cookie side-to-side to remove any excess chocolate. Transfer to prepared baking pan.
Add the remaining purple and orange melted chocolate to a ziplock bag and cut a small piece of the corner off. Drizzle the orange and purple chocolate across the top of the cookies in a random pattern. Top with Halloween sprinkles and edible eyes. *If the chocolate melted, add coconut oil to the bowl and heat in the microwave in 15 second intervals until melted.
Let the cookies set in at room temperature for at least 20 minutes or refrigerator for at least 10 minutes or until hardened. Enjoy!

recipe variations
- Oreos: Use Double-stuffed Oreos if you wanted a thicker layer of frosting in the middle. You could also use any other flavored Oreos or your favorite kind of chocolate sandwich cookies.
- Flavored chocolate: Add a drop of cake batter extract, butter extract, almond extract, or vanilla extract to the melted chocolate for more flavor.
- Halloween Oreo pops: Insert a candy stick into the bottom of the Oreos to make these into lollipops.
- Melting chocolate: If you use white chocolate chips, be sure to add about 1 teaspoon of coconut oil to the bowl when heating the chocolate. This will help the chocolate become extra creamy and smooth so it’s easier to dunk to the cookies.
- Pumpkin Oreos: Coat cookies in orange chocolate and then use mini chocolate chips to form a pumpkin eyes and a mouth. Use a green M&M for the stem.
leftovers & storage
Leftovers: Any leftovers can be stored at room temperature in an airtight container for up to 1 week. You could also place them carefully in a large ziplock bag.
Freeze: Freeze for up 3 months in an airtight container. Simply thaw in the refrigerator overnight before serving.
other fun halloween treats
NEVER MISS A RECIPE
Join thousands of subscribers & get
easy recipes via email for FREE!
Want to be Featured?
If you make this recipe, please let me know how it turned out…
Kathryn’s Kitchen Blog
Easy, simple, and delicious recipes anyone can make. Click the button below so you don’t miss any recipes!

Oreo Halloween Cookies
Ingredients
- 24 Oreos or your favorite chocolate sandwich cookies
- 24 ounces white melting chocolate
- Halloween sprinkles
- edible eys
- food coloring gel
Instructions
Mummy Oreos (6 Oreos)
- Place foil or parchment paper down on a baking sheet.
- In a microwavable safe bowl, add 6 ounces of candy melts and microwave until smooth and melted in 30 second increments.
- Place the melted white chocolate into a ziplock bag and cut a small slit in the corner. Drizzle the melted chocolate across the top of each cookie in a random pattern to look like a mummy wrap. Add edible eyes.
Orange Sprinkled Oreos (6 Oreos)
- In a microwavable safe bowl, add 6 ounces of candy melts and microwave until smooth and melted in 30 second increments. Add orange food gel coloring until desired shade.
- Place each Oreo in the melted chocolate and coat completely. Lift out with a fork and gently shake the cookie side-to-side to remove any excess chocolate. Transfer to prepared baking pan then top with Halloween sprinkles.
Purple Eyed Monsters (6 Oreos)
- In a microwavable safe bowl, add 6 ounces of candy melts and microwave until smooth and melted in 30 second increments. Add purple food gel coloring until desired shade.
- Place each Oreo in the melted chocolate and coat completely. Lift out with a fork and gently shake the cookie side-to-side to remove any excess chocolate. Transfer to prepared baking pan then top with edible eyes.
Hocus Pocus Oreos (6 Oreos)
- In a microwavable safe bowl, add 6 ounces of candy melts and microwave until smooth and melted in 30 second increments. Add green food gel coloring until desired shade of green.
- Place each Oreo in the melted chocolate and coat completely. Lift out with a fork and gently shake the cookie side-to-side to remove any excess chocolate. Transfer to prepared baking pan.
- Add the remaining purple and orange melted chocolate to a ziplock bag and cut a small piece of the corner off. Drizzle the orange and purple chocolate across the top of the cookies in a random pattern. Top with Halloween sprinkles and edible eyes. *If the chocolate melted, add coconut oil to the bowl and heat in the microwave in 15 second intervals until melted.
- Let the cookies set in at room temperature for at least 20 minutes or refrigerator for at least 10 minutes or until hardened. Enjoy!


One Comment