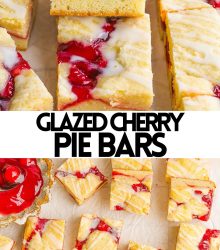
Cherry Pie Bars
As an Amazon Associate, I earn from qualifying purchases. Read the full disclosure here.
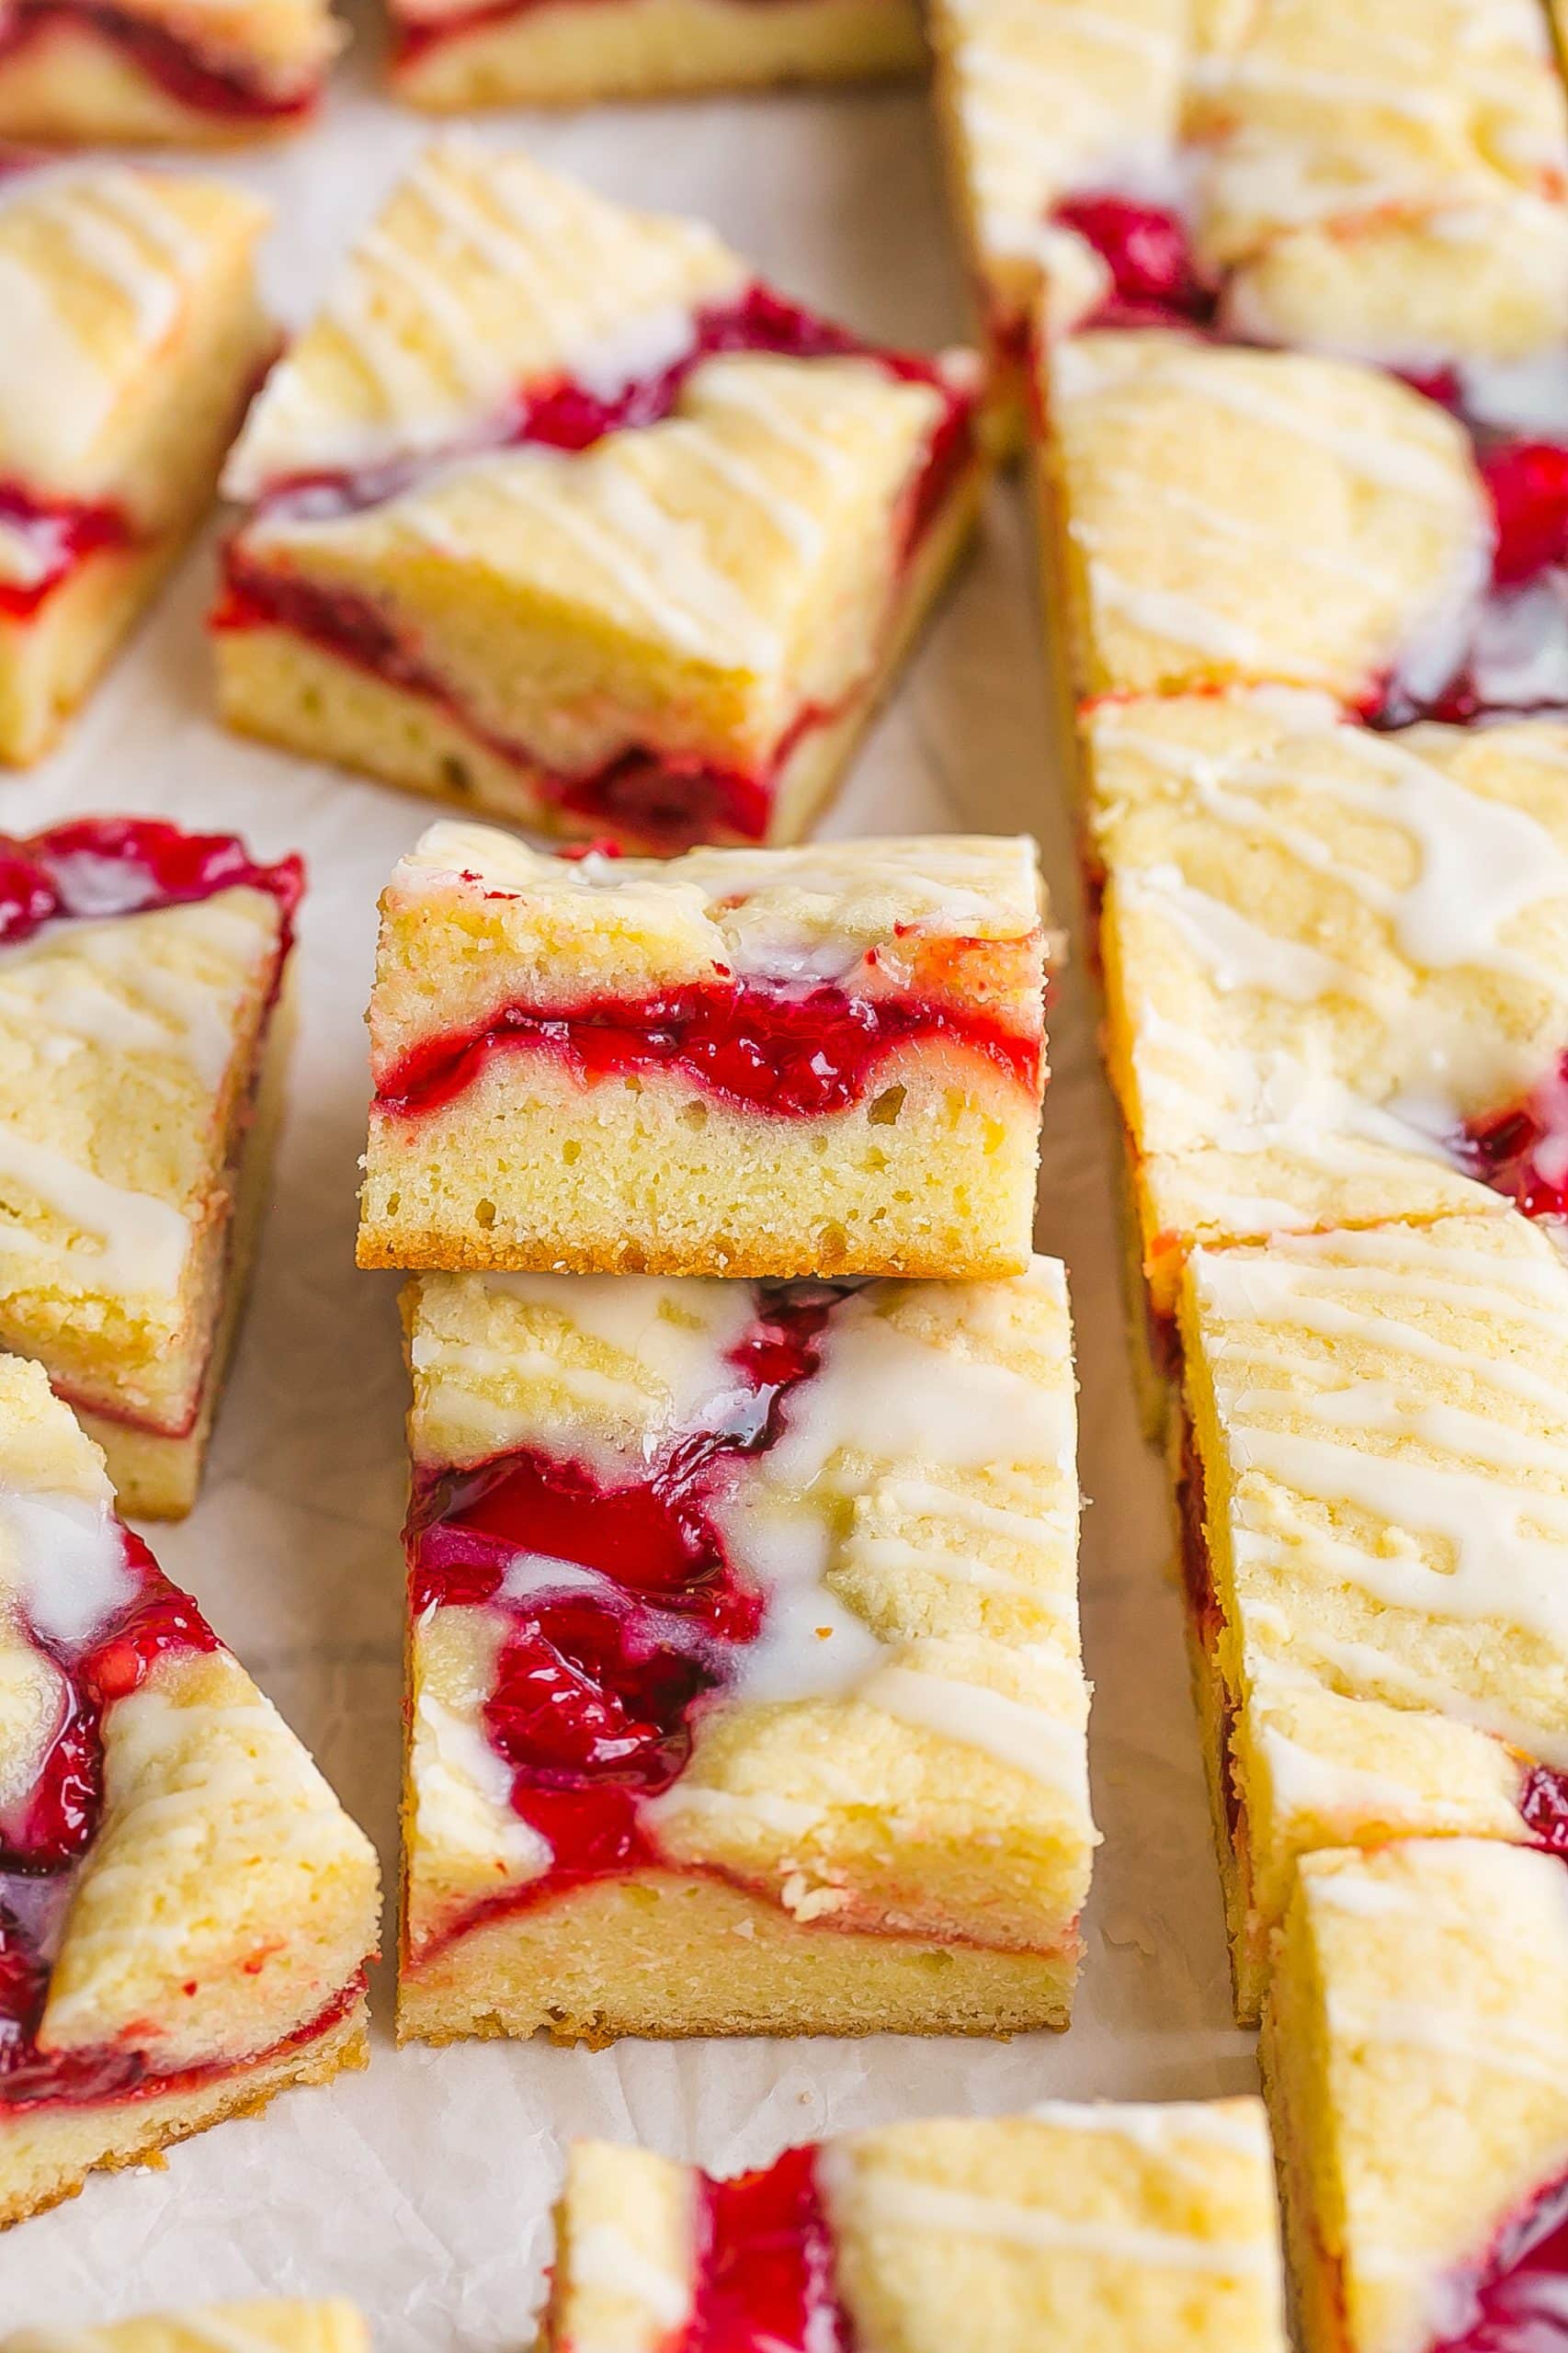
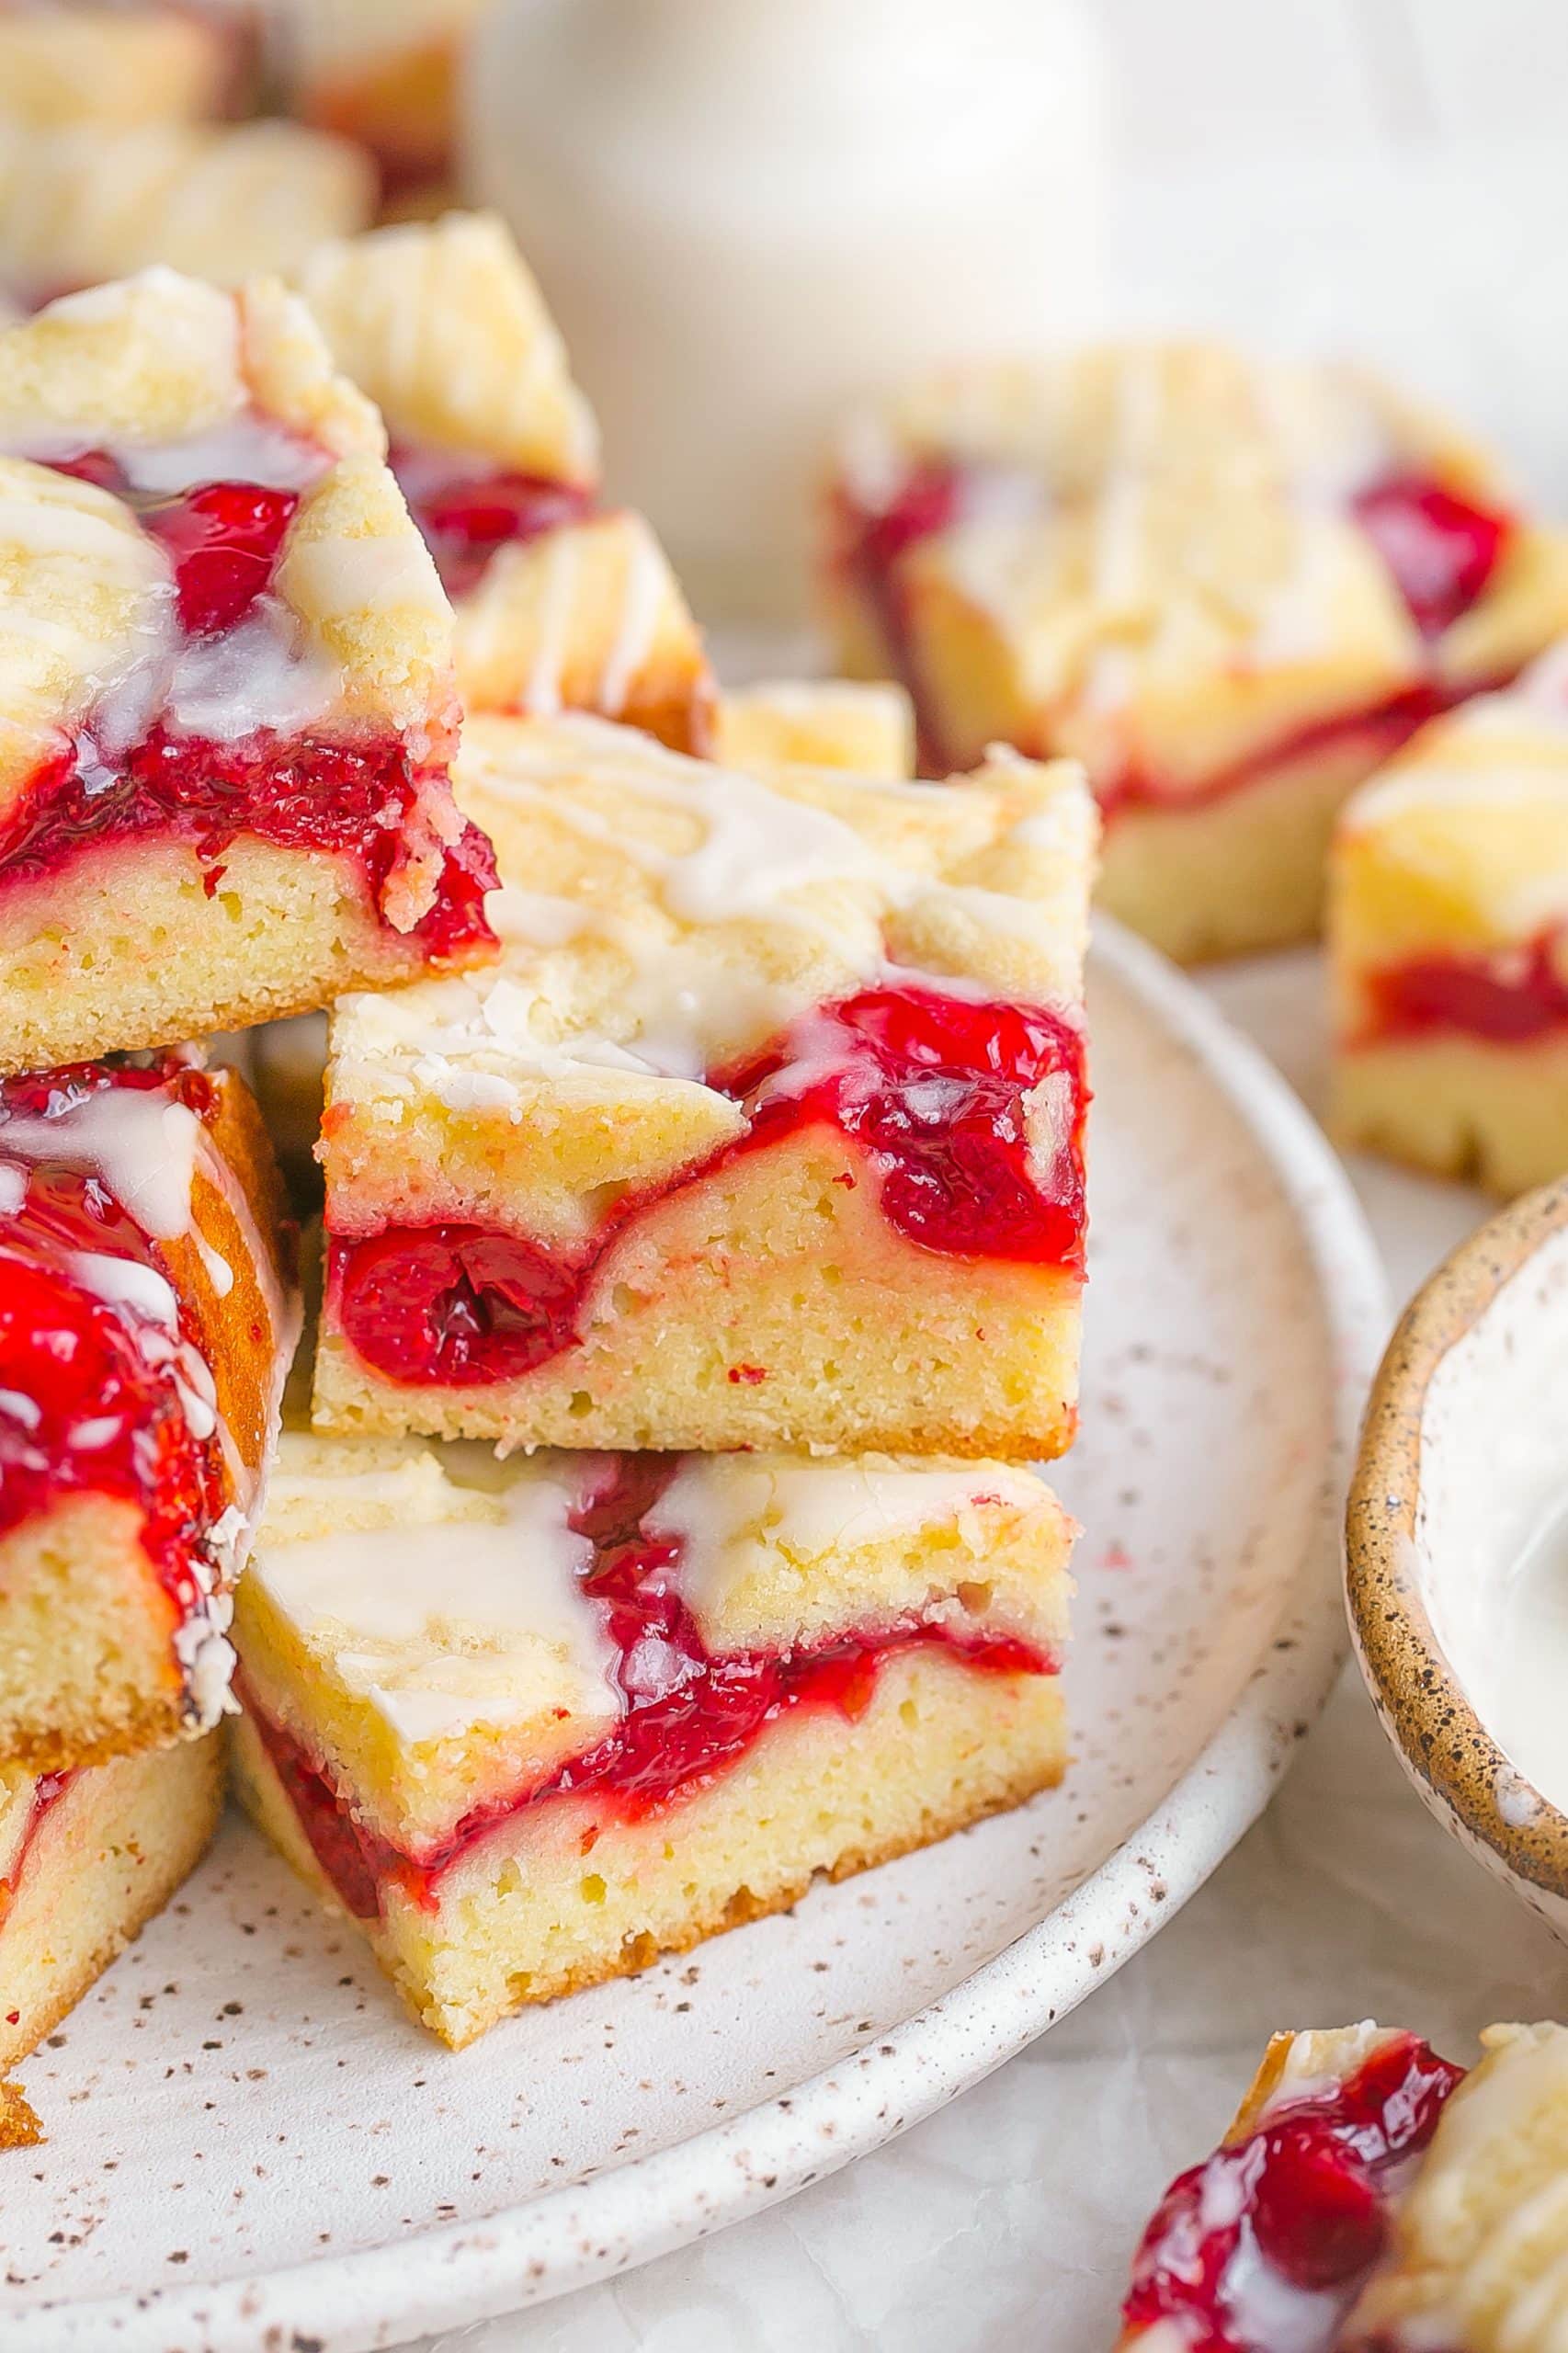
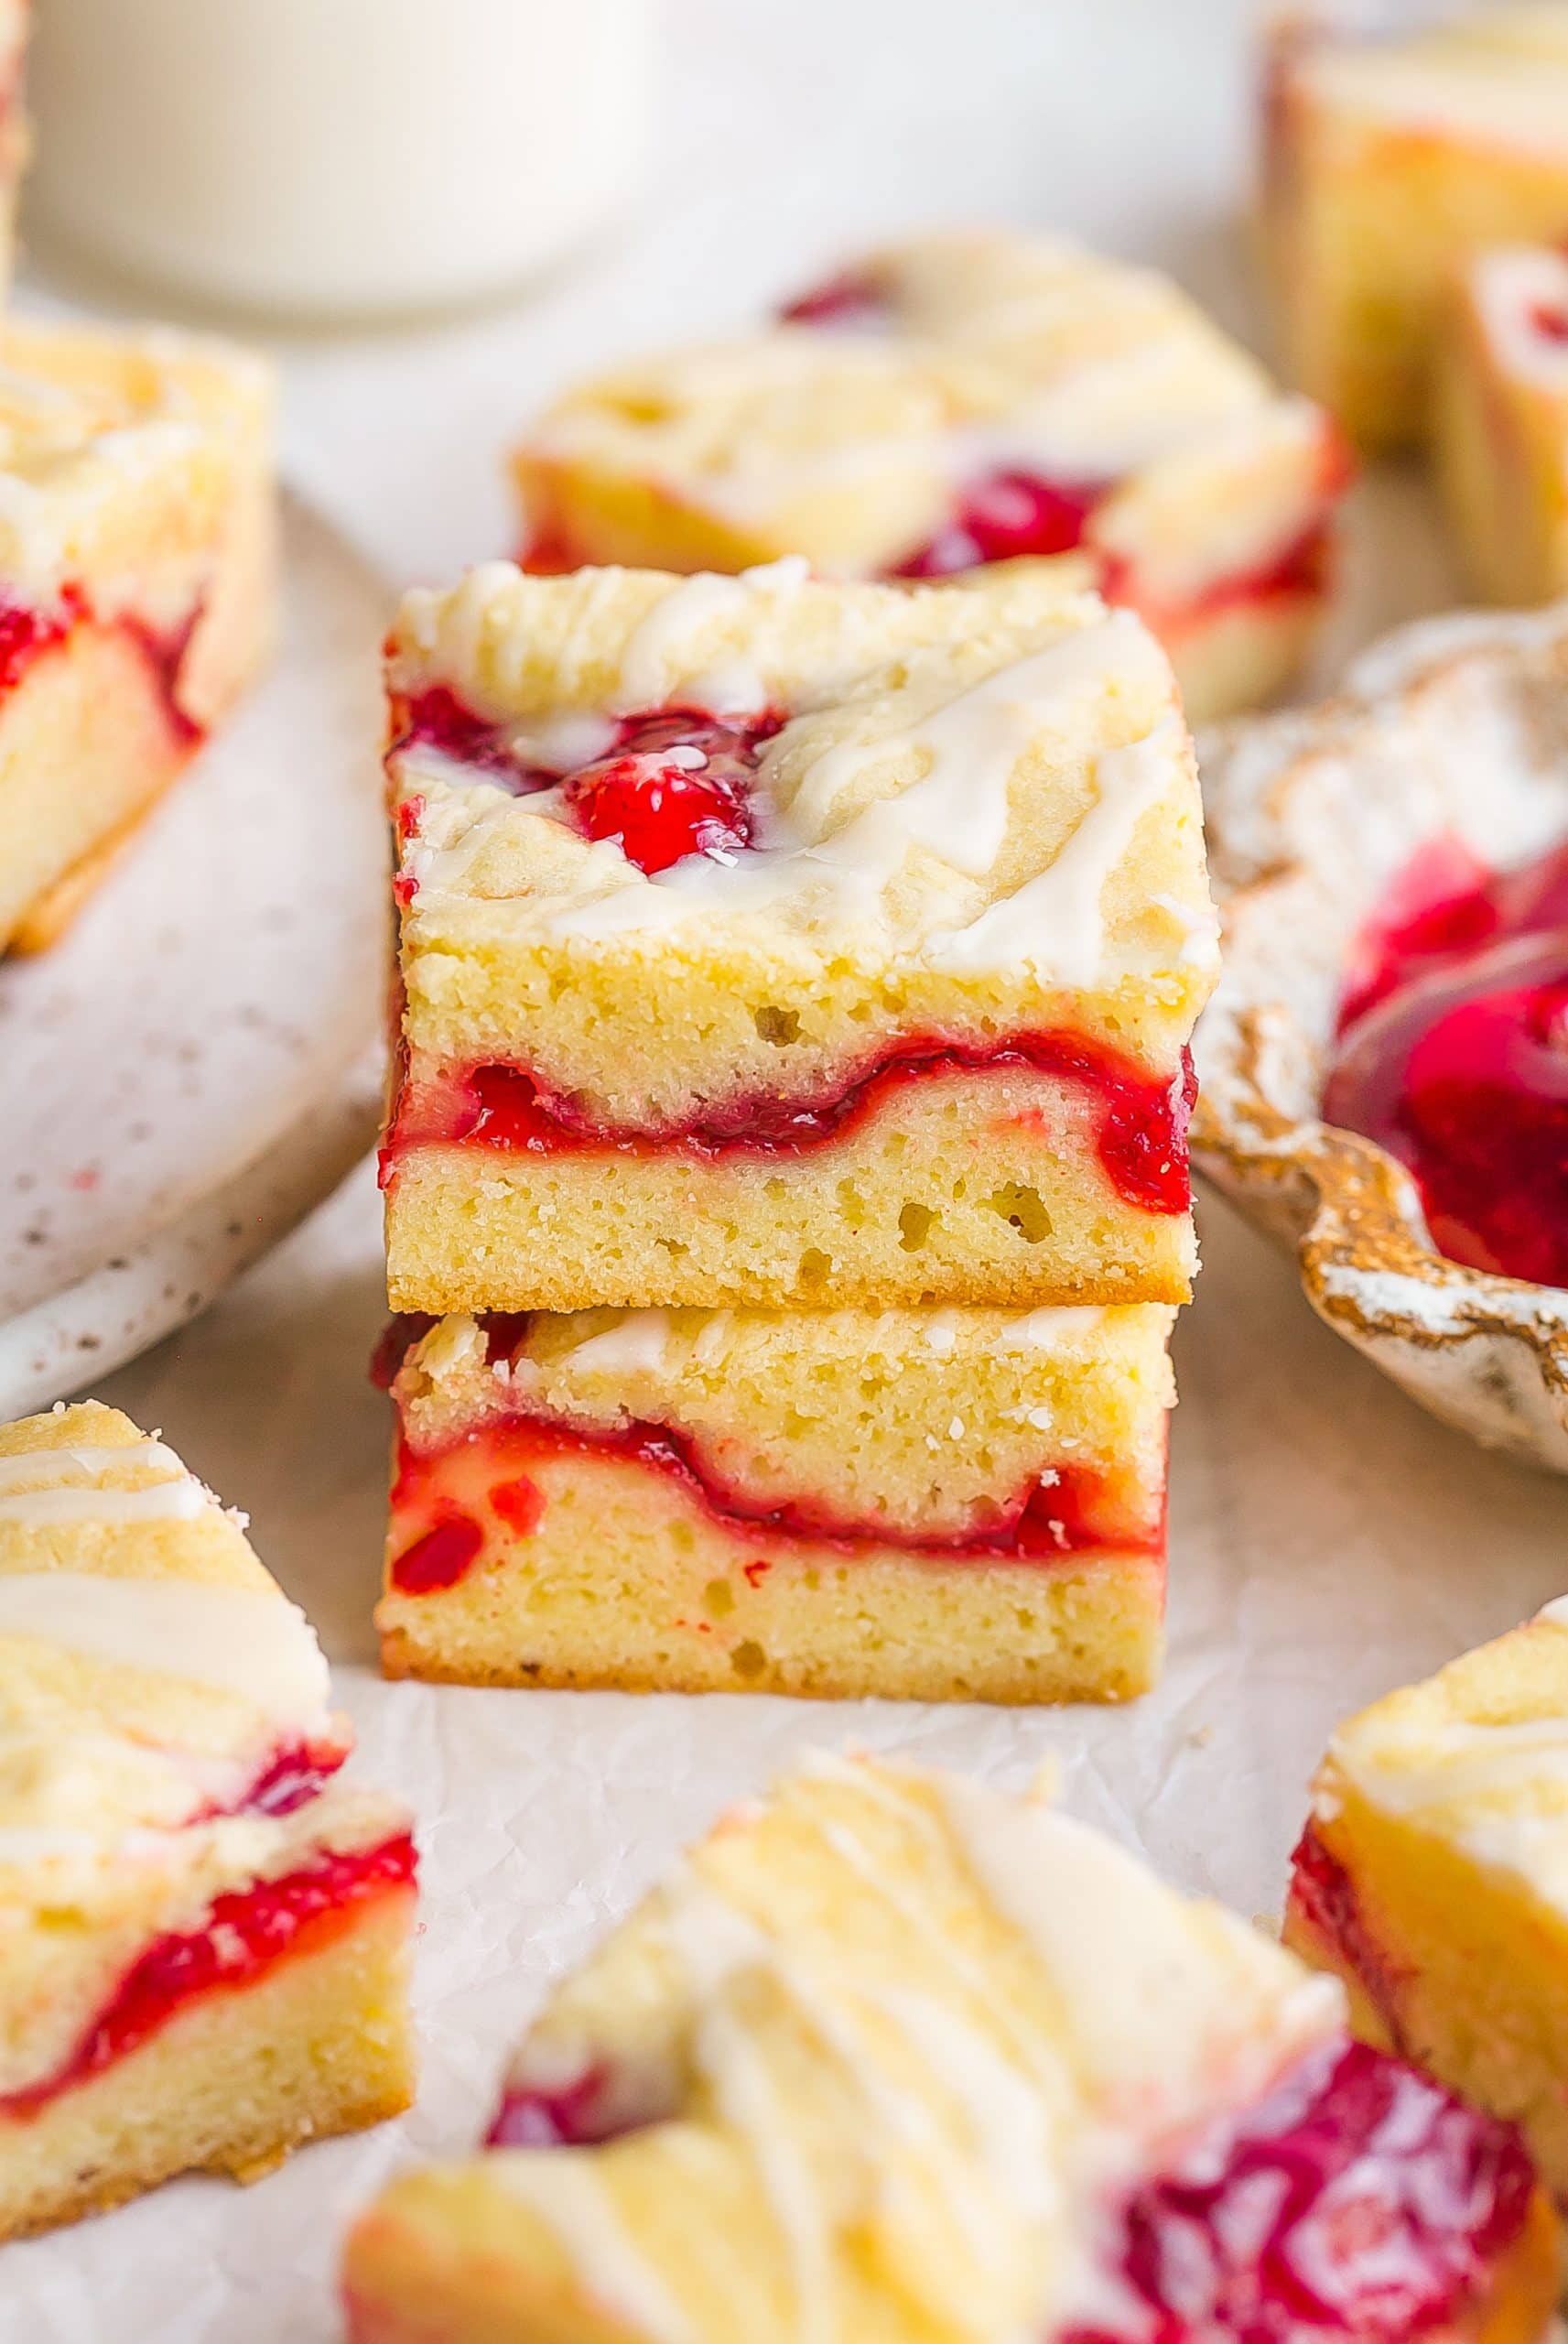
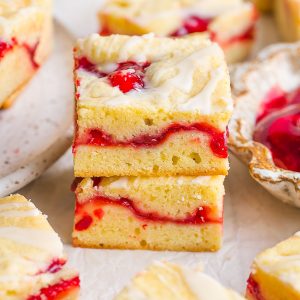
Cherry Pie Bars make a delicious dessert any time of the year. Made with a thick buttery crust and canned cherry pie filling that tastes like cherry pie in a bar form!
If you love pie in a bar form, try my Pumpkin Pie Bars!
PIN these easy Cherry Pie Bars to try later!
Cherry Pie Bars
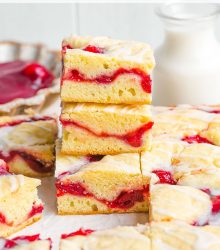
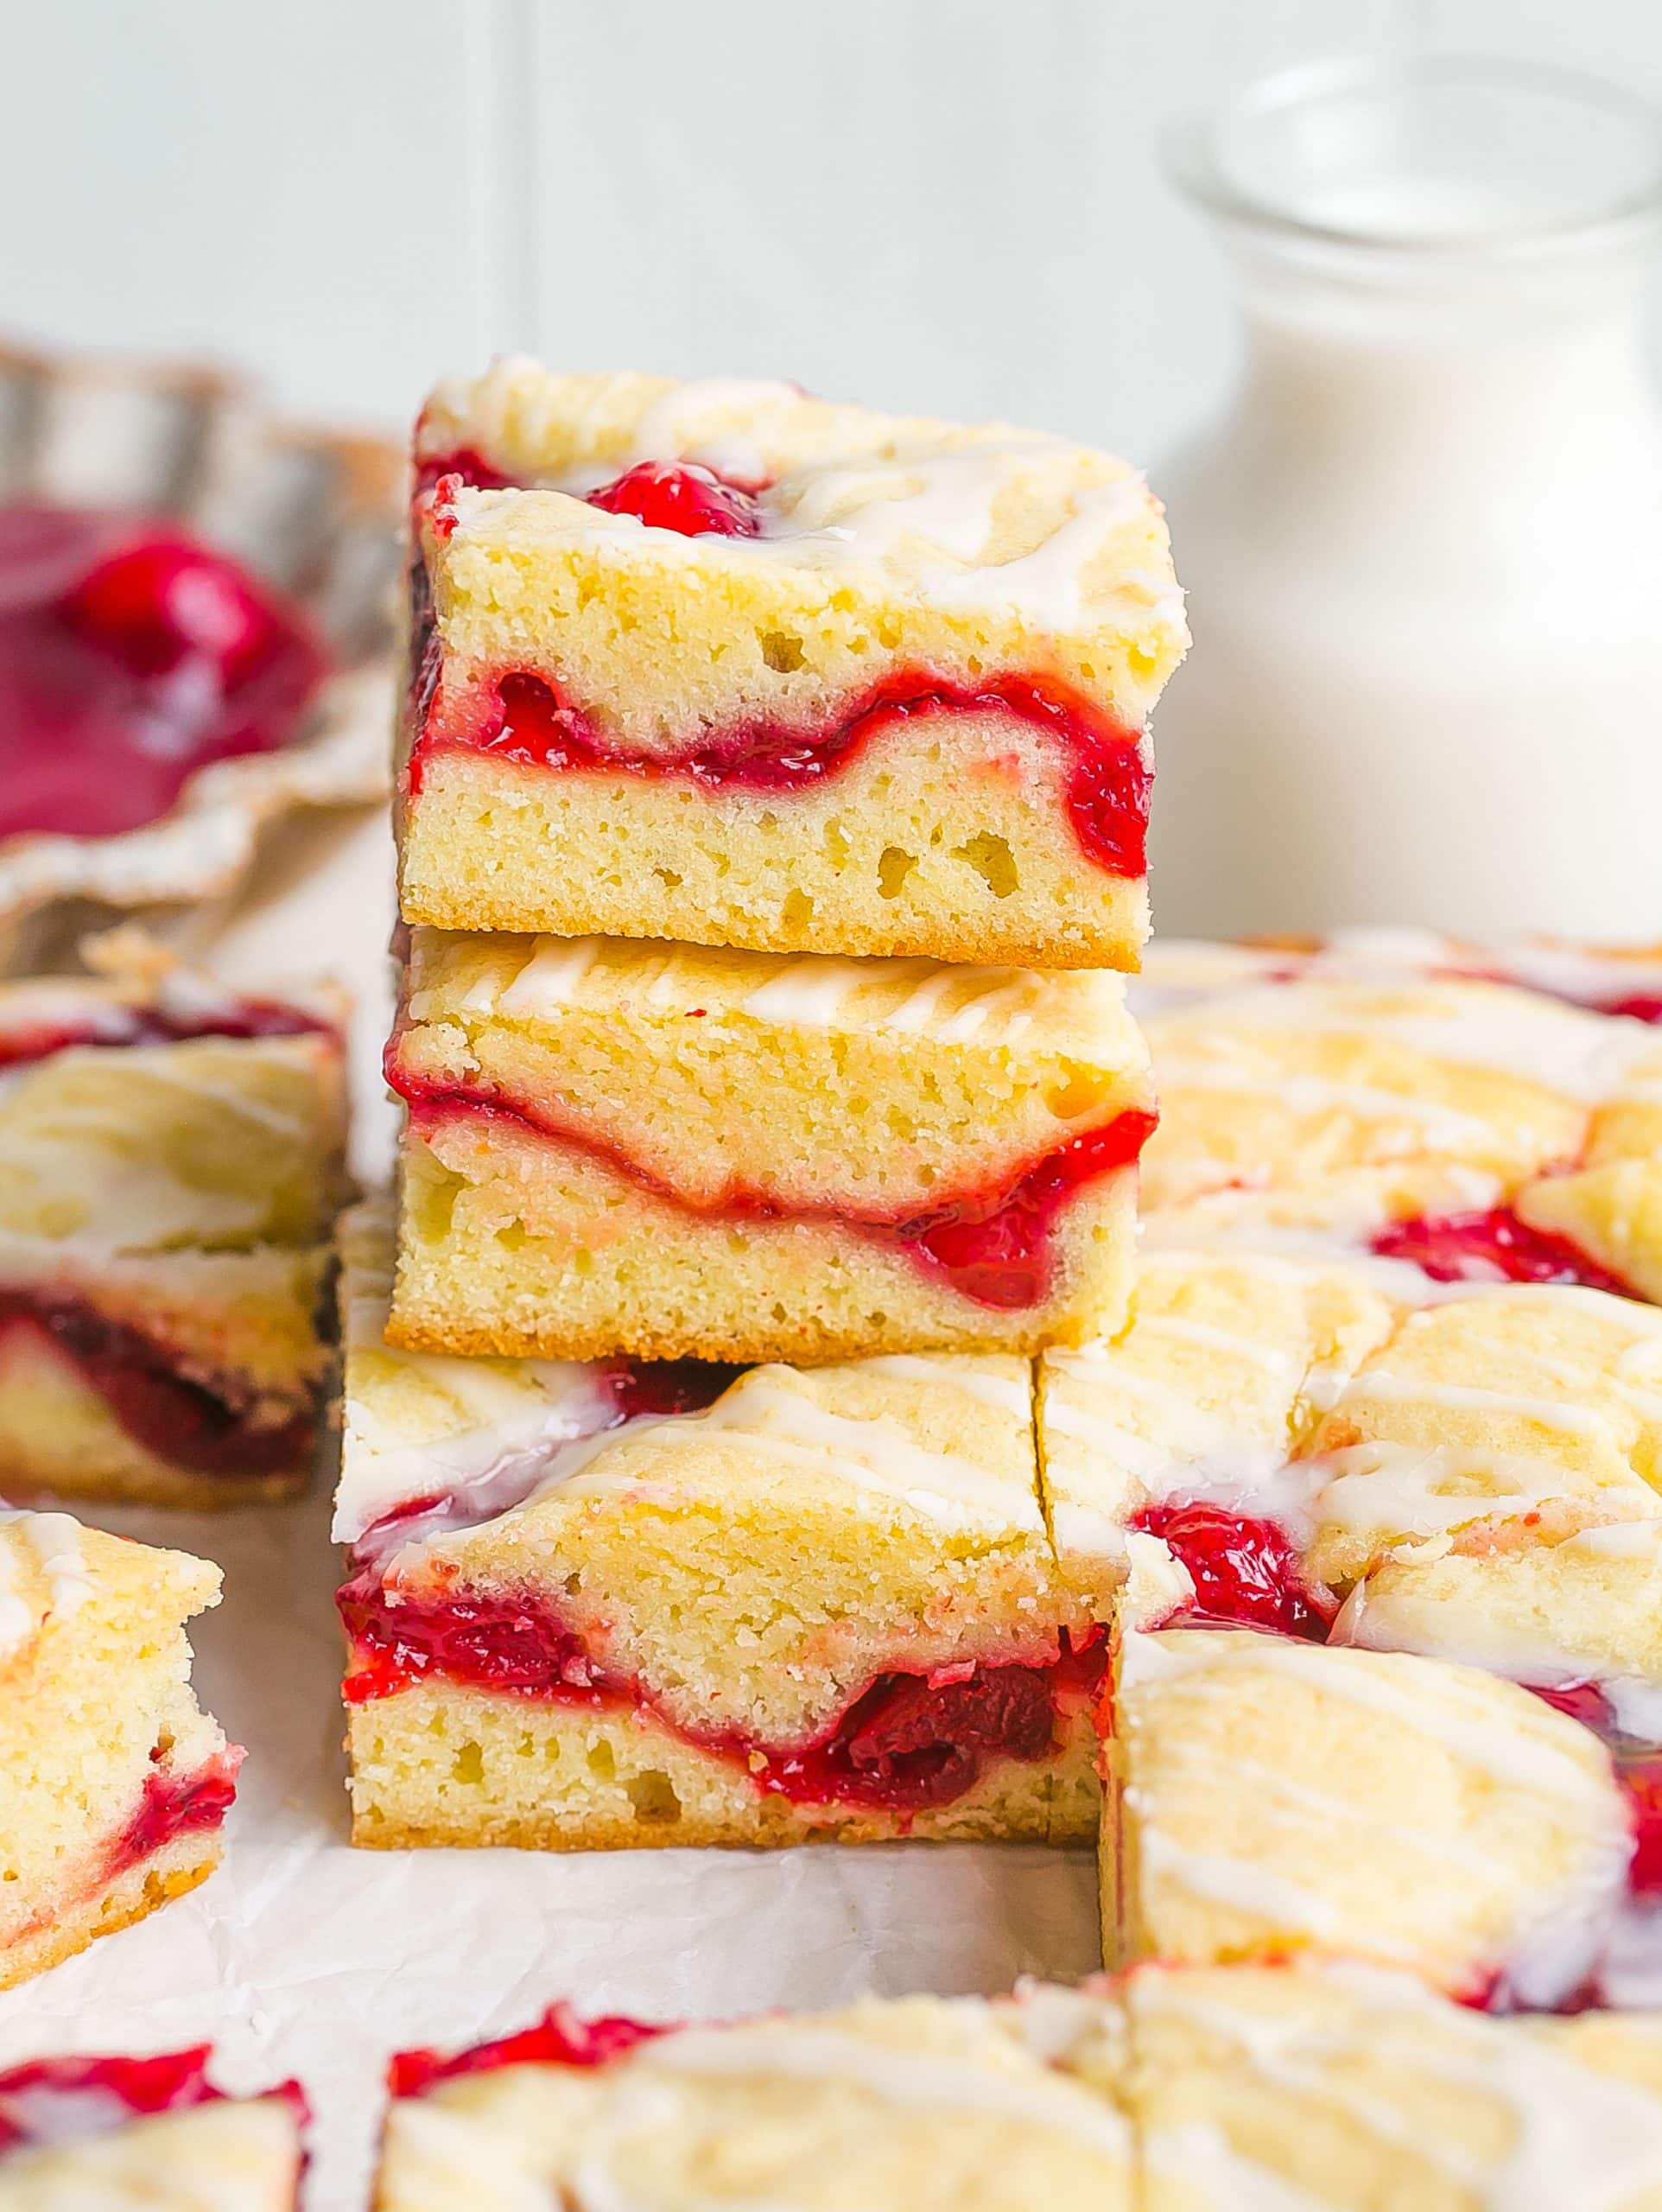
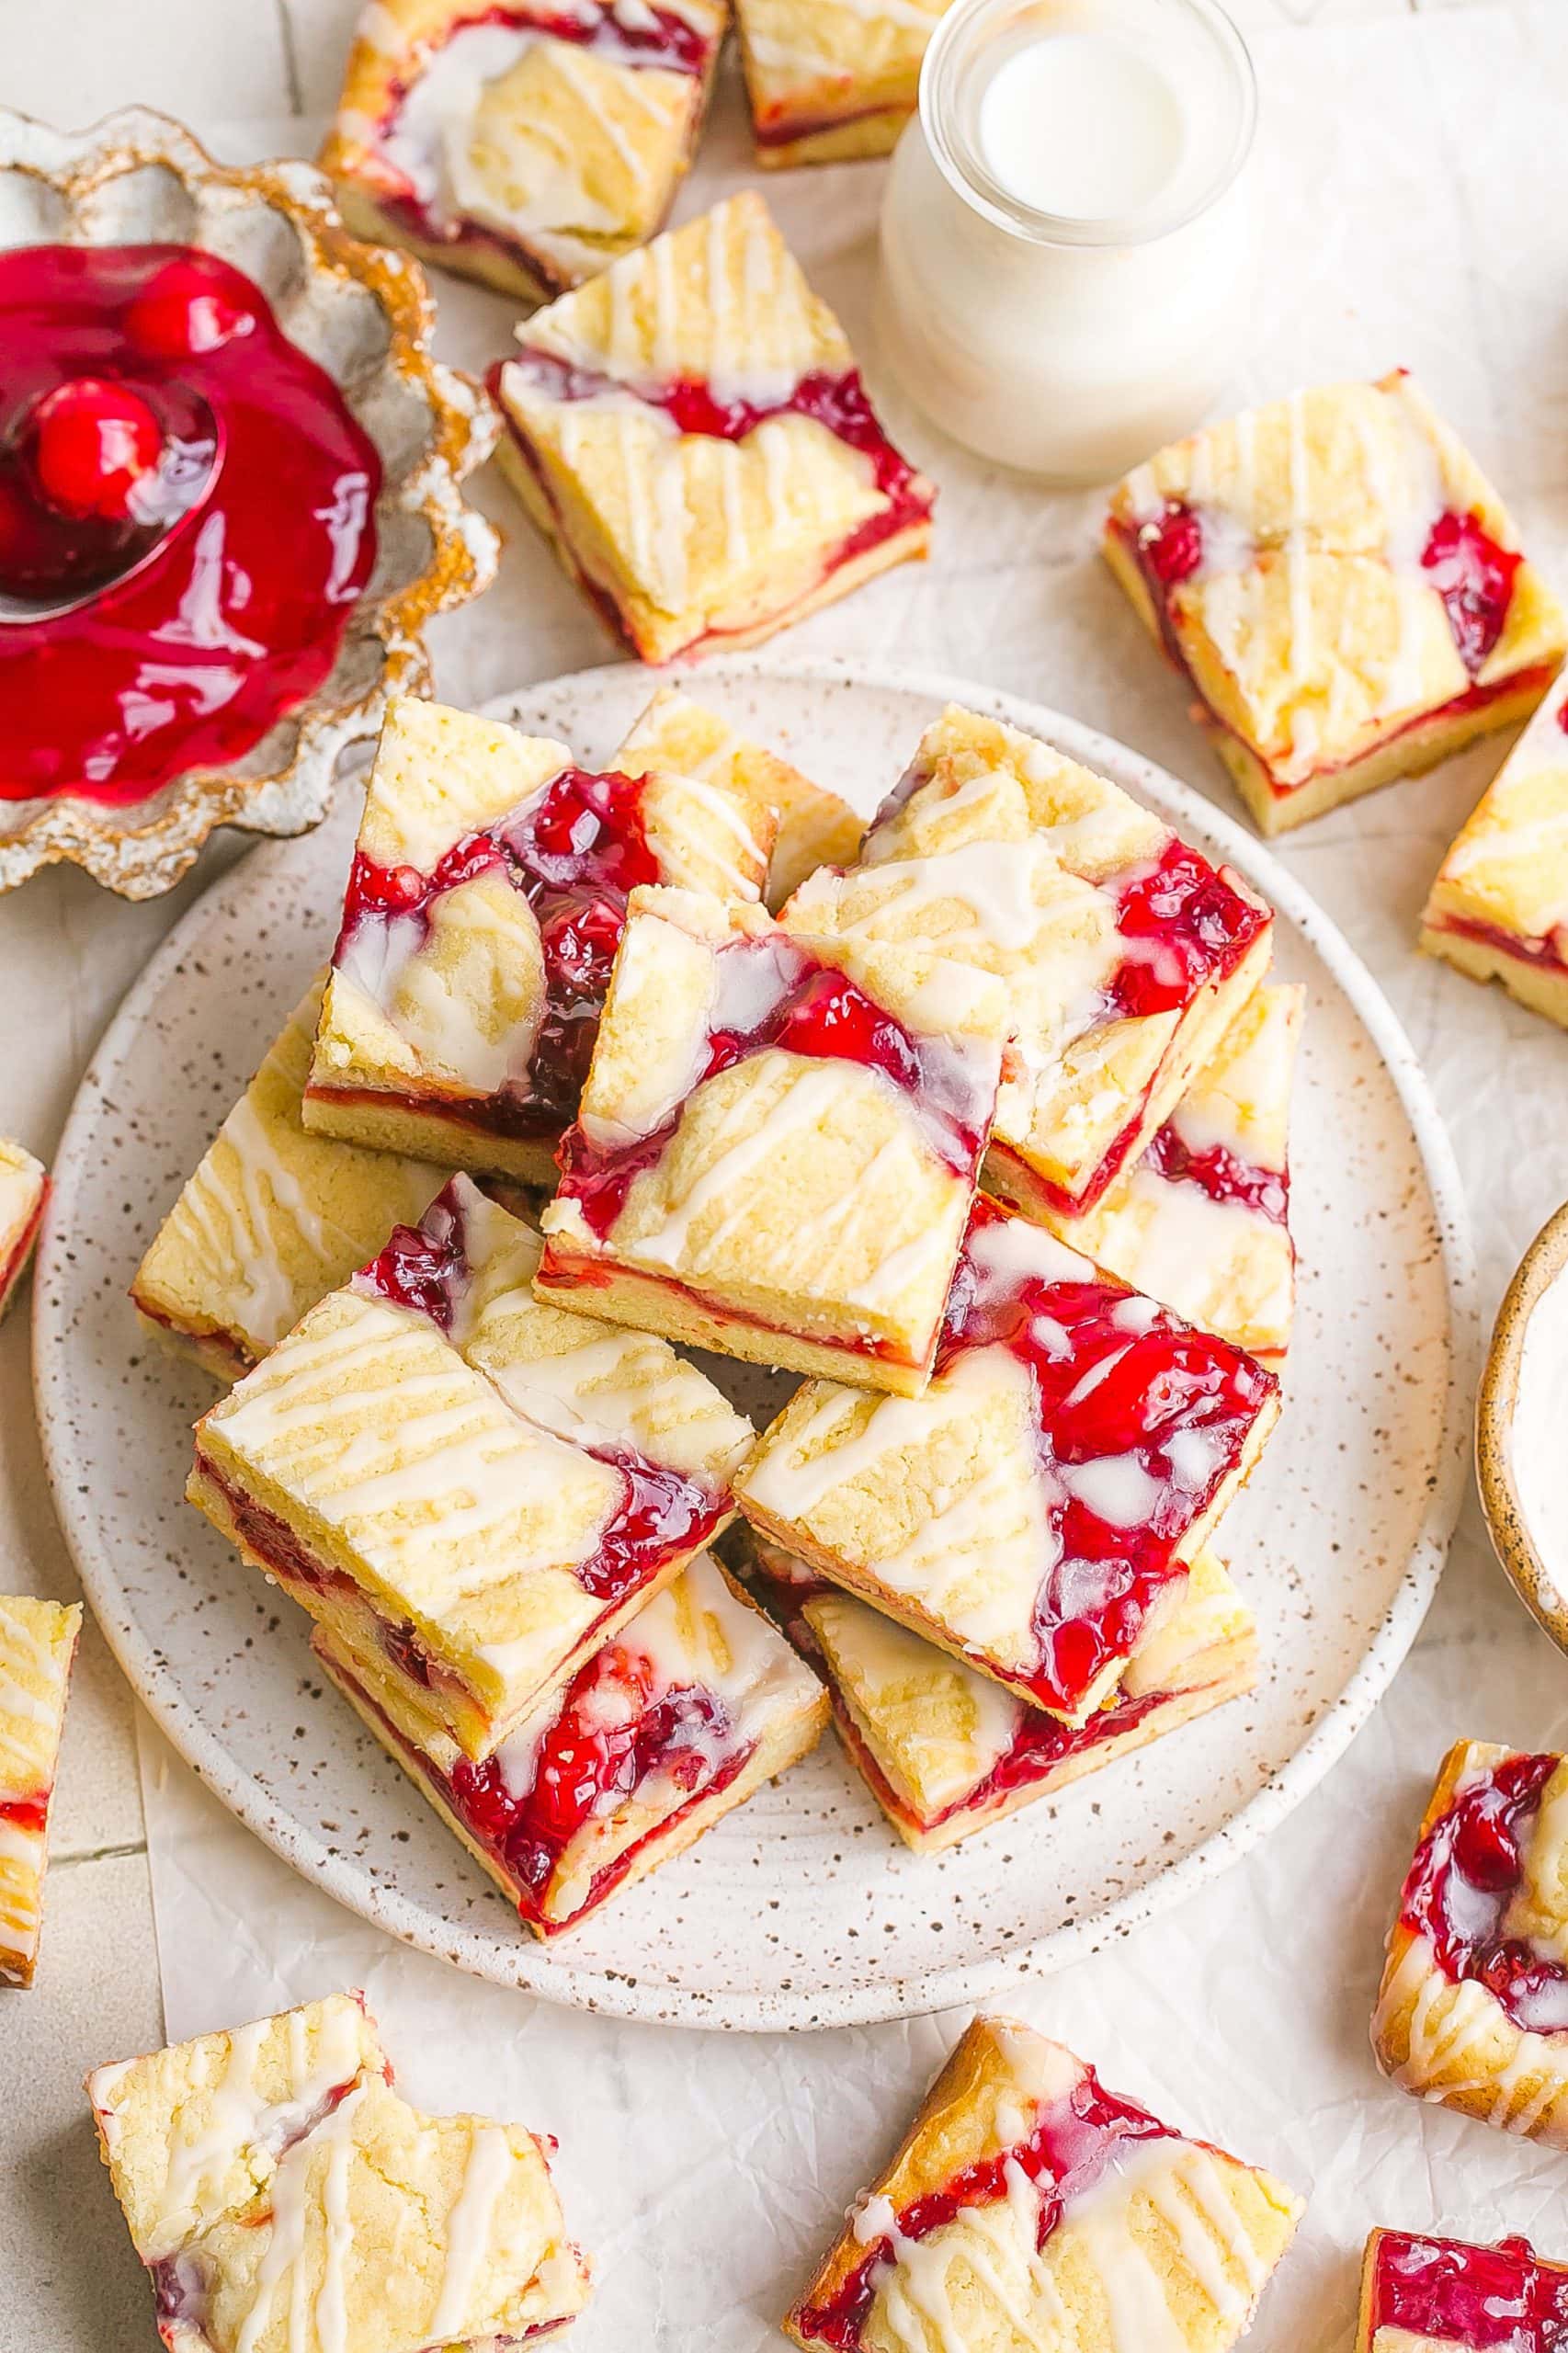
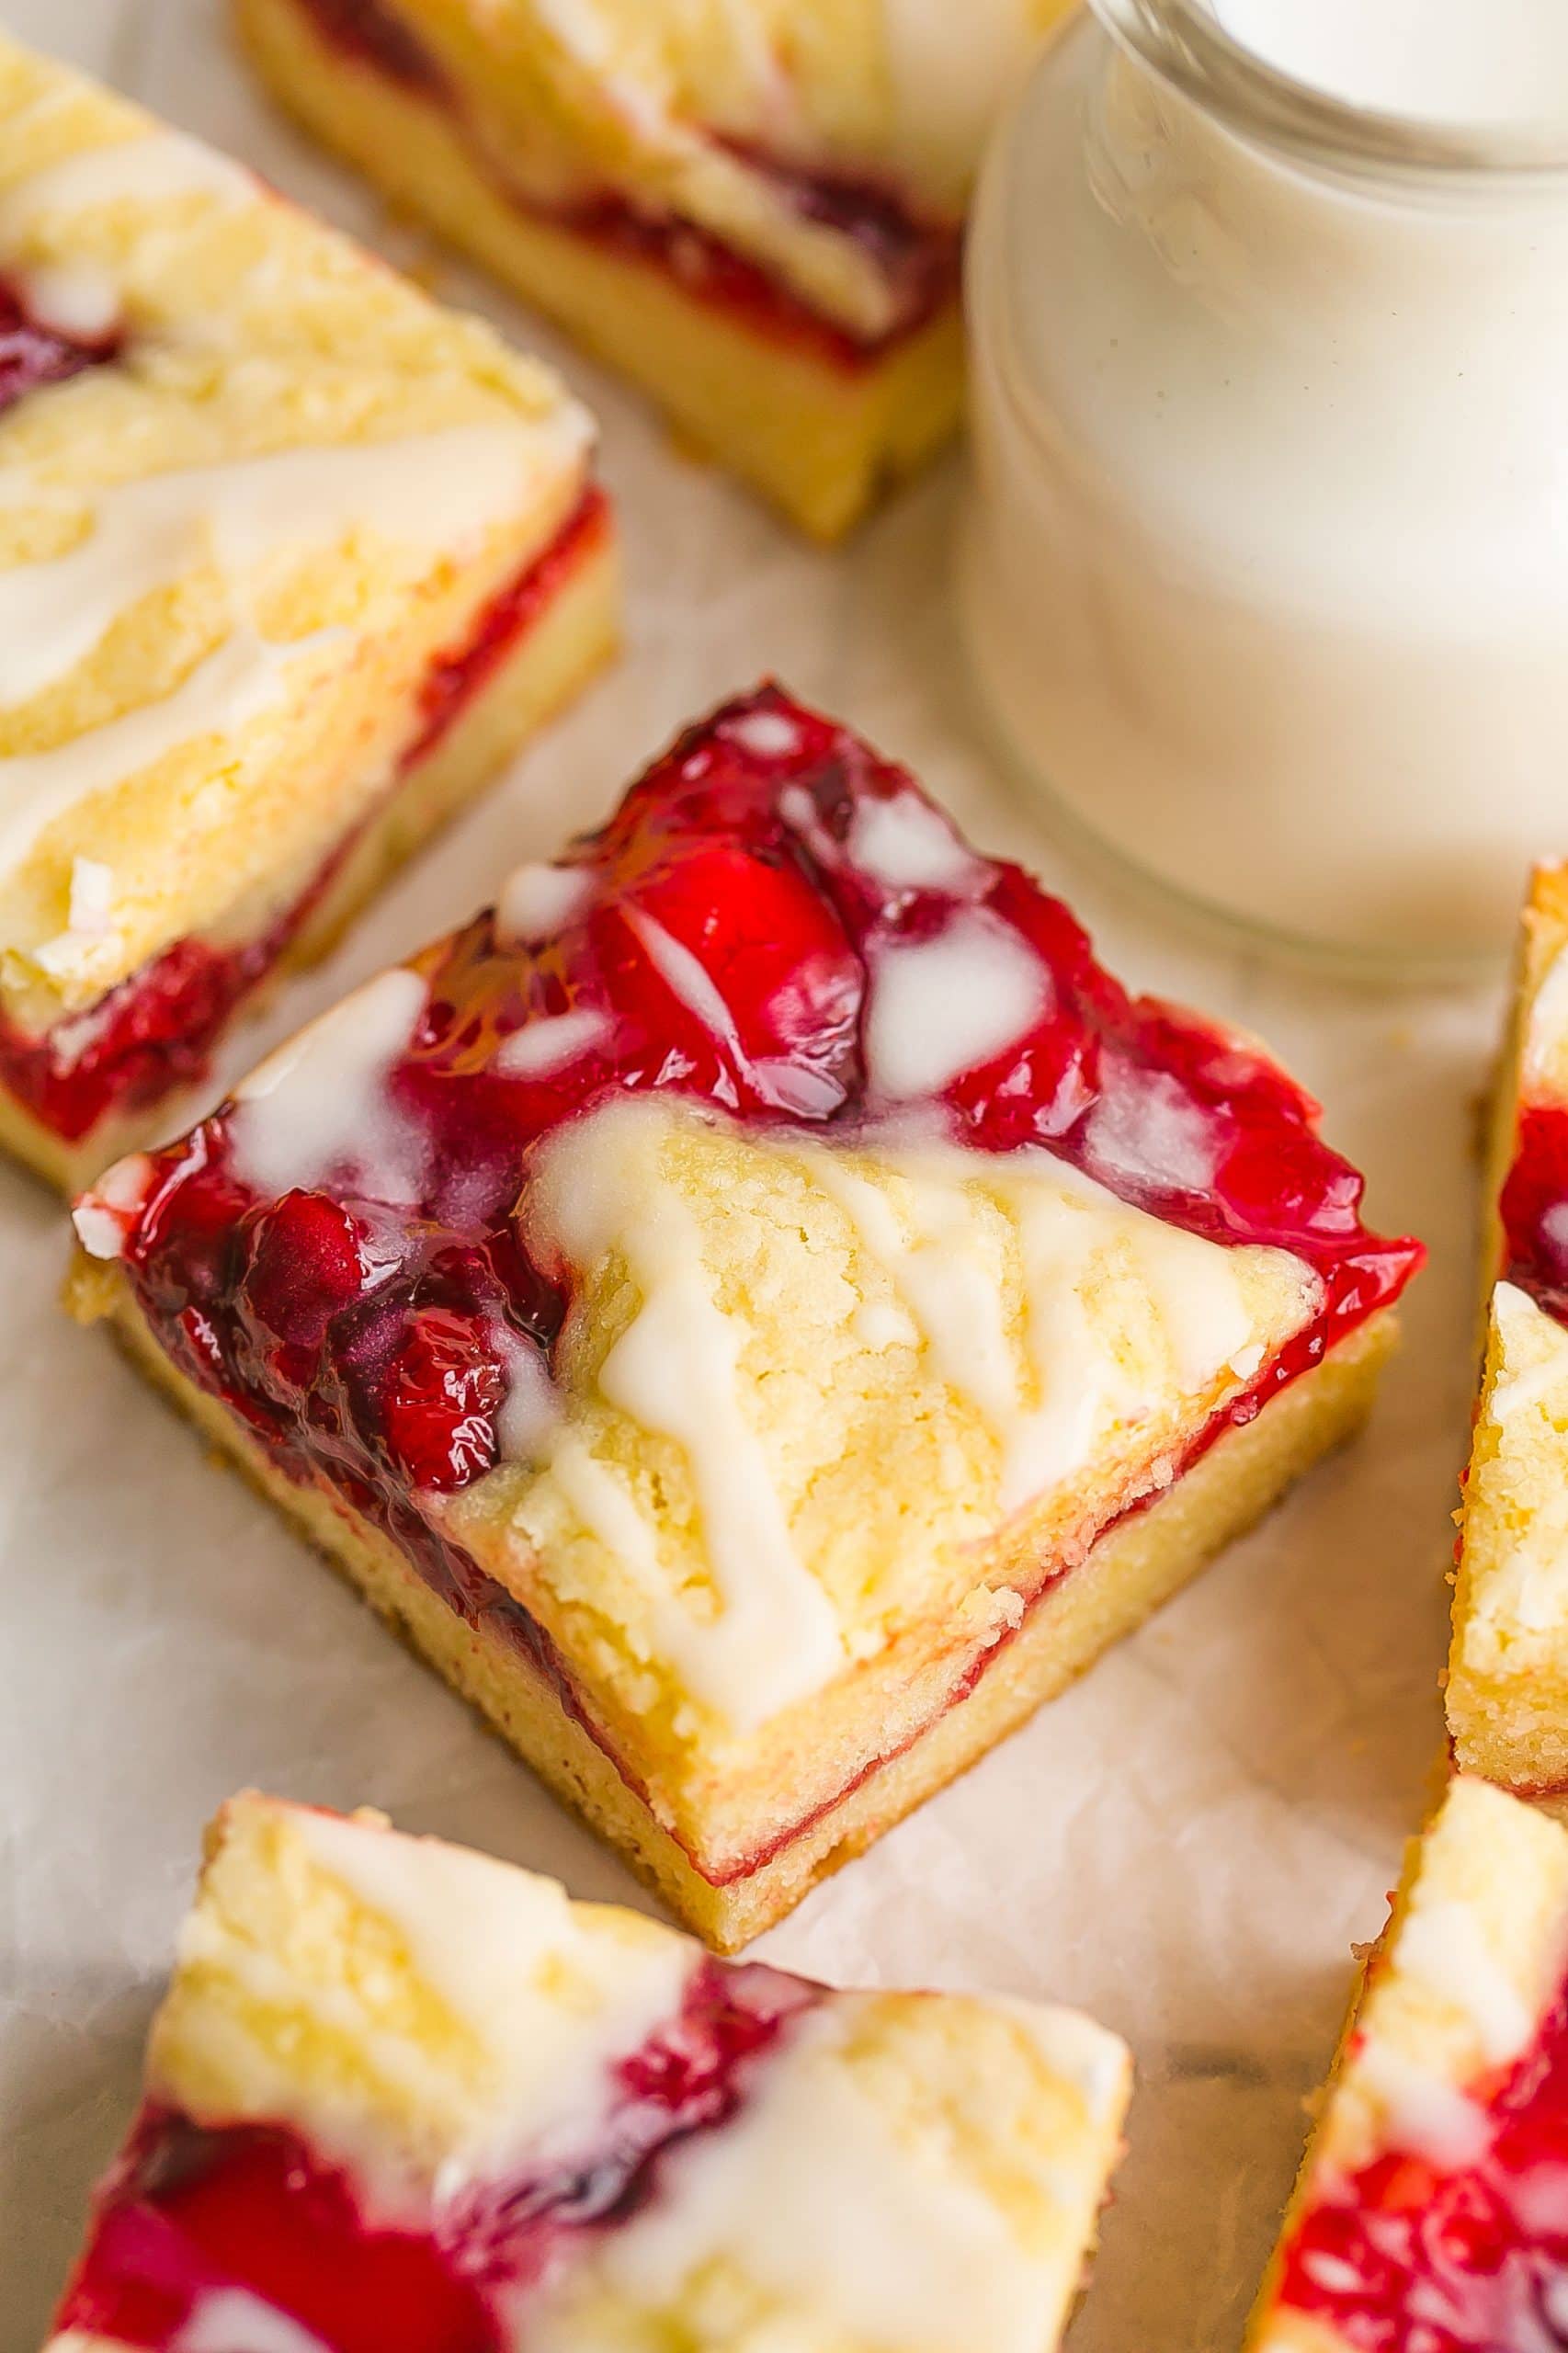
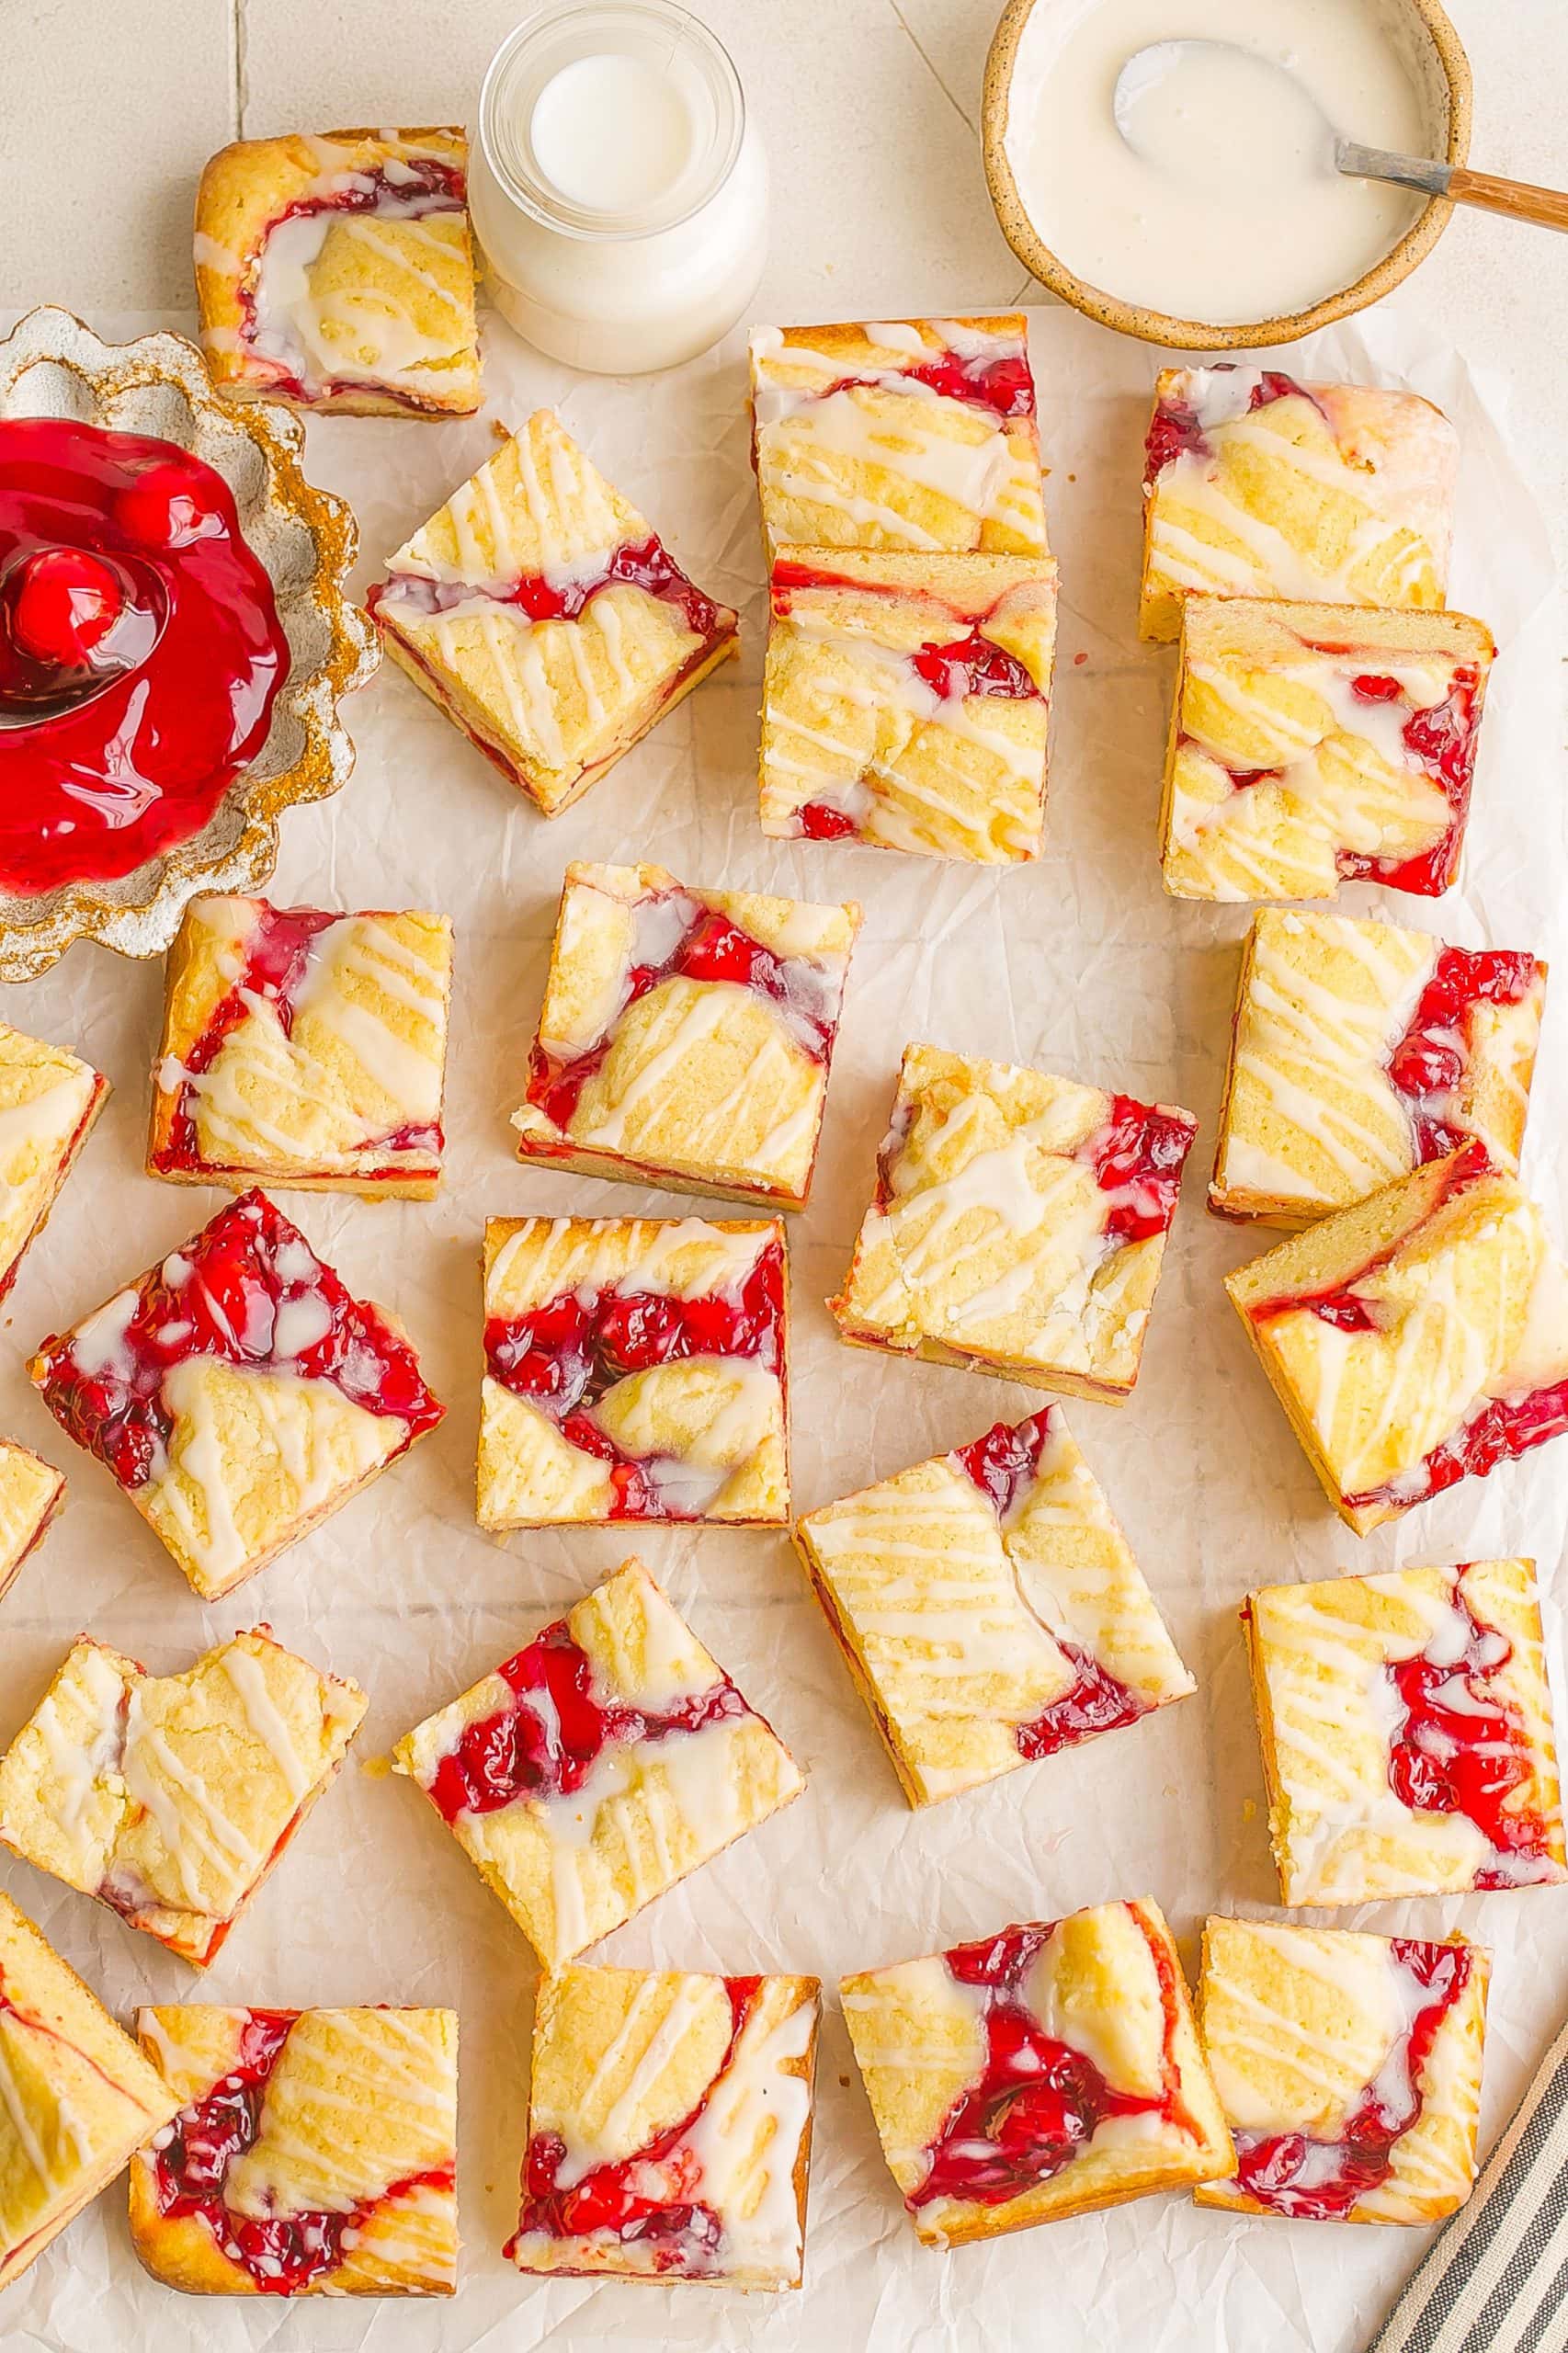
These easy Cherry Bars are perfect the next time you need a quick dessert, without going through the hassle of making a pie or homemade pie crust. The bottom layer and topping resembles a buttery shortbread crust and the center is filled with sweet cherry pie filling. We drizzle a vanilla almond icing on top of the bars that adds just the right amount of sweetness.
This is an easy way to satisfy your cherry pie cravings because these are loaded with cherry flavor and they couldn’t be easier to make.
We use simple ingredients that you most like already have and this is a fun alternative to bring to holidays, potlucks, BBQs, 4th of July parties, birthdays, or celebrations. Everyone will love this delicious dessert!
If you want another cherry dessert, you’ll love my Cherry Hand Pies!
Why You’ll Love This Recipe
- Any Occasion Dessert: Cherry Pie Bars make the perfect dessert for any occasion, since you could always buy cherry pie filling all year long. Bring them to a summer BBQ or serve them on a holiday dessert platter.
- Portable: These can be transferred easily by placing bars in an airtight container or ziplock bag. Pack them up for a picnic, party, lunch box treat, or bring them to work.
- Easy to feed large crowds: These bars are great to feed large crowds and if you don’t want to spend a ton of time in the kitchen. One batch makes 24 regular sized bars but you can cut those in half or in triangles to make even more or into a bite sized dessert.
- Easy Recipe: If you’re in a hurry, you just need less than 15 minutes of prep time in the kitchen. SO easy.
- Make-ahead: Make these bars a day or two ahead so you can save some time in the kitchen the day you need them. They need some cooling time so making them ahead of time is always convenient.
Key Ingredients
- Butter: You want to use softened unsalted butter so it creams together easily and you can control the salt.
- Sugar: We use granulated white sugar to add sweetness and helps make the bars chewy.
- Eggs: You’ll need 4 whole eggs. Used to bind the ingredients together. It’s best if the egg is at room temperature so it can blend in with the cookie dough.
- Extracts: Vanilla and almond extract are used to give the crust and icing a sweet and warm flavor.
- All-purpose flour: Spoon and level the flour when measuring it; don’t scoop it out of the bag using the measuring cup. This way, you won’t accidentally measure out too much.
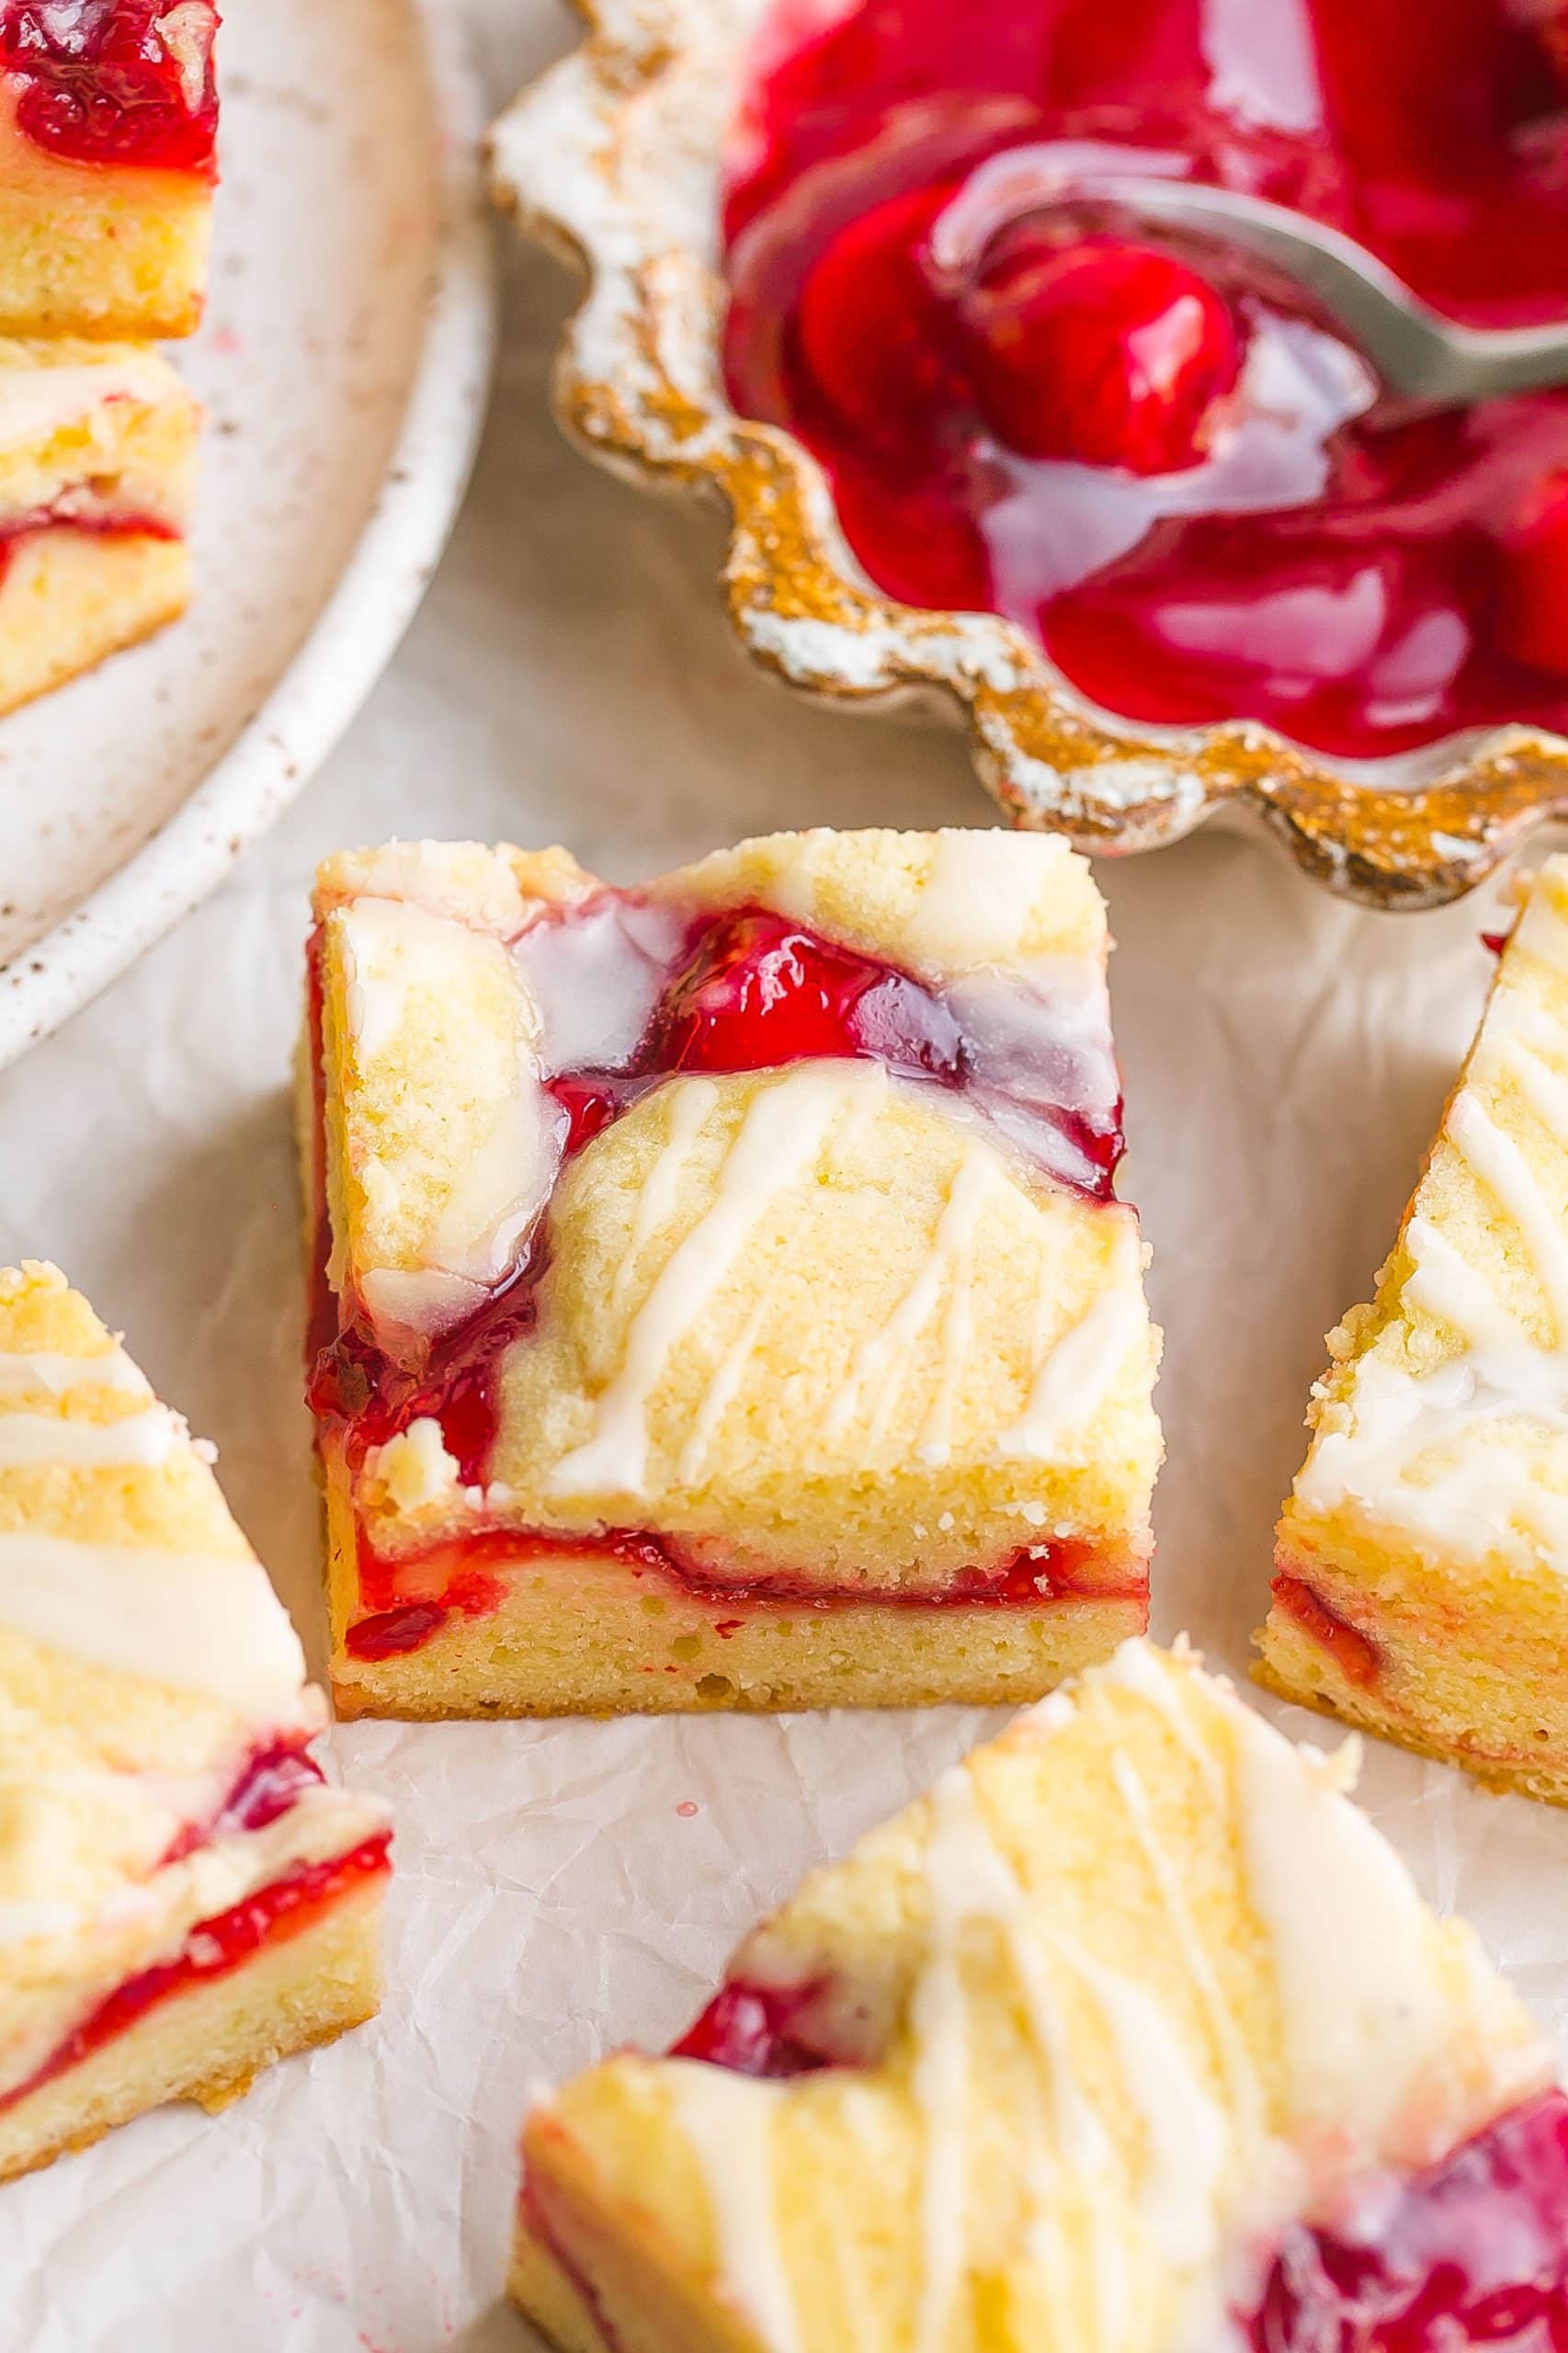
- Cherry pie filling: Store-bought cherry pie filling will work perfectly and it’s already sweetened so you don’t have to add anything to it. Homemade cherry pie filling is also great too!
How To Make Cherry Pie Bars
Prepare pan: Preheat oven to 350 degrees F and line a 9×13 inch baking dish, baking dish, or jelly roll pan with cooking spray or parchment paper. Set aside.
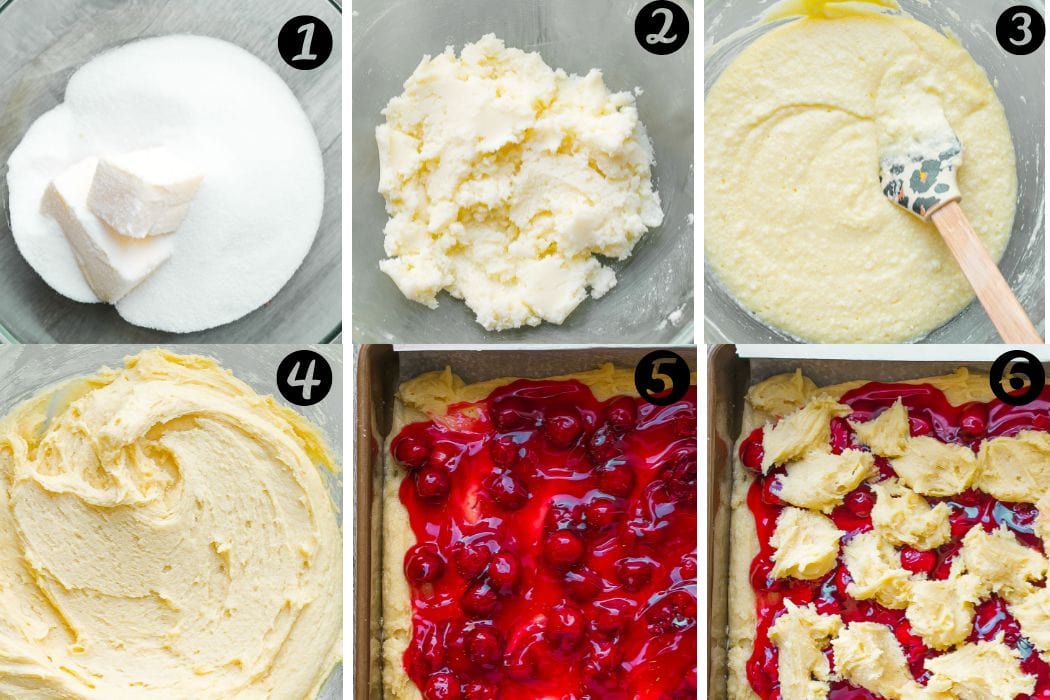
Make butter mixture: Using a stand mixer fitted with a paddle attachment or large bowl with an electric hand mixer, cream butter and sugar until light and fluffy, about 3-4 minutes. Add in eggs, one at a time until combined, then add vanilla extract and almond extract. Continue to beat together until combined.
Whisk dry ingredients: In a medium bowl, whisk together the flour and salt. Slowly add the flour mixture to the wet mixture just mix just until combined, be sure to scrape down the sides of the bowl with a rubber spatula. Do not over-mix.
Spread 3 cups of the batter into the bottom of the prepared baking dish. Spread to evenly coat the bottom of the pan with a spatula or spoon.
Add cherry filling: Top with the entire can of cherries, then spoon dollops of the remaining dough over the top of the cherry pie filling. You do not need to cover all of the cherries with the batter.
Bake and cool: Bake for 40-45 minutes or until the center is set and a toothpick comes out clean and the edges are a light golden brown. Let the bars cool completely on a wire rack for about 30 minutes.
Top with glaze: In a small bowl, whisk together the powdered sugar, milk, and extracts until smooth. Drizzle the icing on top of the cooled bars, then cut into 24 equal square bars. Enjoy!
Pro Tips
- Cool bars: Make sure to let the bars cool until at room temperature. The cherry pie filling needs a little time to cool otherwise it will be runny.
- Use parchment paper or foil: Make sure you completely cover the baking dish or pan with parchment paper or foil so you have an easy clean up and it will prevent the bars from sticking. It’s always a good idea to coat the bottoms with cooking spray.
- Don’t over-mix: Be sure not to over-mix the dough, this will prevent the bars from being soft and tender.
- Sharp knife: Carefully use a sharp knife to cut the bars into perfect squares.
- Room temperature ingredients: It’s always important that all of your ingredients are at room temperature. This will help the dough mixture combine together more smoothly.
How To Serve Cherry Pie Bars
Serve them warm or cold. This recipe used a light vanilla almond icing but you can top the bars with powdered sugar instead. I also love topping the bars with a scoop of vanilla ice cream for an extra indulgent dessert.
Recipe Variations
- Add crunch: Add a handful of sliced or chopped almonds to the top.
- Healthier version: Use whole wheat flour instead of all-purpose flour and using coconut oil instead of butter.
- Add color: Add rainbow sprinkles, regular or mini size M&Ms to the top.
- Apple Pie Bars: Swap the cherry filling for canned (or homemade) apple pie filling.
- Add chocolate: Add chocolate chips to the top of the dough for a chocolatey flavor.
Leftovers & Storage
If you happen to have any leftovers, luckily these bars will stay fresh, soft, and chewy for a few days. Place in an airtight container or cover plate tightly with plastic wrap. If you layer the bars, be sure to place a sheet of parchment paper or wax paper in-between each layer.
Store at room temperature or in the refrigerator for up to 1 week.
Can You Freeze Cherry Pie Bars?
Yes you can!
You can either wrap the whole sheet of completely cooled (un-cut) bars with plastic wrap, then cover with you aluminum foil to freeze. You can also wrap each cooled bar (iced or not iced) individually and place them in an airtight container or large ziplock bag. The bars will freeze for up to 3 months. Leave the bars out to thaw completely.
Other Dessert Bars
- Peach Crumble Bars
- Date Bars
- Chocolate Caramel Oat Bars
- Carrot Cake Bars
- Chocolate Chip Cookie Bars
- Raspberry Oatmeal Bars
NEVER MISS A RECIPE
Join thousands of subscribers & get
easy recipes via email for FREE!
Want to be Featured?
If you make this recipe, please let me know how it turned out…
Kathryn’s Kitchen Blog
Easy, simple, and delicious recipes anyone can make. Click the button below so you don’t miss any recipes!
Cherry Pie Bars
Ingredients
Cherry Pie Bars
- 1 cup unsalted butter softened
- 2 cups granulated sugar
- 4 whole eggs at room temperature
- 1 teaspoons vanilla extract
- 1/4 teaspoon almond extract
- 3 cups all-purpose flour
- 1 teaspoon salt
- 21 ounces cherry pie filling
Icing
- 1 cup powdered sugar
- 2 tablespoons milk regular or low-fat
- 1/2 teaspoon vanilla extract
- 1/2 teaspoon almond extract
Instructions
- Preheat oven to 350 degrees F and line a 9×13 inch baking dish with cooking spray or parchment paper. Set aside
- Using a stand mixer fitted with a paddle attachment or large bowl with an electric hand mixer, cream together the softened butter and sugar until light and fluffy, about 3-4 minutes.
- Add in eggs, one at a time until combined, then add 1 teaspoon of vanilla extract and almond extract. Continue to beat together until combined.
- In a medium bowl, whisk together the flour and salt. Slowly add the flour mixture to the wet mixture just mix just until combined, be sure to scrape down the sides of the bowl with a rubber spatula. Do not over-mix.
- Spread 3 cups of the batter into the bottom of the baking dish. Spread to evenly coat the bottom of the pan with a spatula or spoon.
- Top with the entire can of cherries, then spoon dollops of the remaining batter over the top of the cherries. You do not need to cover all of the cherries with the batter.
- Bake for 40-45 minutes or until the center is set and a toothpick comes out clean. Let the bars cool completely on a wire rack for about 30 minutes.
- In a small bowl, whisk together the powdered sugar, milk, and extracts until smooth. Drizzle the icing over the cooled cherry pie bars, then cut into 24 equal square bars. Enjoy!


These bars sound delicious. Easy than making pie. Perfect dessert to take to a party.
As soon as I saw your stunning photos, I KNEW I had to try this recipe. The layers are so perfect and the flavours are bang on. We loved this sweet treat!
These bars are unreal! I love the way they look when cut up. Such a great use for cherries and the perfect summer treat!
The combination of the sweet cherry filling and buttery crust created a delightful treat that was hard to resist
Ok so any time I can use cherries in a recipe I am very happy. This recipe was fantastic and I am officially addicted to them.
This little cherry pie bar desert tastes as good as it looks. Our family could not get enough of them. Might need to make a new batch. Yay!
These look so yummy! Can’t wait to try it. Thanks for sharing.
I made this recipe yesterday and we already ate it all! It was so easy to make and my whole family loved it. Going to make another batch next week 😉
I got the cherries to make these bars. They look so tempting. I’ll probably have to bake them again for my Fourth of July potluck!