Homemade Strawberry Pop Tarts (with Pie Crust)

As an Amazon Associate, I earn from qualifying purchases. Read the full disclosure here.
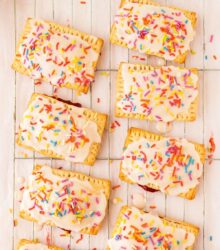
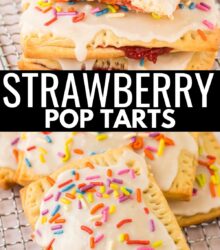
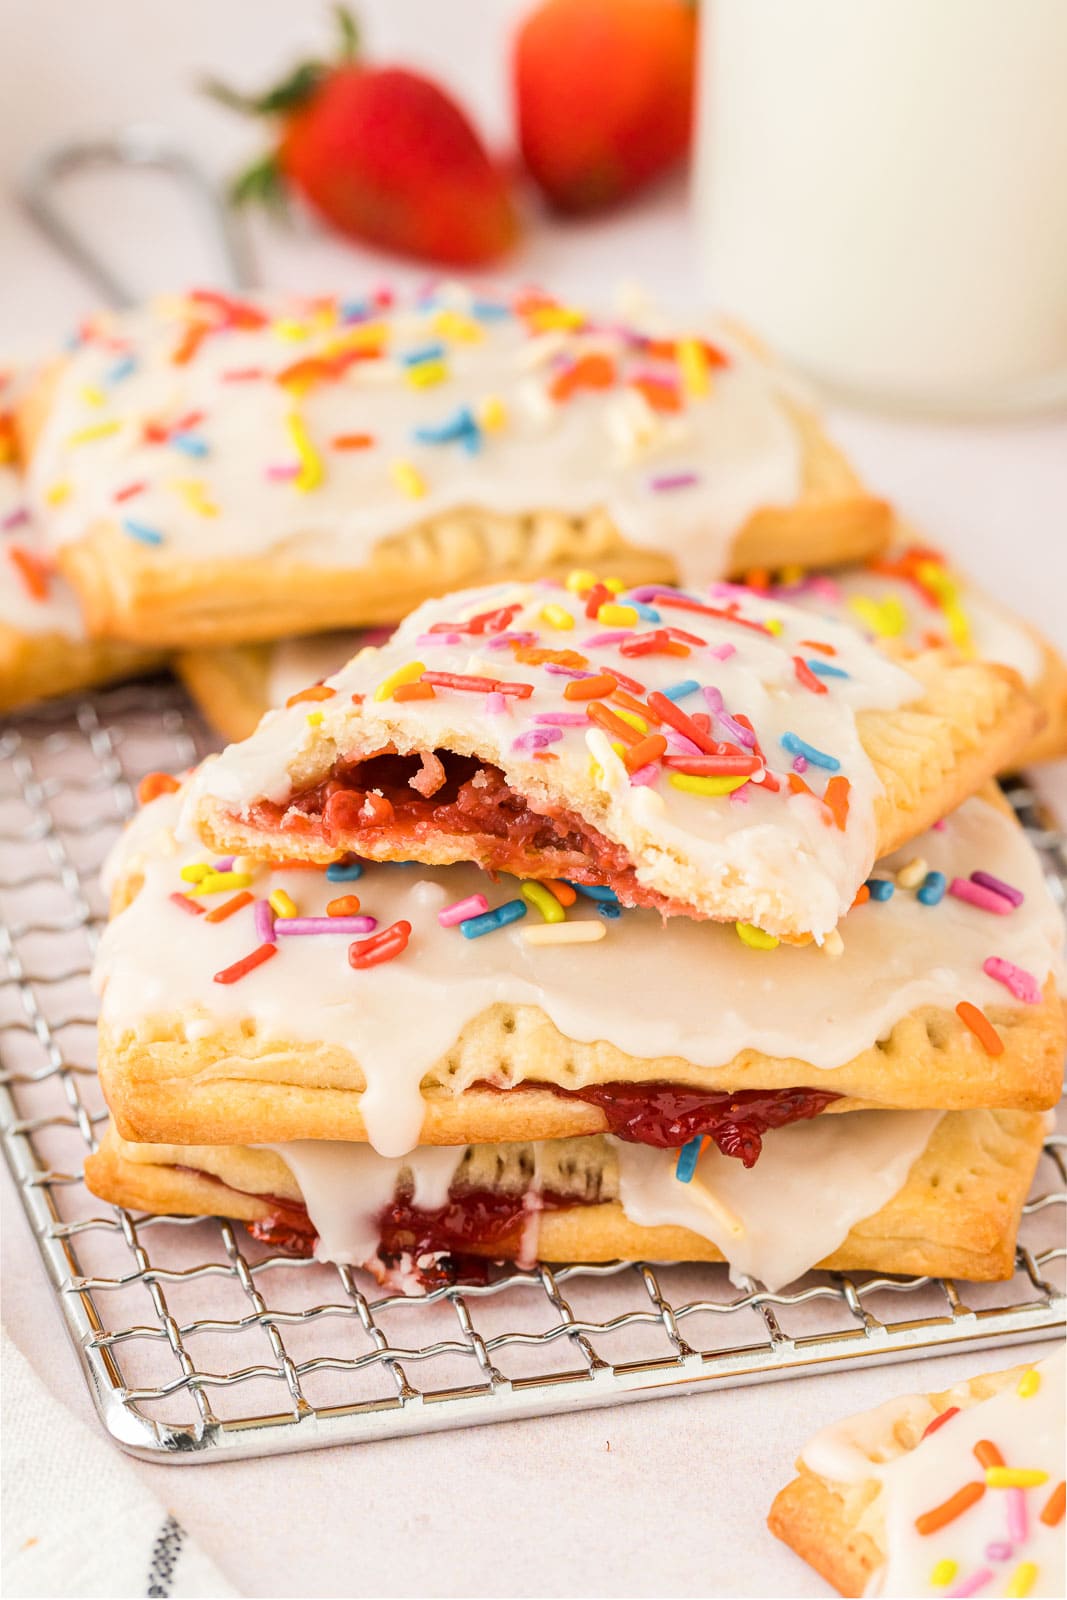
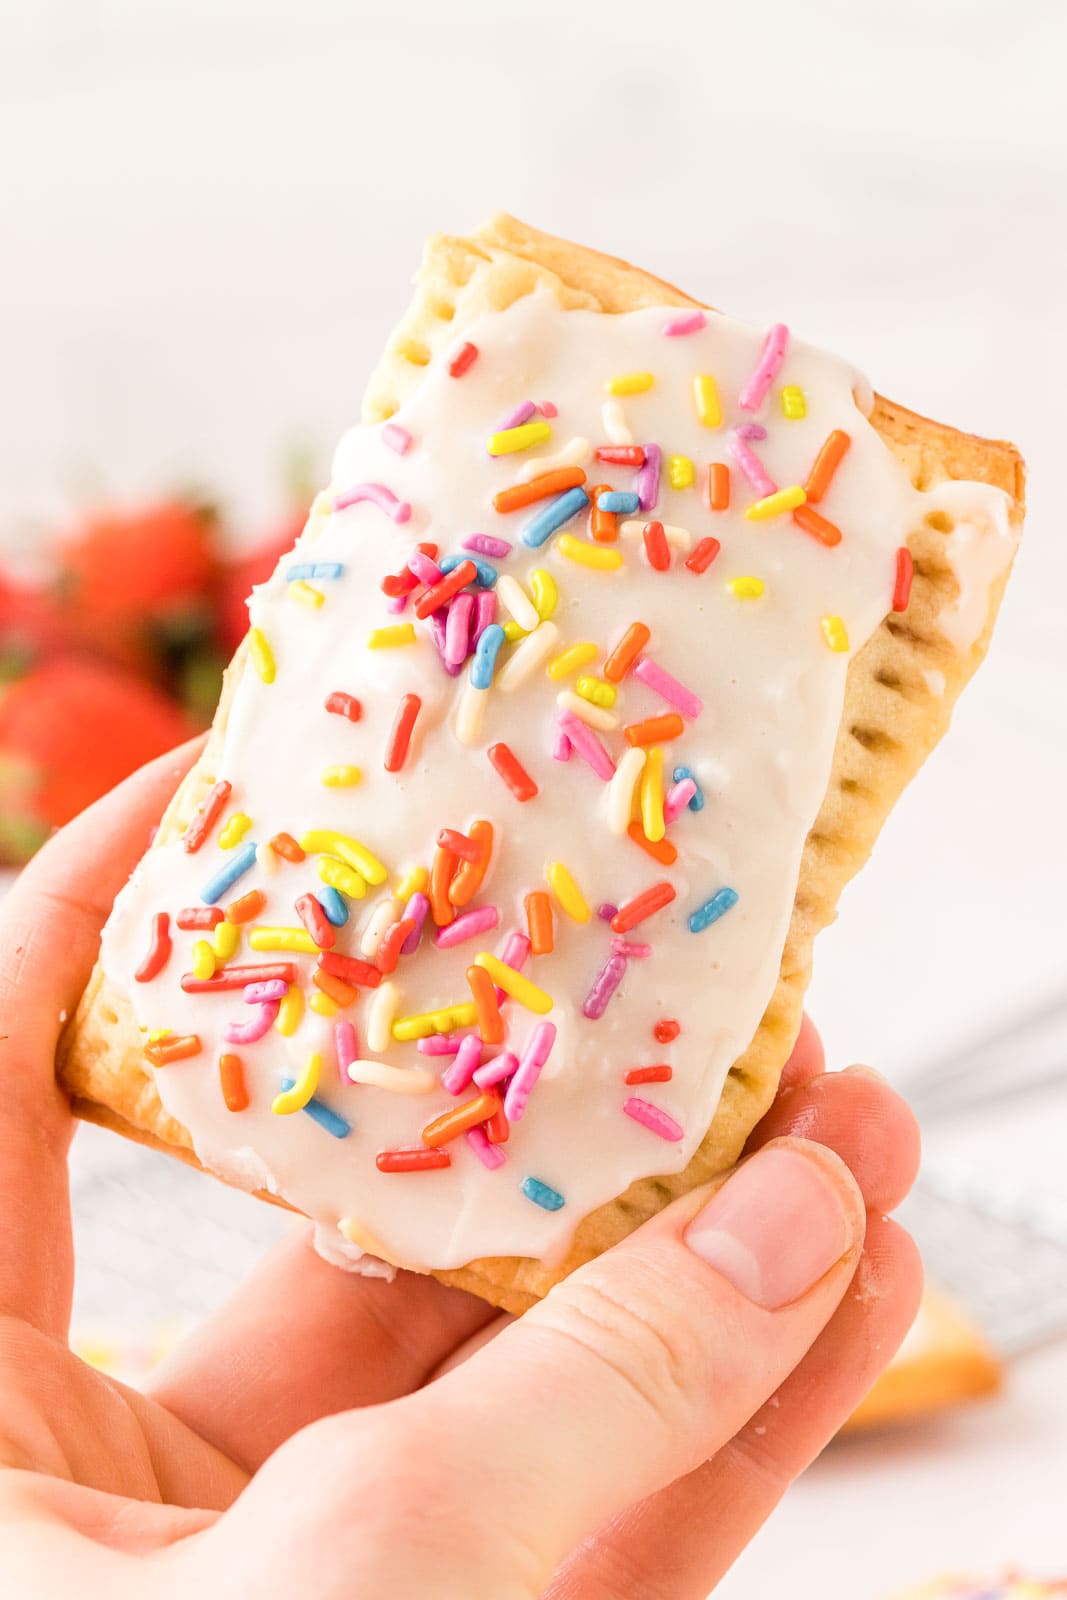
These are the Easiest Homemade Strawberry Pop Tarts you could make! Made with pie crust, a strawberry jam filling, and topped with a vanilla icing and colorful sprinkles! Perfect for a grab-and-go breakfast, snack, or dessert!
PIN this Homemade Pop-Tarts recipe to try later!
If you love delicious homemade pop tarts, try this Giant Homemade Pop Tart!
Homemade Strawberry Pop Tarts Recipe
Who didn’t love eating pop tarts as a kid? My favorite was always the basic frosted strawberry pop tart flavor and now I can make my own homemade version that’s even better. Not only are these homemade pop tarts delicious, quick to make, and everything you want in a breakfast treat, but they are adorable too. They will fit perfectly in your hand and comes in handy for a grab-and-go breakfast!
These little hand pies are made with pre-made pie crusts, sweet strawberry jam, and topped with a vanilla icing and lots of sprinkles. Made in less than 30 minutes and with only 6 ingredients.
Other breakfast recipes with 6 ingredients or less are my
Cinnamon Sugar Biscuit Bites and Apple Dumplings.
You can customize these pop tarts exactly how you want by using your favorite pie crust, jam flavor, icing and sprinkles. There are so many different variations you can use and the best part is they taste better than the boxed version you get at the grocery store.
Why You’ll Love This Recipe
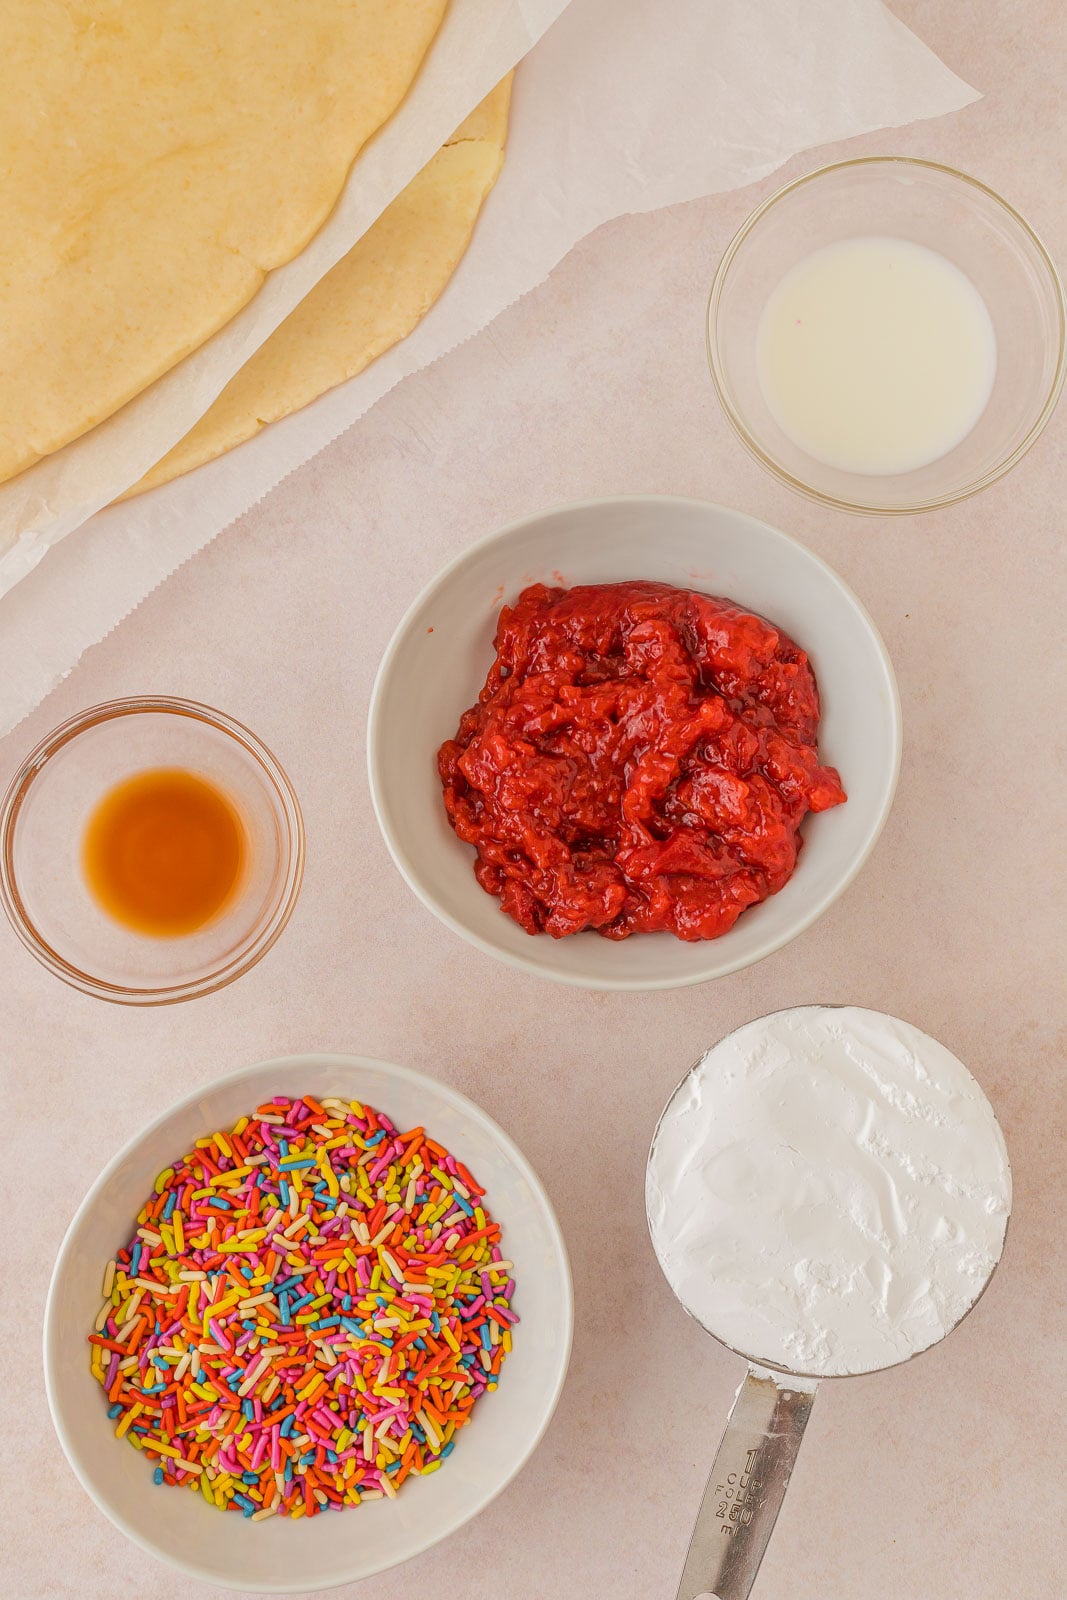
INGREDIENTS TO make HOMEMADE strawberry POP TARTS
- Pie crust: Use premade pie crust or homemade pie crust. Pie crust is known to give an extra flaky crust which makes these even better than store-bought pop tarts.
- Strawberry preserves: We use strawberry jam but you can use any of your favorite jam flavors like raspberry jam, blueberry jam, and orange marmalade. Use store bought or homemade jam.
- Powered sugar: Used to make the icing.
- Vanilla extract: Adds flavor to the icing.
- Milk: I used use milk but reduced-fat or almond milk can be used instead.
- Sprinkles: For fun! I love rainbow to make them look like the originals but you can use any colors.

HOW TO MAKE THE EASIEST HOMEMADE POP TARTS
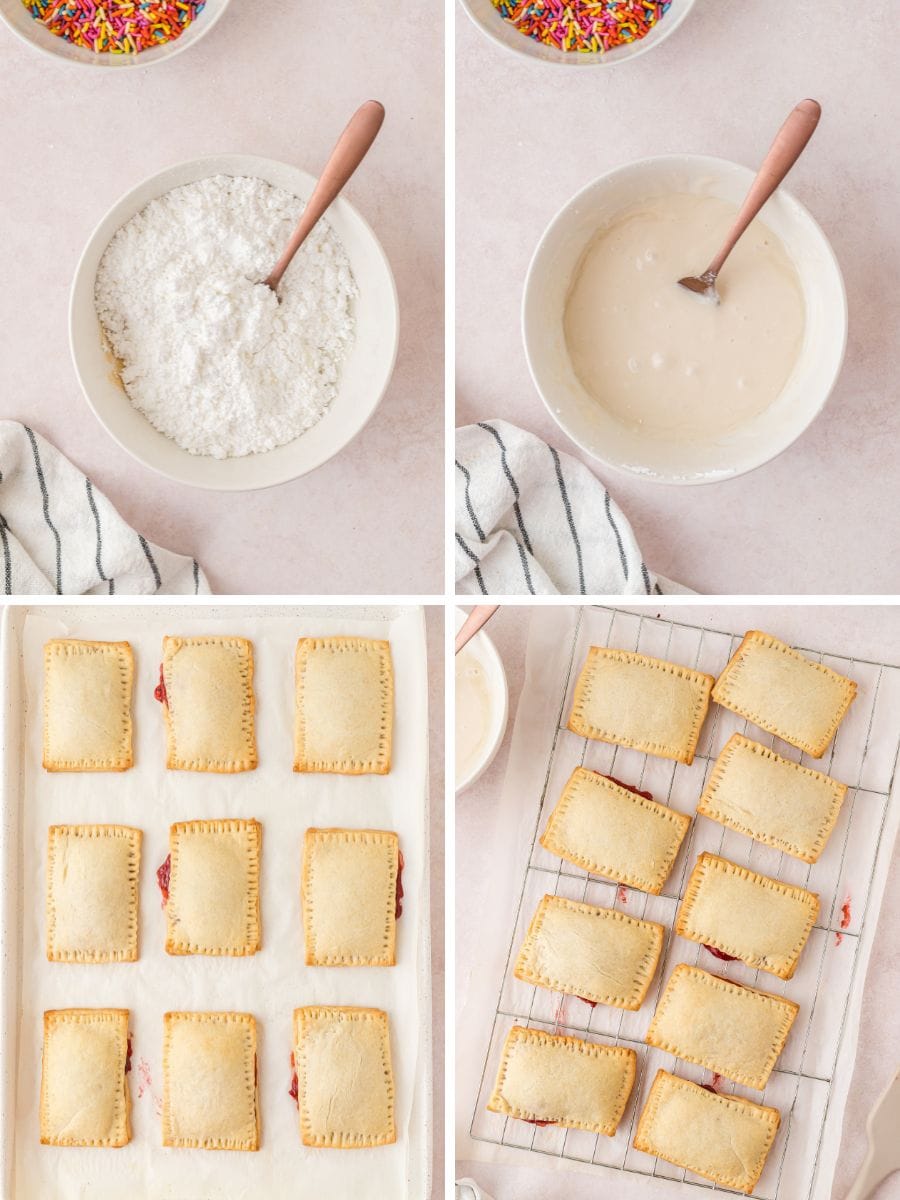
Prep and shape pie crust: Roll out each pie crust on a lightly floured surface with a rolling pin to a 1/8 inch thickness. Cut each pie crust with a sharp knife or pizza cutter, into 2×3 inch rectangles and place 9 on prepared baking sheet.
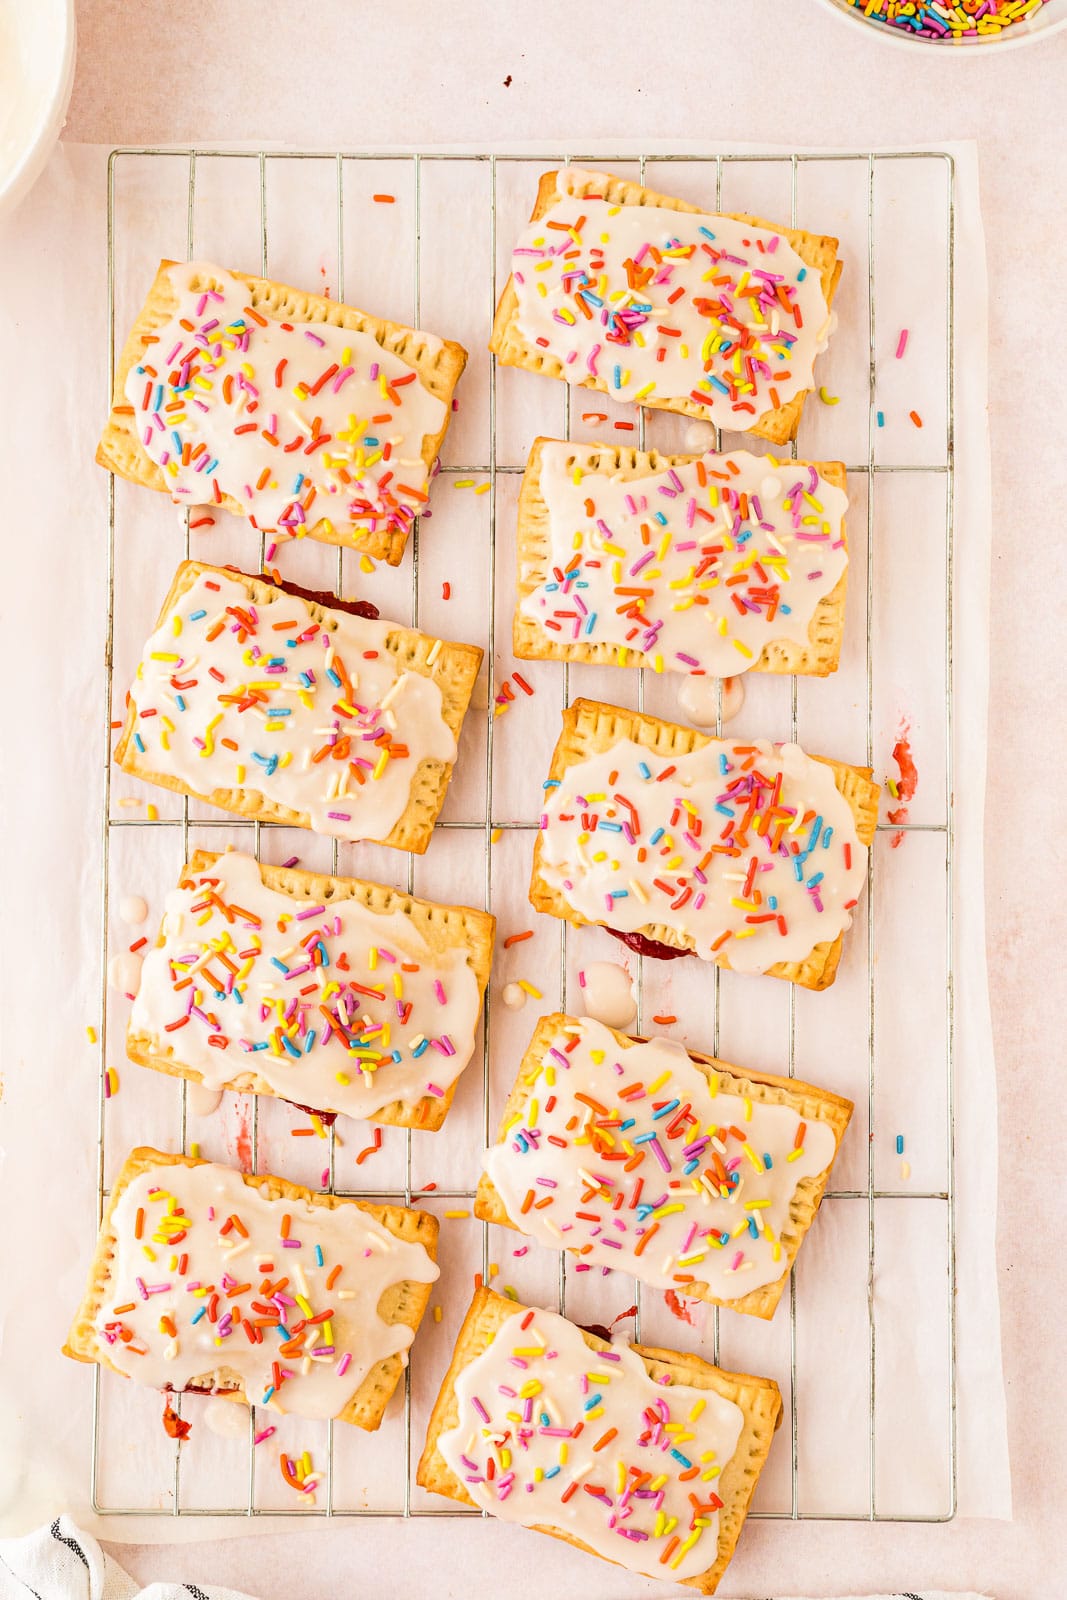
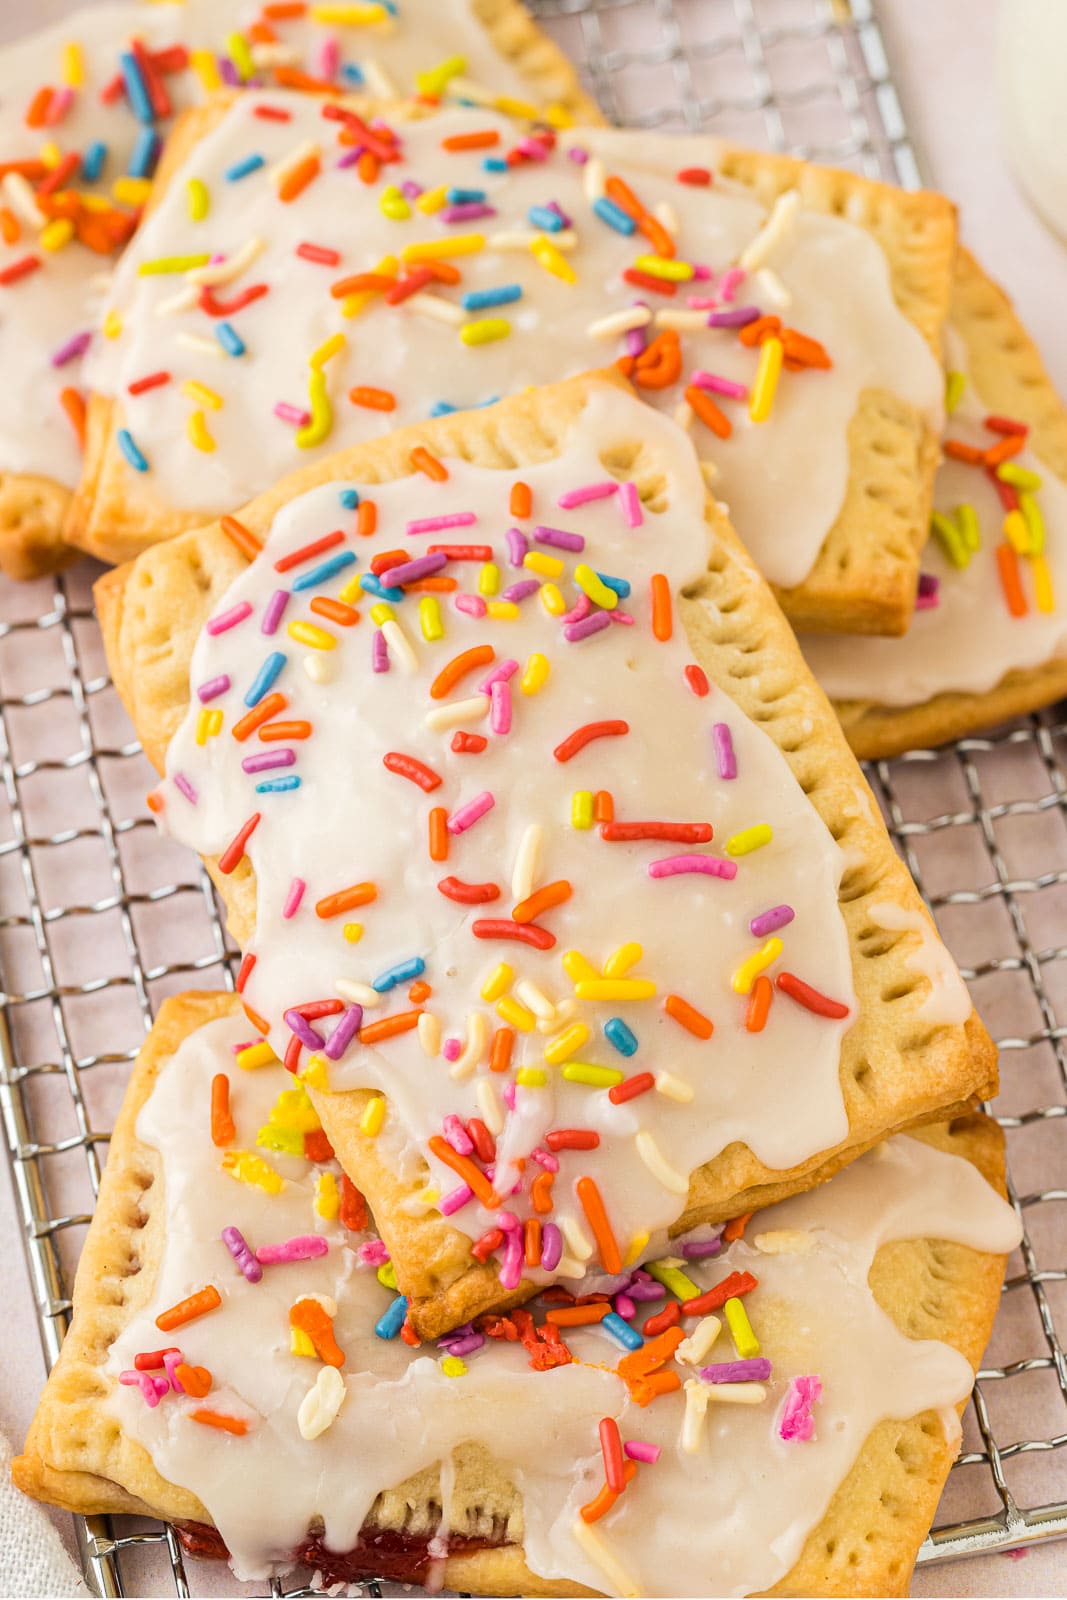
Add strawberry filling: Add 1 tablespoon of jam to the center of each and then top with a pie crust rectangle. Use a fork to crimp the edges of all 4 sides of the pop tarts. Place pop tarts on a parchment-lined baking sheet or cookie sheet. Bake for 10-12 minutes or until the pop tarts are a light golden brown color. Transfer to a cooling rack to cool.
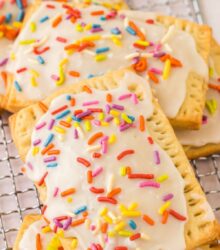
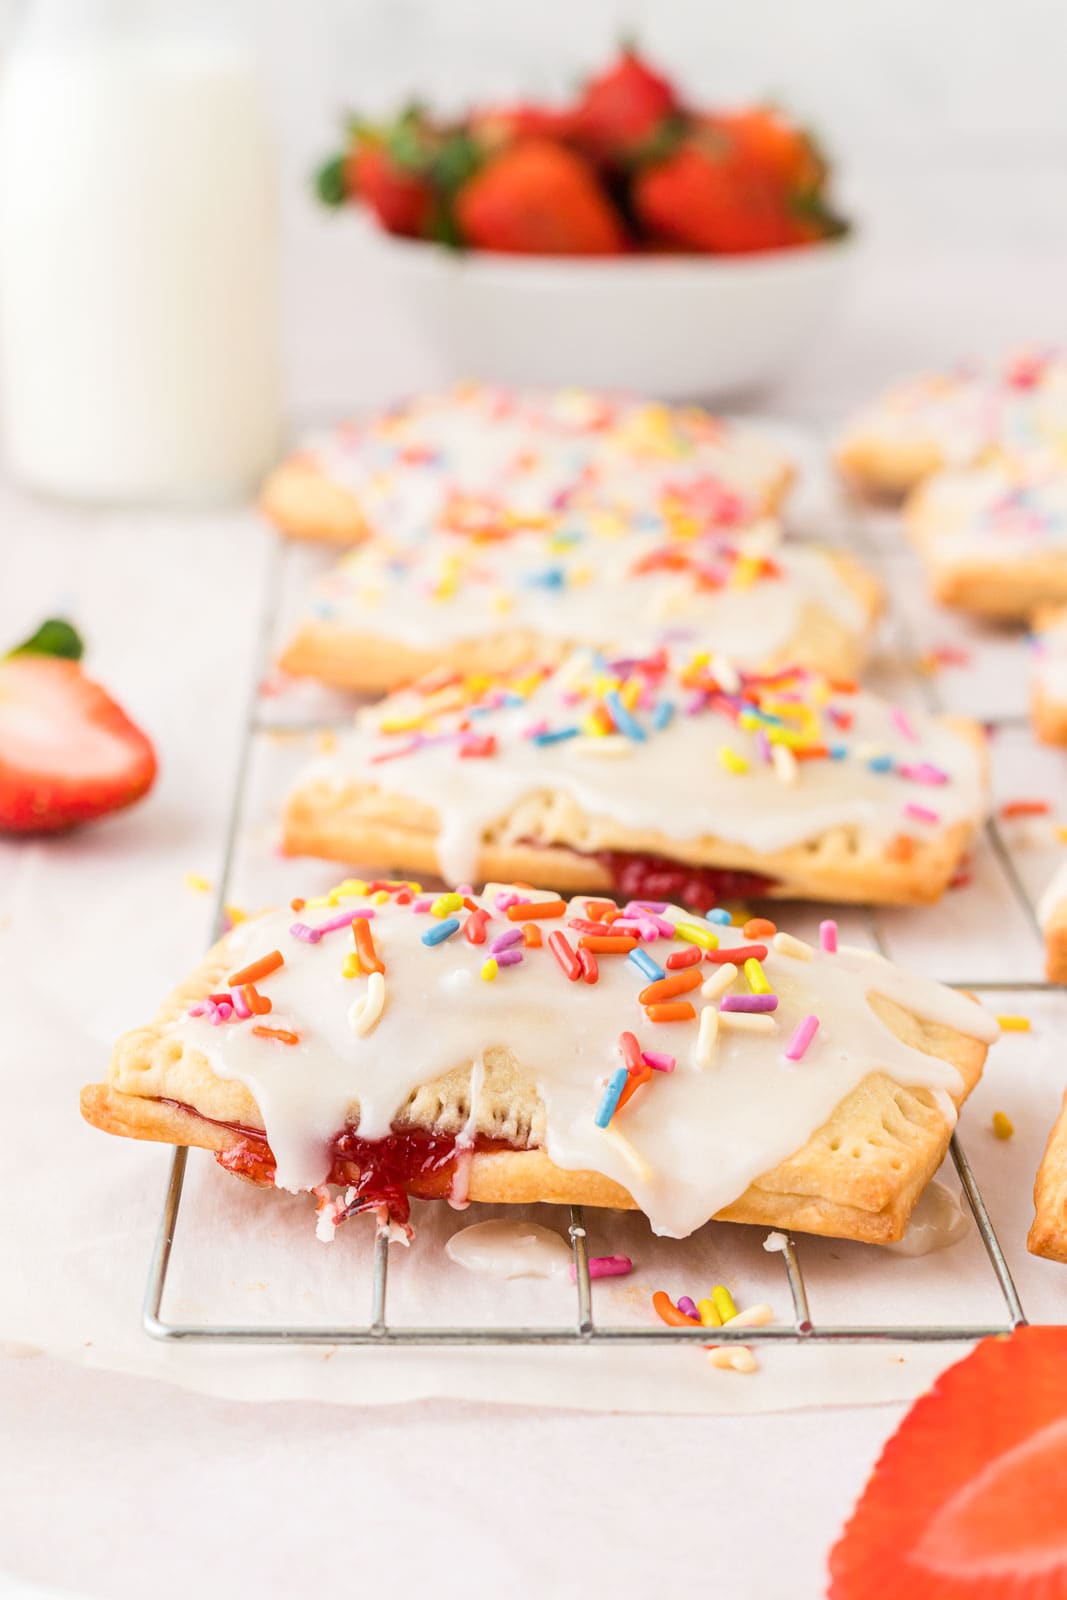
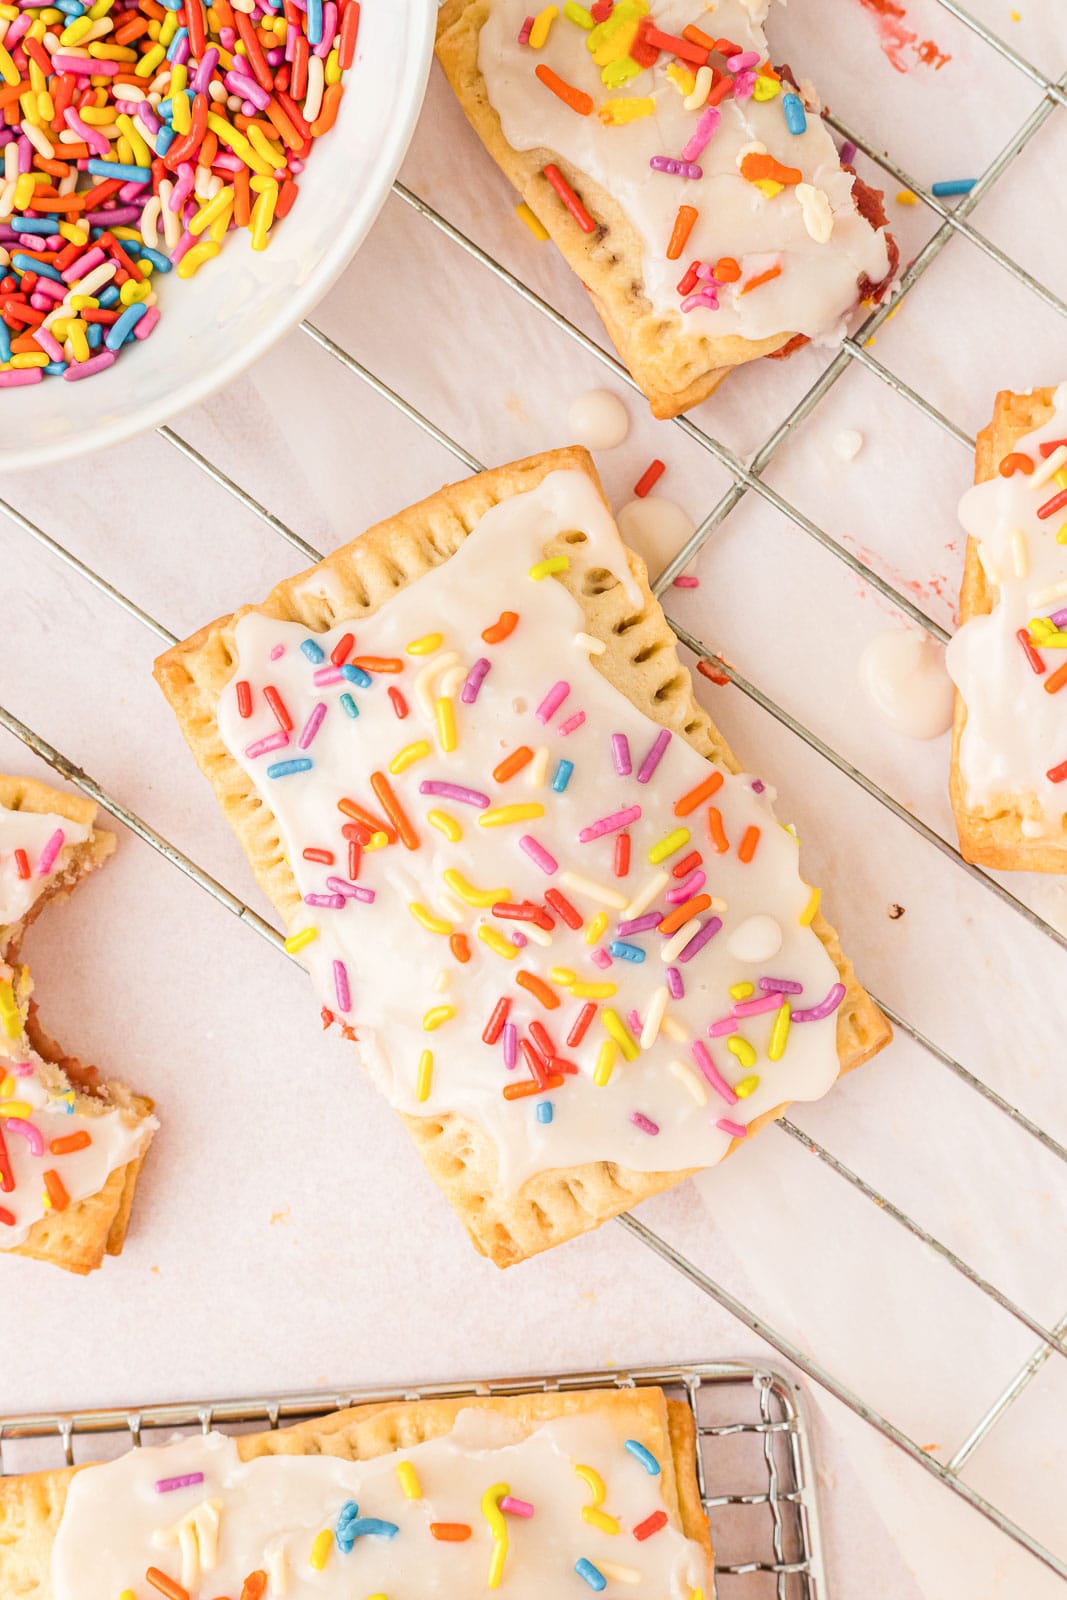
Prep the glaze: In the meantime, you can make the glaze. In a small bowl, whisk together the powdered sugar, milk, and vanilla extract until smooth. If the icing becomes too thick, add a few drops of water. Spoon the glaze over each pop tart and add sprinkles. You can enjoy immediately or let sit for 20 minutes to let the glaze set.
POP TART VARIATIONS
- Sprinkles: You don’t have to use sprinkles but sprinkles are always fun! Switch up the sprinkle colors for different holidays and occasions. For instance use pink and blue sprinkles for a baby shower or orange and black for Halloween.
- Icing: I use a very simple and basic icing recipe. You can leave out and use as little or as much as you you like.
- Filling: Other jam flavors you could use are blueberry, grape, apricot, or raspberry. You can also use a low-sugar jam if you want a healthier option.
- Brown Sugar Cinnamon Pop Tarts: You can switch out the filling for a brown sugar filling. Simply mix together 1/2 cup packed brown sugar, 2 1/4 teaspoons of cinnamon, and 1 tablespoon of flour.
- Crust: Instead of pie crust, use puff pastry for flakier pop tarts.
- Omit the frosting: Instead of adding icing to the pop tart, brush the tops with an egg wash before baking then add sprinkles.
- Low Sugar Pop Tarts: Use sugar-free or low-sugar jam to make them on the healthier side.
RECIPE TIPS
- Most pre-made jams will work for this but if your jam seems to be on the watery side, add 1 tablespoon of water and 1 tablespoon of cornstarch in a small bowl and mix it together until combined. Add mixture and jam to a sauce pan and simmer on low heat until jam has thickened.
- You can make your own filling from scratch by add 2 1/2 cups of fresh berries to a sauce pan with 1/4 cup of sugar, 1 tablespoon of lemon juice, and 1 tablespoon of water. Simmer and stir until thickened. Let cool before using for filling.
- It’s easier when the pie crust is at room temperature so it’s easier to roll out.
- Don’t overfill: If you add too much jam, it will come out and it won’t look pretty.
- Crimp the pop tarts: Be sure to really crimp the edges of the pop tart together with a fork so it sticks together. Otherwise the jam could spill out during the baking process.
LEFTOVERS
Store leftover pop tarts in an airtight container or ziplock bag and place in a cool area on the counter. They will last up to 3-4 days but are always better fresh. Heat in the microwave for a warm homemade pastry or enjoy as is.
FREEZING HOMEMADE POP TARTS
These are always a good idea to have on hand because you will crave these and want more. To freeze, place the pop tarts in an airtight container layering the pop tarts with wax paper or parchment paper in between each layer. Freeze up to one month. When ready to eat, let thaw out for a few minutes and reheat in the oven or microwave.
OTHER EASY BREAKFAST IDEAS
NEVER MISS A RECIPE
Join thousands of subscribers & get
easy recipes via email for FREE!
Want to be Featured?
If you make this recipe, please let me know how it turned out…
Kathryn’s Kitchen Blog
Easy, simple, and delicious recipes anyone can make. Click the button below so you don’t miss any recipes!

Homemade Strawberry Pop Tarts
Ingredients
- 1 package store bought pie crust two crusts total
- 3/4 cup strawberry jam
- sprinkles optional
Pop tart glaze
- 1 cup powdered sugar
- 1 tablespoon milk or heavy cream
- 2 teaspoons vanilla extract
Instructions
- Preheat oven to 425 degrees F and line a baking sheet with parchment paper. Roll out each pie crust with a rolling pin to a 1/8 inch thickness. Cut each pie crusts into 2×3 inch rectangles and place 9 on prepared baking sheet.
- Add 1 tablespoon of jam to the center of each and then top with a pie crust rectangle. Use a fork to crimp the edges of all 4 sides of the pop tarts. Bake for 10-12 minutes or until the pop tarts are a light golden brown color. Transfer to a cooling rack to cool.
- In the meantime, you can make the glaze. In a small bowl, whisk together the powdered sugar, milk, and vanilla extract until smooth. If the icing becomes too thick, add a few drops of water. Spoon the glaze over each pop tart and add sprinkles. You can enjoy immediately or let sit for 20 minutes to let the glaze set.
Notes
- To make the brown sugar filling simply mix together 1/2 cup packed brown sugar, 2 1/4 teaspoons of cinnamon, and 1 tablespoon of flour.
- Store leftover pop tarts in an airtight container or ziplock bag and place in a cool area on the counter. They will last up to 3-4 days but are always better fresh.
This recipe was last updated March 15, 2024 to include additional photos and information. Originally posted June 16, 2020 By Kathryn Donangelo.


These are so cute! I love how colorful they are, and they seem so simple. These little pop tarts will definitely be a favorite around here!
Thank you! They are extremely simple and easy to make. I hope you love them!
Would you believe I have never had a pop tart in my life?! Now I feel like I’ve missed out on years of a great breakfast treat…these really look too cute!
Wow really!? Oh my goodness! Yes now you really need to try these pop tarts 🙂
These Homemade Pop Tarts will be perfect for breakfast tomorrow! Oh I am so loving that strawberry jam! Looks really yummy!
Thank you so much!! 🙂
Easy, pretty, and so delicious, these pop tarts bring a smile to my face! Cannot wait to try them!
Thank you 🙂
These pop tarts look so cute and pretty! They will be great for kids party or a regular Summer cookout! Love how eay they are to make!
Thanks so much! 🙂
Oh how I wish I would have had this recipe when my children were tots. I used to buy them frozen pop tarts every now and then as a treat. They would have loved this recipe. But I do have a chance to make it up — I’ll make them for my grandsons. They’re going to enjoy them so much. Saving the recipe, for sure.
Fantastic pop tarts that look absolutely amazing! Delicious crust and that jam though… makes the whole recipe super speical!
What a fun and unique recipe, perfect for summer! Love how easy to make they are as well
I know the recipe says best fresh but can these be frozen? And can they be toasted like poptarts or just baked? Can there be icing on it before toasting like poptarts? I do this for families and I like to do up boxes they can freeze
Hi Debbie, it’s always best to freeze without the frosting so it doesn’t melt off in the reheating process. To freeze, place the pop tarts in an airtight container layering the pop tarts with wax paper or parchment paper in between each layer. Freeze up to one month. When ready to eat, let thaw out for a few minutes and reheat in the oven or microwave. You can also use a toaster to reheat as well. I hope you love this recipe!
Can you add cream cheese
Hi Janette, I’ve never tried these pop tarts with cream cheese but I’m sure you could. If you do, please let me know how they turn out 🙂
Turned out wonderful! Made fruit and the brown sugar and cinnamon variation. Ty for the recipe!
Can these be prepped the night before and pop in the oven the next morning?
Hi Jennifer, yes that’s a great idea! Just be mindful that you may need to add a few extra minutes to the baking time. I hope you love them!